Your Shark vacuum suddenly won’t turn on. You press the power button repeatedly, but nothing happens—no familiar hum, no suction, just silence. This frustrating issue affects thousands of Shark owners monthly, yet most power button failures have simple solutions you can handle at home. Whether you own a Navigator, Rocket, Rotator, or DuoClean model, understanding why your Shark vacuum power button not working is the first step to getting your cleaning routine back on track.
That unresponsive button typically stems from one of three culprits: electrical connection problems, physical damage to the button mechanism, or safety features preventing startup. The good news? Over 70% of Shark vacuum power button not working cases can be resolved without professional help. This guide delivers specific, actionable solutions tailored to your vacuum model, saving you time, money, and the hassle of unnecessary repairs.
Immediate Power Button Failure Symptoms to Identify
What Your Unresponsive Button Is Telling You
When your Shark vacuum power button not working, pay attention to how the button feels when pressed. Does it sink in without resistance? Does it feel jammed and won’t return to its original position? These tactile clues help pinpoint the issue. Intermittent operation—where the vacuum powers on only after multiple presses—usually indicates dirty electrical contacts rather than complete failure.
Listen carefully for subtle sounds when pressing the button. A faint click suggests the switch mechanism still functions but isn’t completing the circuit. Complete silence often points to wiring disconnection or a broken switch. If your model has LED indicators, note whether they respond at all when pressing the power button, as this provides critical diagnostic information.
Physical Signs Pointing to Button Failure
Examine the power button area under bright light for visible damage. Cracks radiating from the button edges or a permanently depressed surface indicate physical trauma requiring replacement. Check for debris accumulation around the button—pet hair and dust often wedge into the mechanism, preventing proper operation. A burning smell near the handle when attempting to power on signals electrical issues needing immediate attention.
Inspect your vacuum’s dust cup and filters even when troubleshooting the power button. Shark vacuums incorporate safety features that prevent startup when components aren’t properly seated or filters are saturated. A vacuum that won’t turn on might not actually have a power button problem at all—just a simple assembly issue you can fix in seconds.
Diagnosing Your Shark Vacuum Power Button Not Working

Electrical Connection Failures Behind the Scenes
Most Shark vacuum power button not working scenarios stem from loose internal wiring rather than the button itself. Repeated handle movement gradually loosens connections between the button and motor control board. To verify this, gently wiggle the handle near the button while attempting to power on—intermittent operation confirms a loose connection.
Corrosion on electrical contacts from moisture exposure creates resistance that prevents power flow. This commonly occurs in Shark vacuums stored in humid environments like basements. Burnt contacts from power surges can permanently weld switch components together, requiring replacement. If other functions like the brush roll operate but the main vacuum won’t power on, you’re likely dealing with a button-specific electrical failure.
Physical Damage to the Button Mechanism
Daily use wears down the rubber membrane beneath your Shark vacuum’s power button. This membrane tears over time, preventing the button from making proper electrical contact. Inspect for visible cracks in the button housing—these often develop from accidental drops or excessive force when pressing. Pet hair and debris frequently jam the mechanism, especially in households with shedding animals.
The internal return spring that makes the button pop back into position frequently dislodges or breaks. When this happens, the button either stays depressed or feels loose and unresponsive. If your vacuum has been running unusually hot before the button failed, thermal damage may have weakened internal components, requiring more extensive repair than simple cleaning.
Safety Features Preventing Startup
Shark vacuums incorporate multiple safety systems that can mimic power button failure. Overheating triggers thermal protection that overrides the power button until components cool. Clogged airways activate blockage detection systems that prevent startup regardless of button function. Extremely dirty filters trigger automatic shutdown to protect the motor.
Sometimes the vacuum won’t start simply because the dust cup isn’t fully seated. Remove and firmly reseat the dust cup, ensuring the latch clicks into place. For cordless models, check battery connections—loose battery contacts often cause power button issues that aren’t actually button-related. Unplug your vacuum for 30 minutes to reset all safety systems before proceeding with more complex diagnostics.
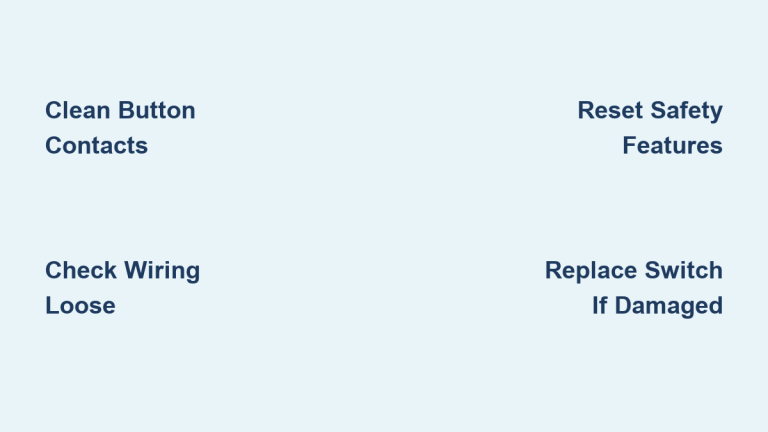
Quick Fixes for Shark Vacuum Power Button Not Working
No-Disassembly Solutions You Can Try Immediately
Start with the simplest solutions before disassembling your vacuum. Use compressed air to blast debris from around the button edges—this clears 40% of Shark vacuum power button not working cases. Spray electrical contact cleaner around the button perimeter while rapidly pressing it 20-30 times to clean internal contacts. If your vacuum has been running continuously, let it cool for an hour before testing again—overheating often causes temporary shutdown.
Test your vacuum in a different electrical outlet to rule out power source issues. Inspect the entire power cord for kinks or damage, especially near the plug and handle connections. For cordless models, remove and reinsert the battery to reset the electrical system. These quick checks take less than five minutes but solve many apparent power button failures.
Handle Disassembly for Direct Access
When no-disassembly fixes fail, remove the handle screws (typically 2-4 on the back) to access the button assembly. Gently separate the handle halves to reveal the internal mechanism. Look for disconnected wires—these often appear as loose spade terminals near the switch. Check for visible damage to the button membrane or return spring. Reconnect any loose wires and test operation before reassembly.
If the button assembly shows cracks or significant wear, order a replacement specific to your model number ($8-25). Disconnect the old switch wires while noting color coding, then install the new switch with identical wire positions. Test functionality before securing the handle—this prevents unnecessary reassembly if the new switch doesn’t resolve your Shark vacuum power button not working issue.
When to Call a Professional for Power Button Repair

Recognizing Complex Failures Beyond DIY
Some Shark vacuum power button not working scenarios require professional attention. If your model has advanced electronics like the DuoClean or IQ series, integrated circuit boards may need calibration after repair. Attempting DIY fixes on these models often creates additional problems. Vacuum units under warranty (typically 5-7 years) should be serviced by authorized technicians to maintain coverage.
Seek professional help if you detect electrical burning smells, visible melting near the switch, or if basic repairs don’t restore function. Complex wiring issues within the motor housing require specialized tools and knowledge. Authorized service centers have model-specific parts and testing equipment that ensure safe, lasting repairs without voiding your warranty.
Preventing Future Power Button Failures

Simple Maintenance to Avoid Recurring Issues
Wipe the power button area monthly with a slightly damp cloth to prevent debris buildup. Use a soft-bristled brush to clean around button edges without damaging the mechanism. Store your vacuum with the power cord loosely wrapped—tight coiling creates stress points that eventually damage internal wiring. Clean filters regularly to prevent overheating that stresses electronic components.
Press the power button with normal pressure—excessive force accelerates wear on internal mechanisms. Keep hands clean when operating your vacuum to prevent oil transfer that attracts dirt. Ensure all components are properly seated before each use, as misaligned parts can trigger safety systems that mimic power button failure. These simple habits extend your Shark vacuum’s lifespan and prevent most power button issues.
Testing After Your Power Button Repair
Verifying Complete Functionality
After completing repairs, test the power button with 10 consecutive on/off cycles to confirm consistent operation. Each press should produce identical tactile feedback—no sticking or inconsistent resistance. For models with LED indicators, verify all status lights function correctly during operation. Run the vacuum for 5 minutes to ensure sustained performance without unusual sounds or excessive heat.
Monitor temperature at the button and motor areas during operation—excessive heat indicates underlying issues not fully resolved. Listen for grinding sounds or electrical arcing that suggest incomplete repair. Confirm all handle screws are properly tightened and components securely assembled before regular use. These verification steps ensure your Shark vacuum power button not working problem is truly solved.
Your Shark vacuum’s unresponsive power button doesn’t mean replacement time. Most failures stem from simple issues like debris buildup or loose connections that you can fix in under 30 minutes. By following this targeted approach, you’ll restore function to your vacuum while learning how to prevent future Shark vacuum power button not working problems. Remember, when in doubt about electrical components, contact Shark customer service at 1-800-798-7398—your safety always comes before a quick fix.