
Is your Shark vacuum refusing to work because the dust bin won’t install properly? This can be frustrating, but it’s often a simple fix. A vacuum that isn’t working can really throw a wrench in your cleaning schedule. This article will guide you through the common causes and provide step-by-step solutions to get your Shark vacuum back in action.
We’ll cover everything from checking for blockages to ensuring proper alignment, so you can troubleshoot the issue yourself. Plus, we’ll offer tips on how to prevent this problem from happening again, so you can keep your Shark vacuum running smoothly for years to come.
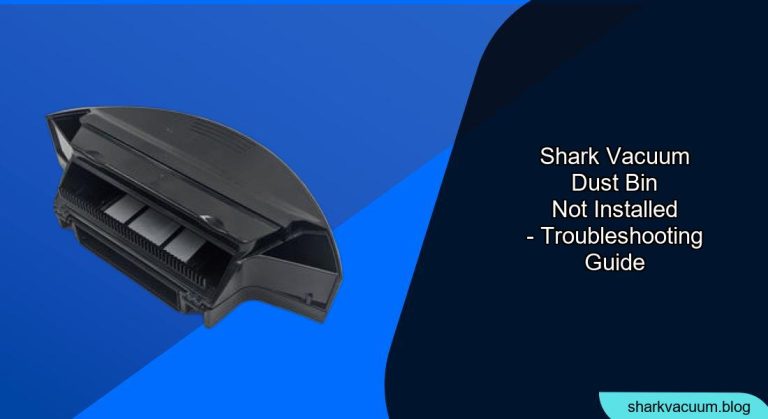
Why Won’t My Shark Vacuum Dust Bin Install? Common Causes

There are several reasons why your Shark vacuum dust bin might not be installing correctly. Identifying the cause is the first step to finding a solution.
- Blockages: Debris can build up in the vacuum’s airways, preventing the dust bin from seating properly.
- Incorrect Alignment: The dust bin might not be aligned correctly with the vacuum body.
- Damaged Components: Parts like the dust bin latch or the vacuum’s housing could be damaged.
- Full Dust Bin: Ironically, a very full dust bin can sometimes prevent proper reinstallation.
- Filter Issues: A clogged or improperly installed filter can interfere with the dust bin mechanism.
Step-by-Step Guide to Fixing a Dust Bin Installation Issue
Here’s a detailed guide to help you troubleshoot and resolve the dust bin installation problem on your Shark vacuum.
- Empty the Dust Bin: Even if it doesn’t seem full, empty the dust bin completely. This eliminates excess weight and potential obstructions. Make sure there isn’t any stuck debris that might be preventing the bin from sealing.
- Check for Blockages:
- Dust Bin Inlet: Examine the opening where the dust bin connects to the vacuum body. Remove any visible debris.
- Hose and Wand: Disconnect the hose and wand and check for clogs. Use a broom handle or similar tool to dislodge any obstructions.
- Airways: Inspect the vacuum’s airways for any blockages. A flashlight can be helpful here.
- Inspect the Filters: Locate and remove the vacuum’s filters (usually pre-motor and post-motor filters). Clean or replace them according to the manufacturer’s instructions. A clogged filter can reduce suction and affect dust bin installation.
- Verify Dust Bin Alignment: Ensure that the dust bin is properly aligned with the vacuum body. Look for any guide rails or markings that indicate the correct position. Sometimes, it’s as simple as making sure the bottom of the bin is correctly aligned with the base.
- Check the Latch and Locking Mechanism: Inspect the dust bin latch and the corresponding locking mechanism on the vacuum body. Make sure the latch moves freely and engages securely. If the latch is damaged, you may need to replace the dust bin.
- Reinstall the Dust Bin: With everything checked and cleared, carefully reinstall the dust bin. Apply gentle pressure to ensure it clicks into place. If it doesn’t fit smoothly, double-check the alignment and look for any remaining obstructions.
- Test the Vacuum: Turn on the vacuum to see if the dust bin stays securely in place and the vacuum operates normally. If the problem persists, move on to the troubleshooting section below.
Troubleshooting: Common Issues and Solutions

Even after following the steps above, you might still encounter issues. Here’s how to troubleshoot some common problems:
- Problem: Dust bin installs but feels loose.
- Solution: The latch might be worn or damaged. Consider replacing the dust bin. Also, check the vacuum body for any cracks or damage around the locking mechanism.
- Problem: Vacuum loses suction after installing the dust bin.
- Solution: Double-check that all filters are properly installed and clean. A blockage in the hose or wand could also cause this issue.
- Problem: Dust bin is difficult to remove.
- Solution: Make sure the release button or lever is functioning correctly. If it’s stuck, try applying a small amount of lubricant (like WD-40) to the mechanism.
- Problem: The vacuum makes a loud noise after installing the dust bin.
- Solution: This could indicate a blockage or a problem with the motor. Check for obstructions and, if necessary, consult a vacuum repair professional.
- Problem: Dust and debris are leaking after installing the dust bin.
- Solution: Make sure the dust bin is sealed correctly. If the rubber seal or gasket is damaged, replace it.
Pro Tips for Maintaining Your Shark Vacuum
/how-to-clean-shark-vacuum-filter-5217133-06-81debb2bce5e48668277f5ad4fbe11f4.jpg)
To prevent future dust bin installation issues and keep your Shark vacuum running smoothly, follow these pro tips:
- Empty the Dust Bin Regularly: Don’t wait until the dust bin is completely full. Empty it after each use or when it reaches about two-thirds full.
- Clean Filters Frequently: Clean your vacuum’s filters at least once a month, or more often if you have pets or allergies.
- Check for Blockages Regularly: Inspect the hose, wand, and airways for clogs on a regular basis.
- Handle the Dust Bin Carefully: Avoid dropping or banging the dust bin, as this can damage the latch and locking mechanism.
- Store Your Vacuum Properly: Store your vacuum in a clean, dry place to prevent dust and debris from accumulating.
FAQ: Common Questions About Shark Vacuum Dust Bins
Why is my Shark vacuum losing suction after I install the dust bin?
A loss of suction after installing the dust bin is often due to a blockage or a clogged filter. Check the hose, wand, and airways for any obstructions. Also, make sure the filters are clean and properly installed. A full dust bin can also contribute to reduced suction.
How often should I empty the dust bin on my Shark vacuum?
It’s best to empty the dust bin after each use or when it’s about two-thirds full. This prevents the vacuum from losing suction and keeps it running efficiently. Regular emptying also reduces the risk of blockages.
Can I wash the dust bin of my Shark vacuum?
Yes, you can usually wash the dust bin with mild soap and water. Make sure to dry it completely before reinstalling it in the vacuum. Check your vacuum’s user manual for specific instructions.
What do I do if the latch on my Shark vacuum dust bin is broken?
If the latch is broken, you’ll likely need to replace the entire dust bin. Contact Shark customer service or check online retailers for replacement parts. Attempting to repair the latch yourself can sometimes cause further damage.
How do I know if my Shark vacuum filter is causing the dust bin issue?
If your filter is excessively dirty or clogged, it can restrict airflow and affect dust bin installation. Clean or replace the filter and see if the problem resolves. Refer to your user manual for the correct filter cleaning or replacement procedure.
Where can I find replacement parts for my Shark vacuum?
You can find replacement parts on the SharkClean website, Amazon, or through authorized retailers. Make sure to have your vacuum’s model number handy when ordering to ensure you get the correct parts.
Conclusion: Getting Your Shark Vacuum Back to Work
A Shark vacuum with a dust bin that won’t install can be a real headache, but with a little troubleshooting, you can often resolve the issue yourself. By checking for blockages, ensuring proper alignment, and maintaining your vacuum regularly, you can keep it running smoothly for years to come.
If you’ve tried all the steps outlined in this article and are still experiencing problems, it might be time to contact Shark customer service or consult a vacuum repair professional. A properly functioning Shark vacuum can make cleaning a breeze, so take the steps necessary to get yours back in top shape!


