That stubborn black mold creeping along your sink edge? The water pooling under your countertop after dishwashing? These are dead giveaways that your kitchen sink’s silicone seal has failed. When silicone caulk deteriorates around your sink, it’s not just an eyesore—it’s an open invitation for water damage that can rot cabinetry, warp countertops, and breed toxic mold. Learning how to replace silicone in kitchen installations is a critical DIY skill that takes less than two hours but prevents thousands in potential repairs. This guide delivers the exact professional process for replacing silicone in your kitchen sink, transforming a leak-prone mess into a waterproof, seamless barrier that protects your home for years. Forget temporary fixes—you’ll master the complete removal, surface prep, and flawless application techniques that contractors use.
Essential Tools for Kitchen Sink Silicone Replacement
Skipping the right tools guarantees a messy, short-lived seal. Professional results demand precision instruments that handle delicate surfaces without scratching. Gather these before starting to avoid mid-job frustrations that compromise your waterproofing.
Must-Have Supplies for Flawless Results
- Silicone Removal Kit: A 5-in-1 painter’s tool for initial lifting, plus single-edge razor blades for residue scraping (critical for fireclay or ceramic sinks where metal scrapers could scratch)
- Surface Prep Essentials: 90%+ isopropyl alcohol (not vinegar—it leaves residue), microfiber cloths, and mineral spirits for tool cleanup
- Application Gear: Professional-grade caulking gun (not the cheap trigger type), 100% silicone caulk formulated for kitchens (mold-resistant), and high-adhesion painter’s tape
- Finishing Tools: A dedicated caulk-smoothing tool OR a plastic spoon + small bowl of water with 3 drops dish soap
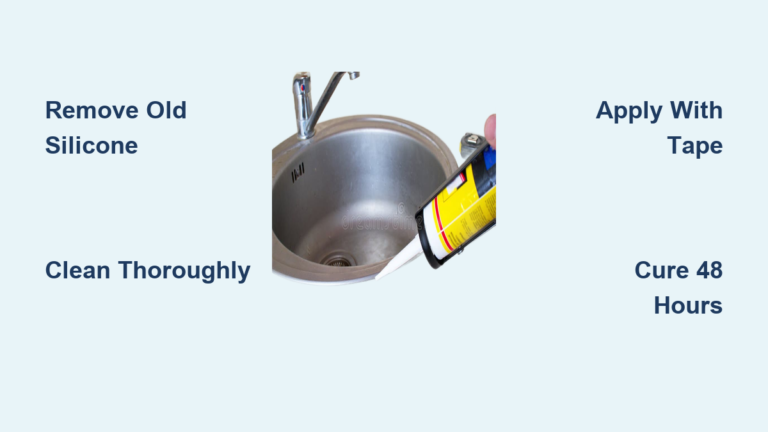
Step-by-Step Kitchen Sink Silicone Replacement Process

Diagnose and Remove All Failed Silicone Completely
Mistake Alert: 80% of re-caulking failures happen because old silicone wasn’t fully removed. That “good enough” scraping leaves microscopic oils that repel new caulk.
- Score the Edges: Hold a utility knife at 30 degrees and slice along both sides where silicone meets sink/countertop. This breaks the adhesion without gouging surfaces.
- Lift Bulk Material: Insert a 5-in-1 tool under the silicone bead and peel upward in 6-inch sections. For stubborn areas, use a plastic scraper on stone surfaces or metal scraper on solid surfaces (never on delicate sinks).
- Eliminate Residue: Switch to single-edge razor blades held at 15 degrees. Scrape in one direction only—back-and-forth motions leave debris. Pro Tip: Shine a flashlight sideways across the joint; any shadow means residue remains.
- Final Degrease: Wipe the joint with alcohol-soaked cloth using firm pressure. Repeat until the cloth comes away spotless. Wait 10 minutes for surfaces to dry completely.
Create Perfect Adhesion with Surface Preparation
Water beads on your countertop? That’s the enemy. Silicone won’t bond to any surface with oils or moisture present. After scraping, inspect for:
– Grease spots near the faucet (from hand lotions)
– Mineral deposits from hard water
– Mold stains in corners (treat with bleach solution first)
Wipe the entire joint area with mineral spirits using a lint-free cloth. This dissolves invisible oils better than alcohol alone. Dry with a second cloth using circular motions—linear wiping can leave fibers that interfere with bonding.
Apply Painter’s Tape for Crisp, Professional Edges
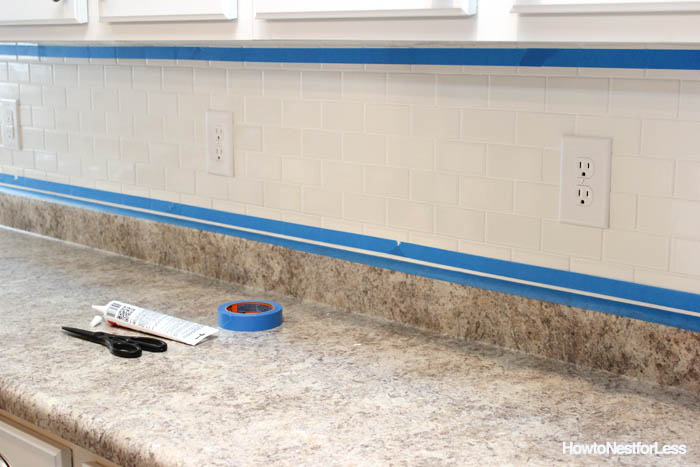
This isn’t optional for clean results. Use 1.5-inch FrogTape® Delicate Surface (regular tape pulls off cured caulk). Apply tape 1/16 inch from the joint edge on both sides. Press firmly with a putty knife to seal edges—any gap lets silicone bleed under. Critical: Ensure tape runs perfectly straight; crooked tape guarantees crooked caulk lines.
Load and Cut Silicone Tube for Optimal Bead Control
- Choose the Right Caulk: Must be 100% silicone labeled “kitchen/bathroom” (e.g., GE Advanced Silicone 2). Acrylic or latex will fail in 6 months.
- Cut the Nozzle: Snip at 45 degrees 1/4 inch from tip for standard joints. For tight gaps (under 1/8 inch), cut smaller—you can always widen it later.
- Prime the Tube: Pierce the inner seal with a nail, then squeeze out a 1-inch bead to clear dried material. Load into caulking gun with plunger against the tube.
Apply the Silicone Bead with Zero Gaps
Technique Breakdown:
– Hold gun at 45-degree angle with nozzle touching the joint base
– Squeeze trigger steadily while moving gun away from you at 2 inches/second
– Apply 30% more silicone than the gap depth—underfilling causes leaks
– Never stop mid-bead: Complete the entire perimeter in one pass. If interrupted, cut the bead cleanly and restart 2 inches back when resuming.
Smooth the Bead for Maximum Waterproofing
This step forces silicone into microscopic pores for a true seal. Two proven methods:
- Soapy Water Finger Technique: Dip index finger in soap solution, then press firmly along bead with light pressure. Move in one direction only—backtracking creates ridges. Re-wet finger every 6 inches.
- Caulk Tool Method: Drag tool through bead at consistent speed. The concave profile it creates channels water away from the joint.
Key Visual Cue: A perfect bead shows slight compression at the edges with no air bubbles. If silicone pulls away from surfaces, the joint wasn’t cleaned thoroughly.
Cure Properly to Avoid Seal Failure
Most Critical Phase: 90% of DIYers ruin their work by rushing this step.
1. Remove tape at 12 minutes: Pull tape toward the bead at 45 degrees while silicone is still wet. Wait longer and tape tears the edge.
2. No water exposure for 24 hours: Even sink drips during this period cause delamination. Place a towel in the sink basin if unavoidable.
3. Full cure time: Wait 48 hours before heavy use. Silicone cures from outside in—surface may feel dry while inner layers remain vulnerable.
Pro Secrets for Lasting Kitchen Silicone Seals
Avoid These Costly Mistakes
- Using the wrong caulk: “All-purpose” silicone lacks mold inhibitors. Kitchen-specific formulas contain biocides that prevent black mold for 5+ years.
- Skipping surface prep: Alcohol alone won’t remove silicone residue oils. Always follow with mineral spirits.
- Over-smoothing: Excessive finger pressure creates thin spots that crack. Apply just enough pressure to shape the bead.
Time-Saving Shortcuts That Work
- Freeze stubborn residue: Apply ice pack to old silicone for 5 minutes—it becomes brittle and lifts cleanly.
- Prevent nozzle clogs: Store unused tubes nozzle-down in mineral spirits.
- Fix mistakes fast: Wipe errors with mineral spirits within 10 minutes. After that, razor-blade scrape and reapply.
When to Call a Professional
Replace silicone in kitchen sinks yourself 95% of the time—but call a plumber if:
– Water has damaged underlying cabinetry (requires structural repair first)
– You have a stone countertop with hairline cracks (silicone can seep into cracks)
– Previous sealant was polyurethane (requires special solvents for removal)
Maintain Your New Silicone Seal for Years
Your kitchen sink seal should last 7-10 years with proper care. Extend its life by:
– Wiping the bead dry after each use (standing water accelerates mold)
– Spraying with vinegar solution monthly to prevent mildew
– Never using abrasive cleaners near the seal
A failed silicone joint isn’t just inconvenient—it’s a ticking time bomb for water damage. By following this precise how to replace silicone in kitchen process, you’ve created a waterproof barrier that protects your home’s structure while looking professionally installed. The key takeaway? Perfect adhesion starts with obsessive surface prep and ends with disciplined curing time. Next time you see water pooling near your sink, you’ll know exactly how to fix it—not with temporary patches, but with a permanent, contractor-grade solution. For ongoing maintenance, check all kitchen seals quarterly during deep cleaning sessions; catching minor cracks early prevents major repairs later. Your flawless new silicone bead isn’t just functional—it’s the invisible shield guarding your entire kitchen investment.