
That stubborn white film clinging to your kitchen sink isn’t just dirt—it’s soap scum, a chemical reaction between your dish soap, hard water minerals, and food particles. This filmy residue builds up where water pools, especially around the drain and faucet base, creating a breeding ground for bacteria while making your sink look perpetually dirty. The good news? You don’t need expensive tools or professional help to remove soap scum from kitchen sink surfaces. With the right approach tailored to your sink material, you can dissolve this gunk in under 20 minutes using methods backed by professional cleaners. This guide reveals exactly how to tackle soap scum safely without damaging your sink’s finish.
Essential Safety Steps Before Cleaning Your Sink
Skipping proper preparation risks chemical burns, surface damage, or ineffective cleaning. Protect yourself and your sink with these non-negotiable steps before grabbing any cleaner.
Gear Up with Critical Safety Equipment
Always wear heavy-duty rubber gloves—not dishwashing gloves—to shield your skin from acidic cleaners that cause chemical burns within seconds. Add safety glasses if using spray cleaners to prevent eye damage from splashes. Open windows or run exhaust fans to ventilate fumes, especially when using CLR or phosphoric acid products. Never mix cleaning chemicals; combining vinegar with bleach creates deadly chlorine gas, while vinegar and hydrogen peroxide form corrosive peracetic acid. Keep these safety essentials within arm’s reach before you start: rubber gloves, safety glasses, vinegar spray bottle, microfiber cloths, and a first-aid kit.
Test Cleaners on Hidden Sink Areas First
Your sink’s material determines which cleaners will work without causing damage. Porcelain enamel can handle vinegar but shatters with abrasive pads, while stainless steel tolerates CLR but etches with prolonged vinegar exposure. Before treating the entire sink, apply your chosen cleaner to an inconspicuous spot like behind the drain flange or under the faucet base. Wait 5 minutes—if you see cloudiness, etching, or color change, stop immediately. Natural stone sinks (like marble composites) require pH-neutral cleaners only; acidic solutions permanently etch these surfaces. When in doubt, start with the mildest solution (baking soda paste) and work up to stronger options only if needed.
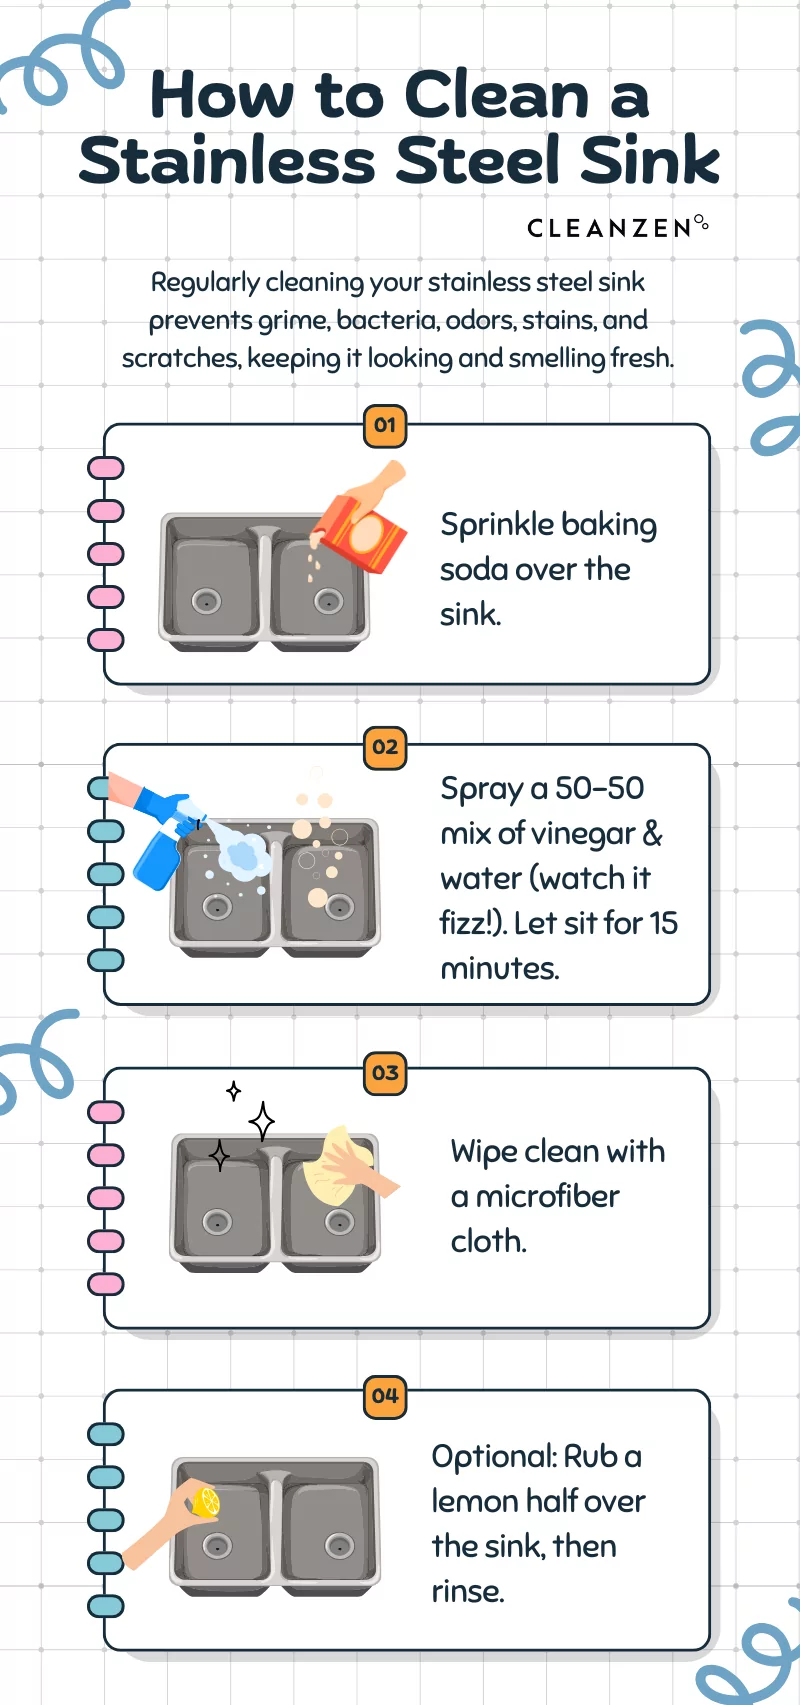
How to Remove Heavy Soap Scum Buildup from Stainless Steel
Stainless steel sinks develop a distinctive chalky film that dulls their shine. Target this buildup with precision using these professional-tested methods.
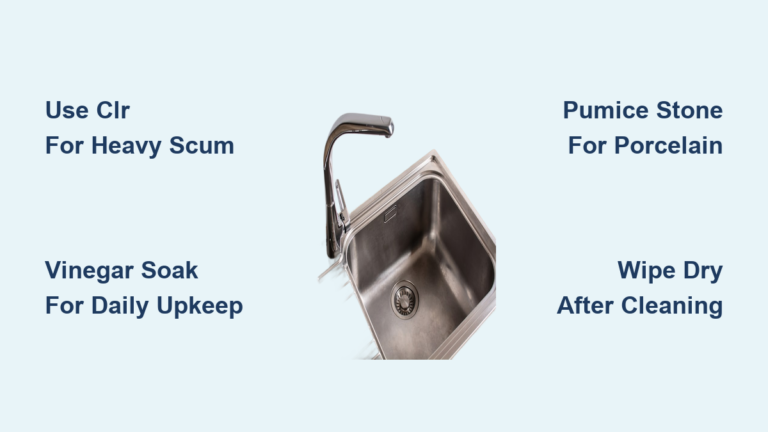
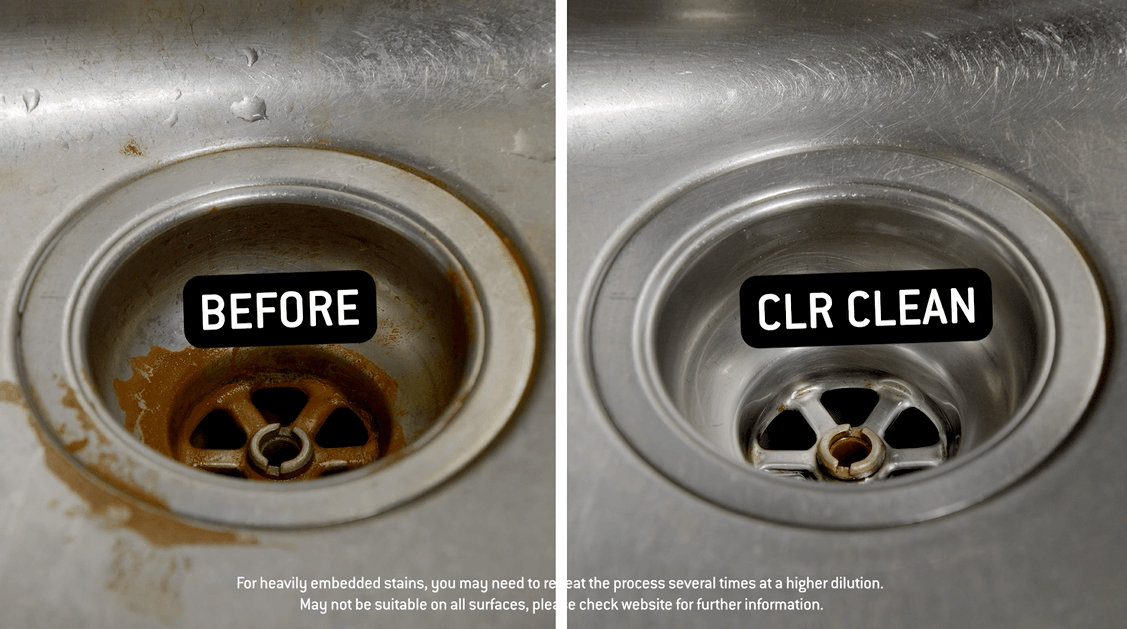
CLR Application for Mineral-Rich Soap Scum
For sinks in hard water areas (where water hardness exceeds 60 ppm), spray CLR directly onto the wet sink surface, focusing on the drain rim and faucet base where scum concentrates. Let it sit for exactly 8 minutes—never exceed 10 minutes as prolonged exposure causes pitting. Scrub in the direction of the metal’s grain using a blue Scotch-Brite pad (the green “heavy duty” version scratches stainless steel). Rinse immediately with hot water, then wipe dry with a microfiber cloth to prevent water spots. Pro tip: Soak your faucet aerator in CLR for 15 minutes to restore water pressure clogged by mineral deposits.
Vinegar Soak for Light Daily Buildup
For routine maintenance on stainless steel, mix equal parts white vinegar and water in a spray bottle. Spray generously on the sink after your last dishwashing session, leaving it overnight. The next morning, scrub with a non-scratch sponge and rinse. This dissolves early-stage scum before it bonds permanently. Warning: Never use vinegar on marble, granite, or concrete composite sinks—the acid etches these surfaces within hours.
Erase Soap Scum from Porcelain and Ceramic Sinks Safely
Glazed porcelain sinks develop thick, chalky deposits that require different tactics than stainless steel. Avoid these common mistakes that ruin sink finishes.
Pumice Stone Technique for Calcified Deposits
For porcelain sinks with crusty, cement-like buildup around the drain, dampen a pumice stone and the sink surface, then gently rub in small circles. The stone’s abrasive particles lift mineral deposits without scratching the glaze—never use dry as this causes micro-scratches. Work in 2-inch sections, rinsing frequently. Stop immediately if you see white streaks (sign of glaze damage). After clearing scum, polish with baking soda paste to restore shine. This method removes years of buildup in 15 minutes but requires moderate effort.
Avoid These Porcelain-Damaging Mistakes
Never use steel wool or abrasive cleansers like Comet on porcelain—they scratch the glaze, making future cleaning harder. Skip bleach-based cleaners too; they react with soap scum to form yellow stains that won’t budge. If you spot brown rust stains alongside soap scum, use Bar Keepers Friend (oxalic acid formula) instead of vinegar—it lifts rust without harming porcelain.
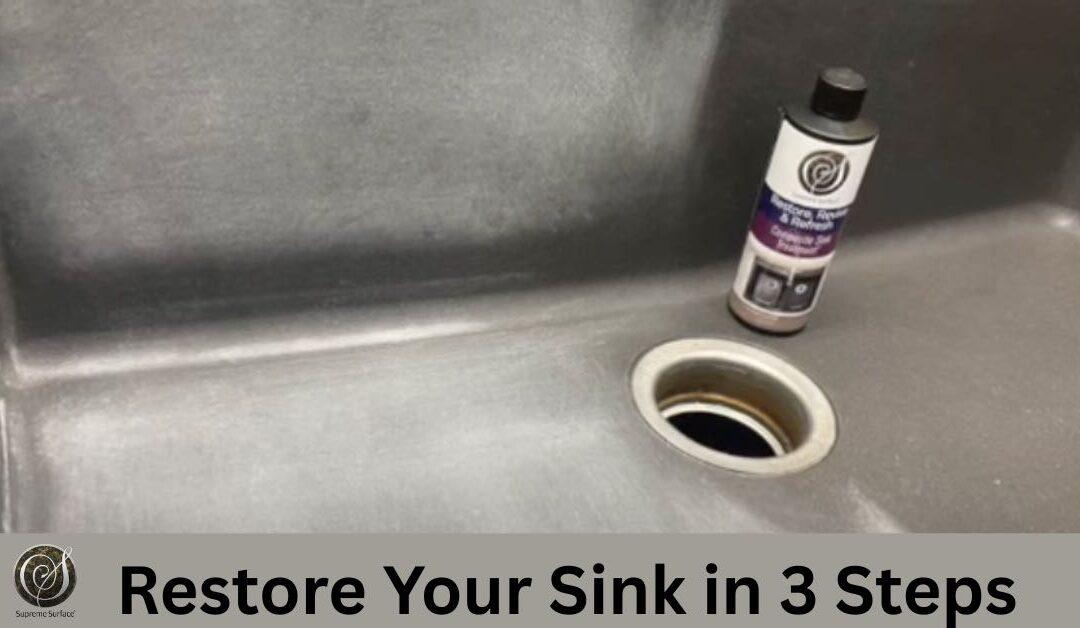
Step-by-Step Soap Scum Removal Process for Any Sink
Follow this professional sequence to remove even decade-old buildup without damaging surfaces. Total time: 18 minutes.
1. Clear and Prep Your Sink (2 Minutes)
Remove all dishes, strainers, and drain covers. Rinse the sink with hot water to wash away loose food debris. For stubborn food gunk stuck in scum, use a plastic putty knife to gently scrape it off—metal tools scratch surfaces. Place an old towel in the bottom to cushion the sink during scrubbing.
2. Apply Targeted Cleaner Based on Buildup Severity (3 Minutes)
- Light film: Spray vinegar solution (1:1 vinegar/water)
- Moderate crust: Apply CLR undiluted
- Heavy calcified deposits: Make a paste of baking soda and lemon juice
Cover all scummy areas, especially where water pools. Critical step: Let the cleaner dwell for the exact time specified—5 minutes for vinegar, 8 for CLR, 10 for baking soda paste. Set a timer; over-soaking damages surfaces.
3. Scrub with the Right Tool for Your Sink Material (7 Minutes)
| Sink Type | Correct Tool | Technique | Danger to Avoid |
|---|---|---|---|
| Stainless Steel | Blue Scotch-Brite pad | Scrub with grain motion | Green pads cause scratches |
| Porcelain | Damp pumice stone | Small circles with light pressure | Dry use removes glaze |
| Composite | Nylon brush | Firm circular motions | Vinegar causes etching |
For faucet bases and drain rims, use an old soft-bristled toothbrush dipped in cleaner. Focus on crevices where scum hides—you’ll see it bubbling as it lifts.
4. Final Rinse and Shine Protocol (6 Minutes)
Rinse thoroughly with hot water from a spray bottle, directing flow toward the drain. Wipe dry immediately with a microfiber cloth using straight strokes (not circles) to prevent water spots. For stainless steel, buff with a 70% isopropyl alcohol spray to repel future buildup. Check for missed spots by shining a flashlight sideways across the surface—scum reflects light differently than clean metal.
Prevent Soap Scum Before It Forms: The 10-Second Daily Habit
Professional cleaners spend 80% of their time preventing buildup rather than removing it. Adopt these simple habits to keep your sink scum-free.
Post-Use Wipe-Down Routine
After your last dishwashing session each night, spray vinegar solution on the sink and wipe dry with a microfiber cloth. This 10-second habit prevents soap residue from bonding with minerals. In hard water areas (over 120 ppm), add a weekly CLR treatment—spray, wait 5 minutes, rinse. Install a water softener if your hardness exceeds 180 ppm; it cuts cleaning time by 70%.
Faucet and Drain Maintenance Secrets
Remove faucet aerators monthly and soak them in vinegar for 15 minutes to prevent mineral clogs. Place a mesh strainer over the drain to catch food particles that feed scum growth. For undermount sinks, seal the rim quarterly with silicone caulk to block water infiltration that causes hidden buildup.
What Ruins Sinks During Soap Scum Removal (And How to Avoid It)
Most sink damage comes from preventable errors. Steer clear of these costly mistakes.
The Abrasive Trap That Dulls Your Sink
Steel wool and harsh scouring powders create microscopic scratches where scum bonds faster next time. Even “non-scratch” pads become abrasive when used with acidic cleaners. Always test scrubbing tools on an inconspicuous spot first—scratch tests reveal damage before it spreads. For stainless steel, if you see radial scratches after cleaning, you’re using too much pressure.
Chemical Combinations That Cause Permanent Damage
Mixing CLR with vinegar creates chlorine gas that etches sink surfaces within minutes. Bleach and ammonia form toxic chloramine vapors that pit porcelain. Never layer cleaners—rinse thoroughly between product applications. When switching methods, wait 24 hours to prevent dangerous chemical reactions.
Final Note: Removing soap scum takes under 20 minutes when you match the cleaner to your sink material and water hardness. The real victory comes from daily 10-second wipe-downs that prevent buildup before it starts. For persistent issues in hard water areas, install a point-of-use water filter under your sink—it reduces soap scum formation by 60% while protecting your plumbing. Your sink should gleam after cleaning, not show new scratches or etching. By following these precise steps, you’ll maintain a hygienic, sparkling sink that resists soap scum for months between deep cleanings.


