

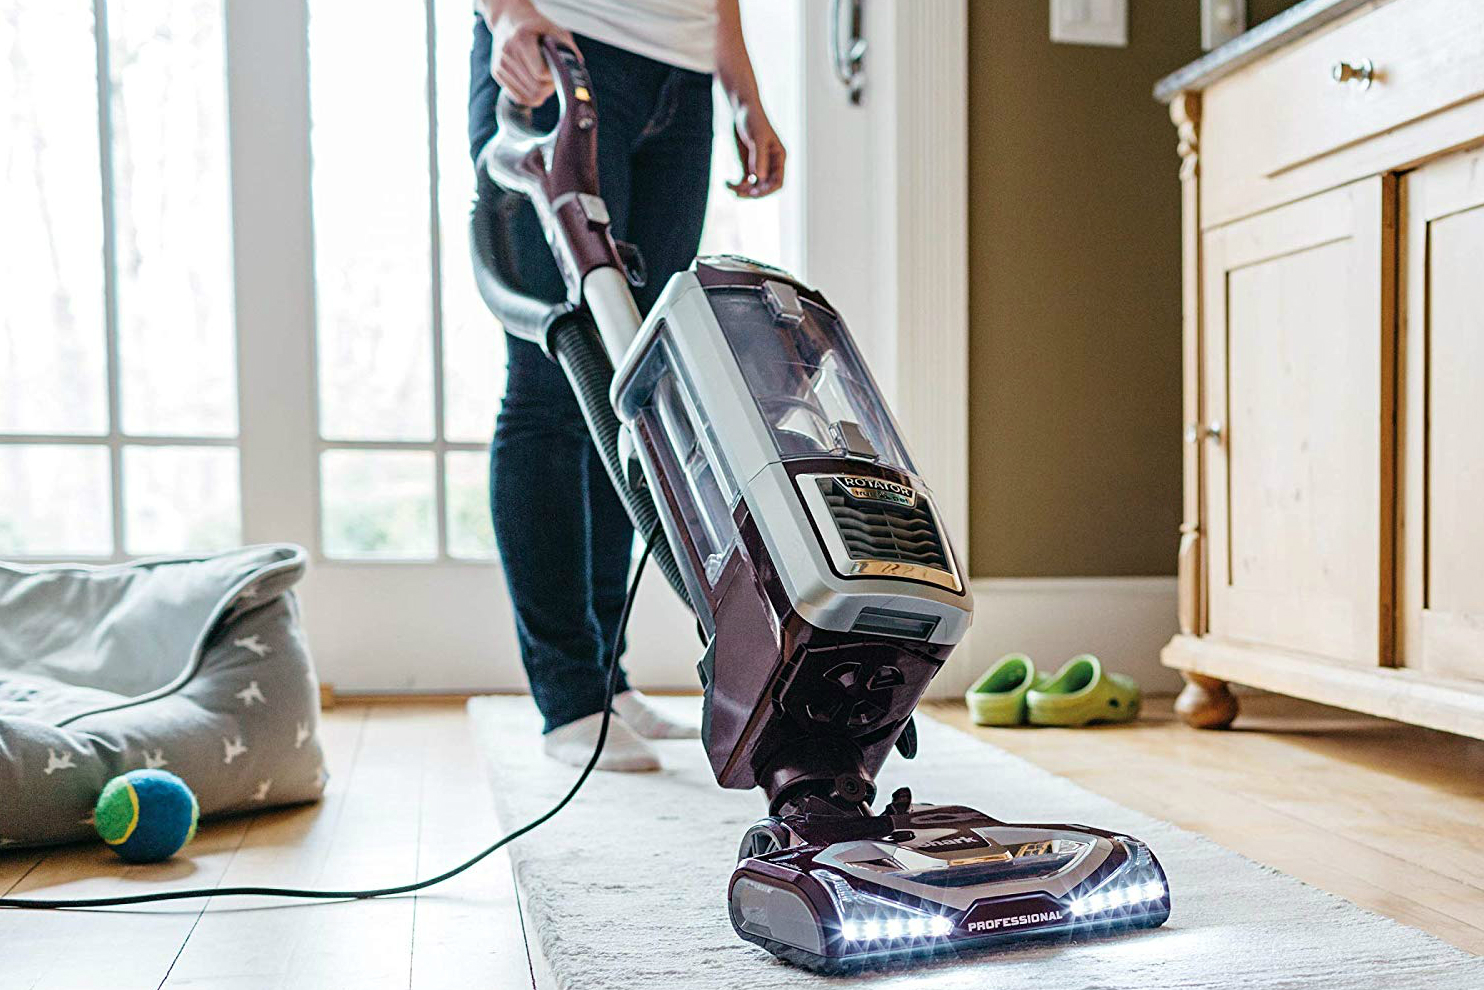
Is your Shark vacuum not performing as expected? One of the most common reasons for this is that the vacuum isn’t charging correctly. This article will guide you through the various methods to ensure your Shark vacuum is charging, identify potential problems, and provide tips to keep your vacuum running smoothly.
Understanding Shark Vacuum Charging
Knowing if your Shark vacuum is charging is crucial for maintaining its performance and lifespan. Cordless vacuums rely on battery power, so proper charging habits are essential.
Identifying Charging Indicators
Most Shark cordless vacuums come with visual indicators to show their charging status. Here’s what to look for:
LED Lights
Many Shark vacuums feature LED lights that indicate the charging status.
- Solid Light: A solid LED light typically indicates that the vacuum is charging.
- Blinking Light: A blinking light may mean the vacuum is charging, but it could also signal an error. Check your user manual to confirm.
- No Light: If there’s no light, the vacuum might not be properly connected, or there could be a problem with the charger or battery.
Digital Displays
Some advanced models have digital displays that show the battery level and charging status more precisely.
- Battery Percentage: A digital display will often show the current battery percentage, which increases as the vacuum charges.
- Charging Icon: A charging icon (usually a lightning bolt or battery symbol) indicates that the vacuum is actively charging.
Steps to Check if Your Shark Vacuum Is Charging
Follow these steps to ensure your Shark vacuum is charging correctly:
Step 1: Connect the Charger
Ensure the charger is correctly connected to both the vacuum and a working power outlet.
- Check Connections: Make sure the charger is firmly plugged into the vacuum and the wall socket.
- Test the Outlet: Plug another device into the outlet to confirm it’s working.
Step 2: Observe the Charging Indicators
Look for the LED lights or digital display to confirm the charging status.
- LED Light Patterns: Refer to your user manual for the specific meaning of different LED light patterns.
- Digital Display Readings: Check if the battery percentage is increasing or if the charging icon is displayed.
Step 3: Allow Sufficient Charging Time
Give the vacuum enough time to charge fully.
- Initial Charge: The first charge may take longer. Refer to the user manual for the recommended initial charging time.
- Typical Charging Time: Most Shark vacuums take about 3-4 hours to charge fully.
Step 4: Test the Vacuum
After charging, test the vacuum to see if it runs.
- Power On: Turn on the vacuum and check if it operates at full power.
- Run Time: Monitor the run time to ensure it matches the specifications in the user manual.
Troubleshooting Charging Issues

If your Shark vacuum isn’t charging, consider these troubleshooting steps:
Problem 1: No Charging Indication
If there are no lights or display indications, the charger may be faulty, or the vacuum may not be properly connected.
- Solution: Try a different outlet or check the charger with another compatible device. Ensure the connection is secure.
Problem 2: Blinking Light
A blinking light often indicates an error, such as overheating or a faulty battery.
- Solution: Unplug the vacuum and let it cool down before trying again. If the problem persists, contact Shark customer service.
Problem 3: Short Run Time
If the vacuum charges but doesn’t run for the expected duration, the battery may be degrading.
- Solution: Ensure the vacuum is fully charged before use. If the run time remains short, the battery may need replacement.
Problem 4: Vacuum Won’t Turn On
If the vacuum doesn’t turn on even after charging, the battery may be completely drained or faulty.
- Solution: Try charging the vacuum for an extended period (e.g., overnight). If it still doesn’t work, the battery may need replacement.
Tools and Materials
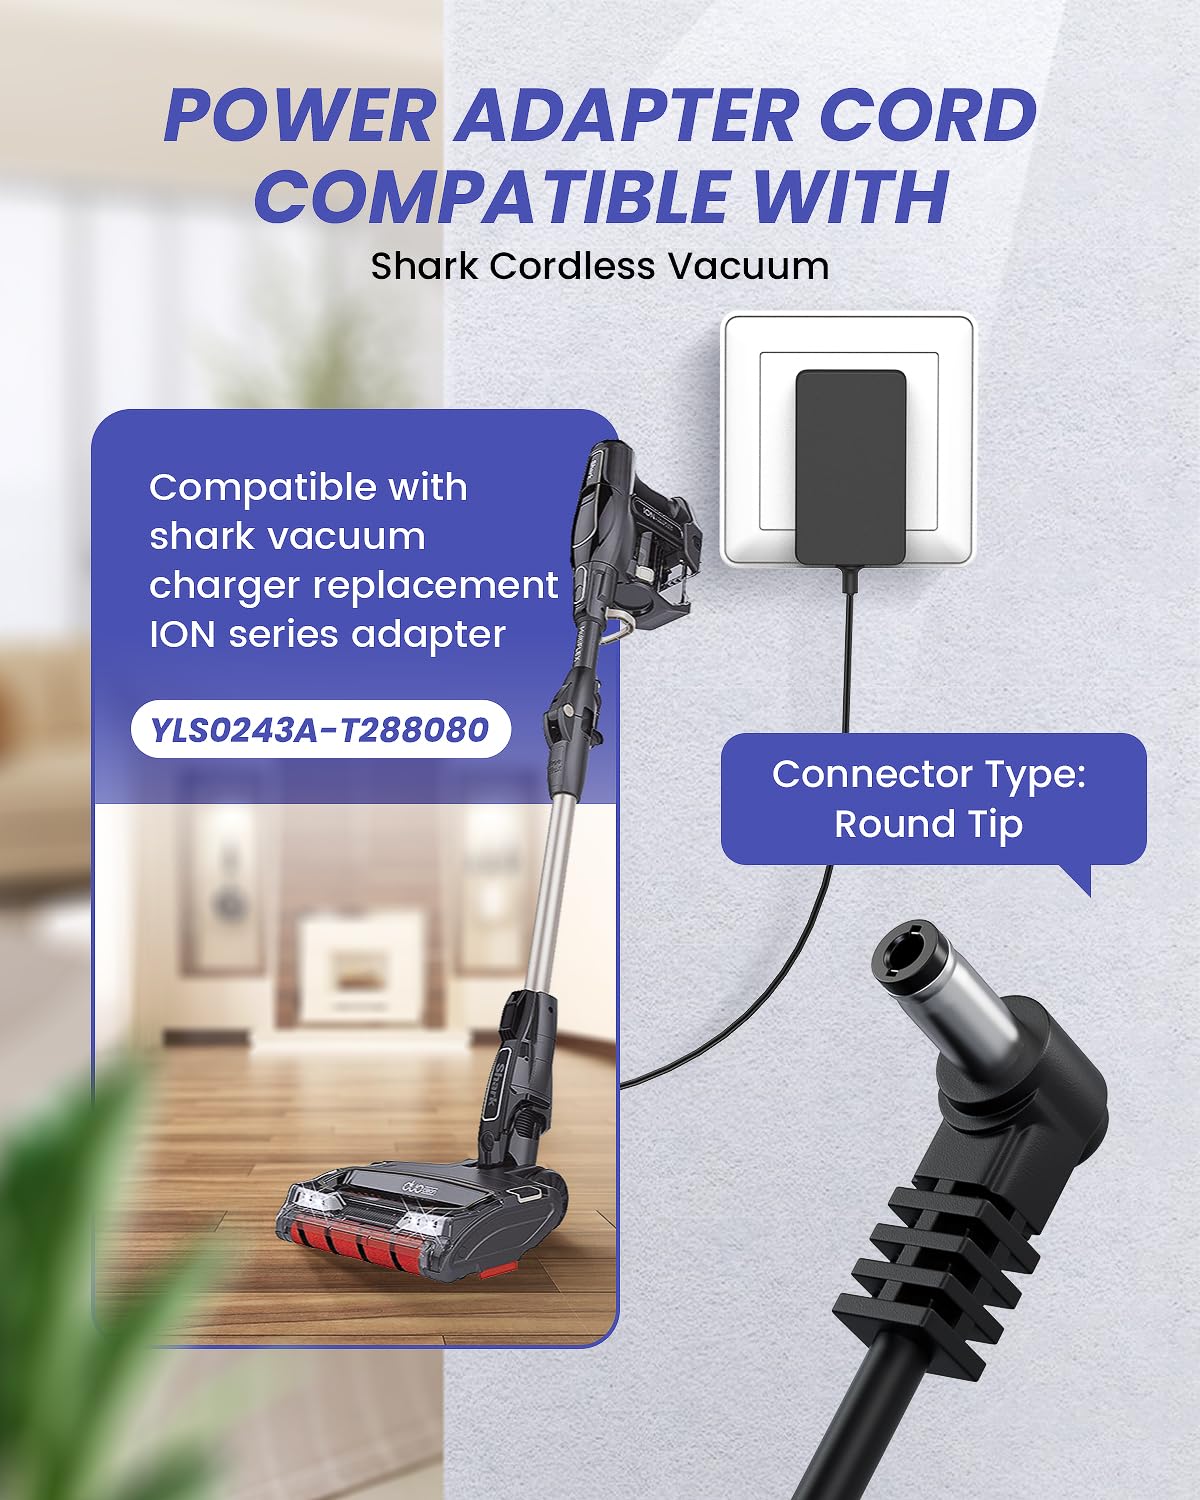
- Original Charger: Use only the charger provided by Shark to avoid damaging the vacuum.
- Screwdriver: Needed to access the battery compartment in some models (if replacing the battery).
- Multimeter: Useful for testing the voltage of the charger and battery (if you have experience with electronics).
Tips, Warnings, and Best Practices
- Use the Correct Charger: Always use the charger specifically designed for your Shark vacuum model.
- Avoid Overcharging: Once fully charged, unplug the vacuum to prevent potential battery damage.
- Store Properly: Store the vacuum in a cool, dry place to prolong battery life.
- Regular Cleaning: Keep the vacuum clean, especially around the charging port, to ensure a good connection.
Alternatives/Variations

- Charging Stations: Some Shark models come with charging stations. Ensure the vacuum is correctly placed on the station.
- Detachable Batteries: Certain models have detachable batteries that can be charged separately.
- Third-Party Chargers: While not recommended, third-party chargers are available. Ensure they are compatible and certified for your vacuum model.
FAQ Section
How do I know if my Shark vacuum battery is bad?
A bad battery will typically show signs like significantly reduced run time, failure to charge, or a blinking light indicating a battery error. If these issues persist, consider replacing the battery.
Can I leave my Shark vacuum plugged in all the time?
It’s generally not recommended to leave your Shark vacuum plugged in all the time, as this can lead to overcharging and reduce the battery’s lifespan. Once fully charged, unplug it to maintain battery health.
What does a blinking blue light mean on my Shark vacuum?
A blinking blue light usually indicates that the vacuum is charging. However, if it continues to blink after several hours, refer to your user manual, as it might signal a charging error or other issue.
How long should my Shark vacuum charge for the first time?
For the first charge, it’s recommended to charge your Shark vacuum for the time specified in the user manual, typically around 3-4 hours, to ensure the battery is fully optimized.
How do I replace the battery on my Shark vacuum?
To replace the battery, first, ensure the vacuum is turned off and unplugged. Locate the battery compartment (usually at the bottom or back of the vacuum), remove the screws (if any), and carefully disconnect the old battery. Connect the new battery and reassemble the compartment.
Why is my Shark vacuum not holding a charge?
Several factors can cause this, including a degraded battery, using the wrong charger, or issues with the charging port. Ensure you’re using the correct charger, clean the charging port, and if the problem persists, the battery may need replacing.
Conclusion
Knowing how to check if your Shark vacuum is charging is essential for maintaining its performance. By following the steps and troubleshooting tips outlined in this guide, you can ensure your vacuum is always ready to tackle your cleaning needs. Remember to follow best practices for battery care to prolong the life of your Shark vacuum and keep it running efficiently.


