
That unsettling gurgle from your kitchen sink isn’t just annoying—it’s your plumbing screaming for help. When air gets violently sucked through the water in your P-trap, it creates that signature bubbling sound, signaling a serious pressure imbalance in your drain system. Left unchecked, this symptom can escalate to slow drainage, foul sewage odors invading your home, or even wastewater backups. The good news? Most causes of a gurgling kitchen sink are fixable with basic tools and targeted action. This guide delivers exactly how to fix a gurgling kitchen sink, walking you through precise diagnostic steps and repairs—from clearing a clogged P-trap to identifying dangerous main line blockages—so you can restore quiet, efficient drainage fast.
Why Your Kitchen Sink Gurgles: 4 Specific Culprits
:strip_icc()/air-admittance-valve-b5d78cbecf6e4b26bd8a37f76691a632.jpg)
Gurgling only happens when your plumbing can’t breathe properly. Identifying which component is failing stops you from wasting time on ineffective fixes.
Blocked Roof Vent Causing Whole-House Gurgling
Your roof’s vent stack is the unsung hero of smooth drainage. This vertical pipe allows air to replace wastewater as it flows out, preventing dangerous suction. When leaves, bird nests, or ice clog this vent (especially after storms), draining fixtures like your kitchen sink desperately pull air through the nearest water barrier—the P-trap. This violent air exchange creates the gurgle. Critical clue: If flushing a second-floor toilet makes your kitchen sink gurgle, your main vent is compromised. Ignoring this risks drying out P-traps completely, letting toxic sewer gases seep into your living space.
Partial Clog in the Main Drain Line
A stubborn obstruction where your kitchen drain connects to the main sewer line creates turbulence as water fights past it. This traps air pockets that violently escape through sink traps, causing gurgling. Spot this issue: Gurgles intensify when running the dishwasher or washing machine, and you’ll notice slow drainage across multiple fixtures (like a nearby shower). Unlike a simple sink clog, this affects your entire plumbing system’s equilibrium.
Faulty Air Admittance Valve (AAV) Under Your Sink
Modern homes often use AAVs (studor valves) instead of roof vents for island sinks or tight spaces. This one-way mechanical valve opens to admit air during drainage then seals shut. When debris jams it closed or the seal fails, pressure imbalances occur. Diagnose it: Listen for a faint hiss when water drains. If gurgling stops temporarily after manually wiggling the AAV, replacement is urgent—these valves typically last 5-8 years.
Dishwasher Drain Conflicts Creating Sink Gurgles
Gurgling specifically when your dishwasher runs points to a critical design flaw or blockage. The combined wastewater surge from both appliances overwhelms the shared drain line if the vent can’t supply enough air. This is common in older homes where the dishwasher drain hose connects improperly to the sink’s P-trap tailpiece instead of a high-loop under the counter. The result? Air gets violently sucked back through the sink trap during dishwasher cycles.
Must-Have Tools for Stopping Kitchen Sink Gurgling
Gather these before starting—skipping one tool can turn a 20-minute fix into a flooded kitchen disaster:
- Sink plunger (flat-rimmed, not toilet type)
- 5-gallon bucket + microfiber towels (for inevitable spills)
- Adjustable wrench + slip-joint pliers (for P-trap nuts)
- 25-foot manual drain snake (power augers risk pipe damage)
- Garden hose with spray nozzle (for roof vent flushing)
- Duct tape (seals sink overflows during vacuum plunging)
- Rubber gloves + safety glasses (non-negotiable for hygiene)
Pro Tip: Test your plunger seal first by pressing it onto a countertop—any air leakage means it won’t create the pressure needed to dislodge clogs.
Step-by-Step Kitchen Sink Gurgling Repair Guide
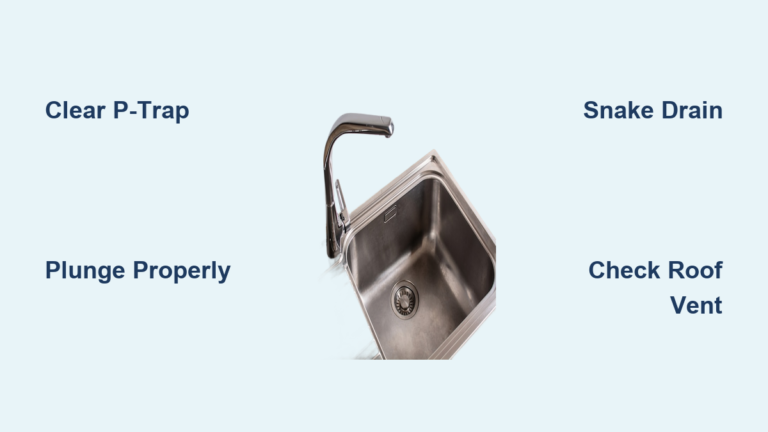
Clear the P-Trap in Under 10 Minutes

Start here—it solves 40% of gurgling cases and requires zero expertise.
1. Place your bucket directly under the P-trap’s lowest curve.
2. Loosen slip nuts counterclockwise with pliers (hand-tighten only when reassembling to avoid cracks).
3. Remove the U-bend and inspect for hair, grease clumps, or coffee grounds. Visual cue: Standing water in the trap indicates a downstream blockage.
4. Scrub thoroughly with a bottle brush and hot water. Rinse the tailpiece pipe beyond the trap—clogs often hide here.
Warning: If water floods out immediately when opening the trap, the clog is downstream—skip to snaking.
Force Airflow with a Plunger-Vacuum Combo
When plunging alone fails, this professional technique creates dual-direction pressure:
1. Fill the sink with 2-3 inches of water (essential for seal).
2. Tape the overflow hole shut with duct tape—this forces all pressure downward.
3. Cover the drain with your sink plunger, ensuring a watertight seal.
4. Pump vigorously 10 times, then yank straight up to create suction.
Key Insight: The upward yank dislodges clogs better than pushing—it’s how pros clear stubborn obstructions.
Snake the Drain Line Past the P-Trap
For clogs deeper than 18 inches (common with gurgling):
1. Feed the snake’s tip into the drain opening slowly. Stop cranking when you feel resistance—this is your clog.
2. Rotate the handle clockwise while applying gentle forward pressure to hook or break up the blockage.
3. Retract slowly, wiping debris off the coil. Repeat until water drains freely.
Pro Tip: If the snake hits “concrete” resistance within 2 feet, you likely hit a pipe joint—not a clog. Back off to avoid puncturing pipes.
Clear Roof Vents Safely and Effectively
Only attempt if you have roof access experience:
1. Locate the vent stack (usually 2-4 inches wide, protruding 6+ inches above roof).
2. Shine a flashlight down it—do not use a hose yet. If you see debris (leaves, nests), use a bent coat hanger to dislodge.
3. Attach a garden hose to the vent opening and run water for 30 seconds. Critical indicator: If water backs up onto the roof, the vent is blocked further down.
4. Feed a 25-foot snake down the vent pipe, cranking gently. Stop if you meet hard resistance—this likely indicates a collapsed pipe requiring a pro.
Diagnose Dishwasher-Specific Gurgling
Fix this common conflict in 3 steps:
1. Locate the dishwasher drain hose connection under the sink. It should attach to the garbage disposal or a dedicated air gap—not the P-trap tailpiece.
2. Check for a high-loop: The hose must arch upward to the underside of the countertop before descending. Without this, wastewater siphons back during cycles.
3. Run the dishwasher while listening at the sink. If gurgling stops when you manually lift the hose loop higher, secure it permanently with a mounting bracket.
When to Call a Professional Plumber Immediately
Stop DIY efforts and call a pro if you encounter:
– Sewage odors (indicates dried P-traps or broken seals)
– Gurgling in all fixtures simultaneously (main sewer line blockage)
– Water backing up into bathtubs or floor drains
– Roof access challenges (steep pitches, icy conditions)
– Failed main cleanout inspection (standing sewage at the cleanout plug)
Critical Reality: Tree roots invading sewer lines or collapsed pipes require camera inspection and hydro-jetting—tools costing $3,000+ that only plumbers own.
Prevent Gurgling Before It Starts: 3 Essential Habits
- Install a magnetic sink strainer—catches food scraps before they enter pipes (clean daily).
- Never pour grease down drains—even “liquid” oils solidify in cool pipes. Wipe pans with paper towels first.
- Monthly maintenance: Pour ½ cup baking soda followed by 1 cup vinegar down the drain. Let it foam for 15 minutes, then flush with hot water for 60 seconds.
A gurgling kitchen sink is your plumbing’s distress signal—and silence it fast with targeted action. Start with the simplest solution (P-trap cleaning), progress to drain snaking, and tackle vent issues only if gurgling affects multiple fixtures. Remember: When sewage odors appear or backups occur, immediate professional help is non-negotiable—this indicates hazardous sewer line failure. By using sink strainers religiously and avoiding grease disposal, you’ll prevent 90% of gurgling emergencies. If DIY steps fail after two attempts, invest in a plumber’s camera inspection ($150-$300)—it’s cheaper than flood damage and pinpoints exactly how to fix a gurgling kitchen sink for good.


