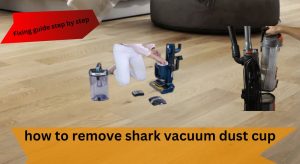
Your Shark Rotator vacuum is a trusty sidekick in the battle against dust bunnies and debris. But even the most powerful vacuum needs a little TLC to keep it running smoothly. One of the simplest yet most important tasks? Emptying the dust cup. It’s quick, easy, and ensures your vacuum doesn’t lose its suction mojo. Let’s dive into the process step by step, with some tips to make it even easier.
Table of Contents
Getting to Know Your Shark Rotator Vacuum

Where’s the Dust Cup?
The dust cup on your Shark Rotator is usually located near the handle, right at the top of the unit. Depending on your model, you’ll either spot a release button or a latch—this is your ticket to detaching the dust cup. It’s designed for easy removal, so no heavy lifting required.
How to Remove the Dust Cup
Press the release button or lift the latch, then gently pull the dust cup away from the vacuum. Pro tip: Hold it over a trash can as you remove it, just in case any loose debris decides to make a break for it. If you spot larger clumps of dirt or hair, take a moment to clear them out before emptying the cup.
Emptying the Dust Cup: The Nitty-Gritty
Step 1: Dump It Out
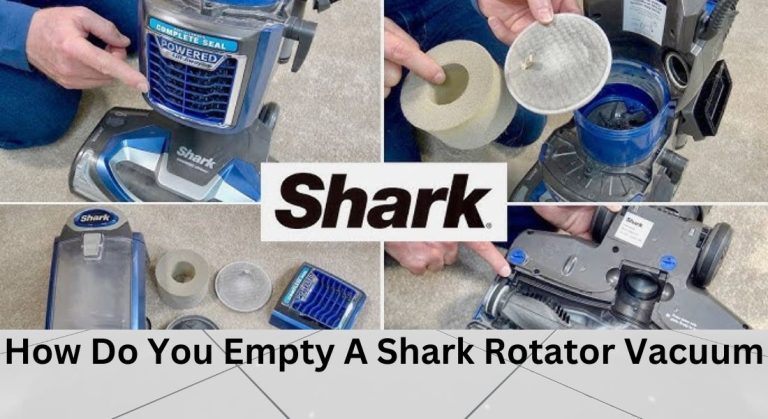
Head to your trash can, open the bottom compartment of the dust cup, and let gravity do its thing. Give it a gentle shake to dislodge any stubborn debris. For best results, empty the dust cup after every use or whenever it hits the fill line—this keeps your vacuum running at peak performance.
Step 2: Clean It Up
Once the dust cup is empty, give it a quick clean. A soft brush or damp cloth works wonders for wiping away any lingering dust. Avoid harsh chemicals or dunking the cup in water, though—your vacuum’s components will thank you.
Putting It All Back Together

Reattaching the Dust Cup
Line up the dust cup with its slot on the vacuum body and push it back into place until you hear a satisfying click. Make sure it’s securely attached—any gaps can lead to air leaks and reduced suction power.
Double-Check Before You Vacuum
Before you start your next cleaning session, give your vacuum a quick once-over. Ensure the dust cup is firmly in place and check for any blockages in the intake or exhaust ports. A little extra attention now can save you from headaches later.
Troubleshooting Common Issues

If you’re having trouble removing or emptying the dust cup, don’t panic. Check for clogs in the vacuum’s hoses or brushroll—these can sometimes cause issues. Also, make sure all parts are properly reassembled. A little detective work can go a long way!
Bonus Maintenance Tips

Don’t Forget the Filters
Your Shark Rotator’s filters are the unsung heroes of your cleaning routine. Remove the pre-filter and HEPA filter periodically, tap them to remove loose debris, and wash them with cold water. Just make sure they’re completely dry before reinstalling.
Keep the Exterior Shiny
Wipe down the vacuum’s body with a damp cloth to keep it looking fresh. Pay extra attention to areas with visible dirt or stains—your vacuum deserves to look as good as it performs.
Give the Wheels Some Love
Hair and debris can get tangled in the wheels and casters, making your vacuum harder to push. Use a soft brush to clean them out, and for smoother movement, consider applying a small amount of silicone spray or oil to the axles.
Wrapping It Up
Emptying your Shark Rotator vacuum’s dust cup might seem like a small task, but it’s a big deal for maintaining your vacuum’s performance. Combine this with regular filter cleaning and a little exterior TLC, and your vacuum will stay in tip-top shape for years to come. Happy cleaning!