
Is your kitchen stuck in a style rut? Those worn, scratched, or outdated shelves might be dragging down your entire space. Learning how to cover kitchen shelves is the fastest, most affordable kitchen makeover you’ll ever tackle—no demolition or expensive contractors required. This DIY project takes just a few hours but delivers maximum impact, whether you’re hiding damage, creating a cohesive look, or simply refreshing your cooking zone. In this guide, you’ll discover exactly how to cover kitchen shelves with professional results using accessible materials and smart techniques anyone can master. Get ready to transform dull surfaces into stunning focal points that make your kitchen feel brand new.
Kitchen shelf covering isn’t just for design enthusiasts—it’s a practical solution for real-world problems. Renters can personalize without landlord headaches, busy families gain wipe-clean surfaces, and dated cabinets get instant facelifts. Unlike full renovations that cost thousands and take weeks, this project fits any budget and schedule. By the end of this guide, you’ll know precisely how to cover kitchen shelves for durability and beauty, avoiding common pitfalls that turn simple projects into frustrating messes. Let’s turn those tired shelves into your kitchen’s standout feature.
Why Your Kitchen Shelves Need Covering Now
Covering kitchen shelves solves multiple pain points in one efficient project. Worn laminate, chipped paint, or water-stained wood instantly disappear under fresh material, extending your cabinetry’s life without replacement costs. For renters, this is a game-changer—no permanent alterations mean you can create a personalized space while keeping your security deposit intact. Most importantly, modern shelf liners provide critical protection against spills, stains, and daily wear, making cleanup effortless in high-traffic cooking zones.
How Shelf Covering Transforms Kitchen Functionality
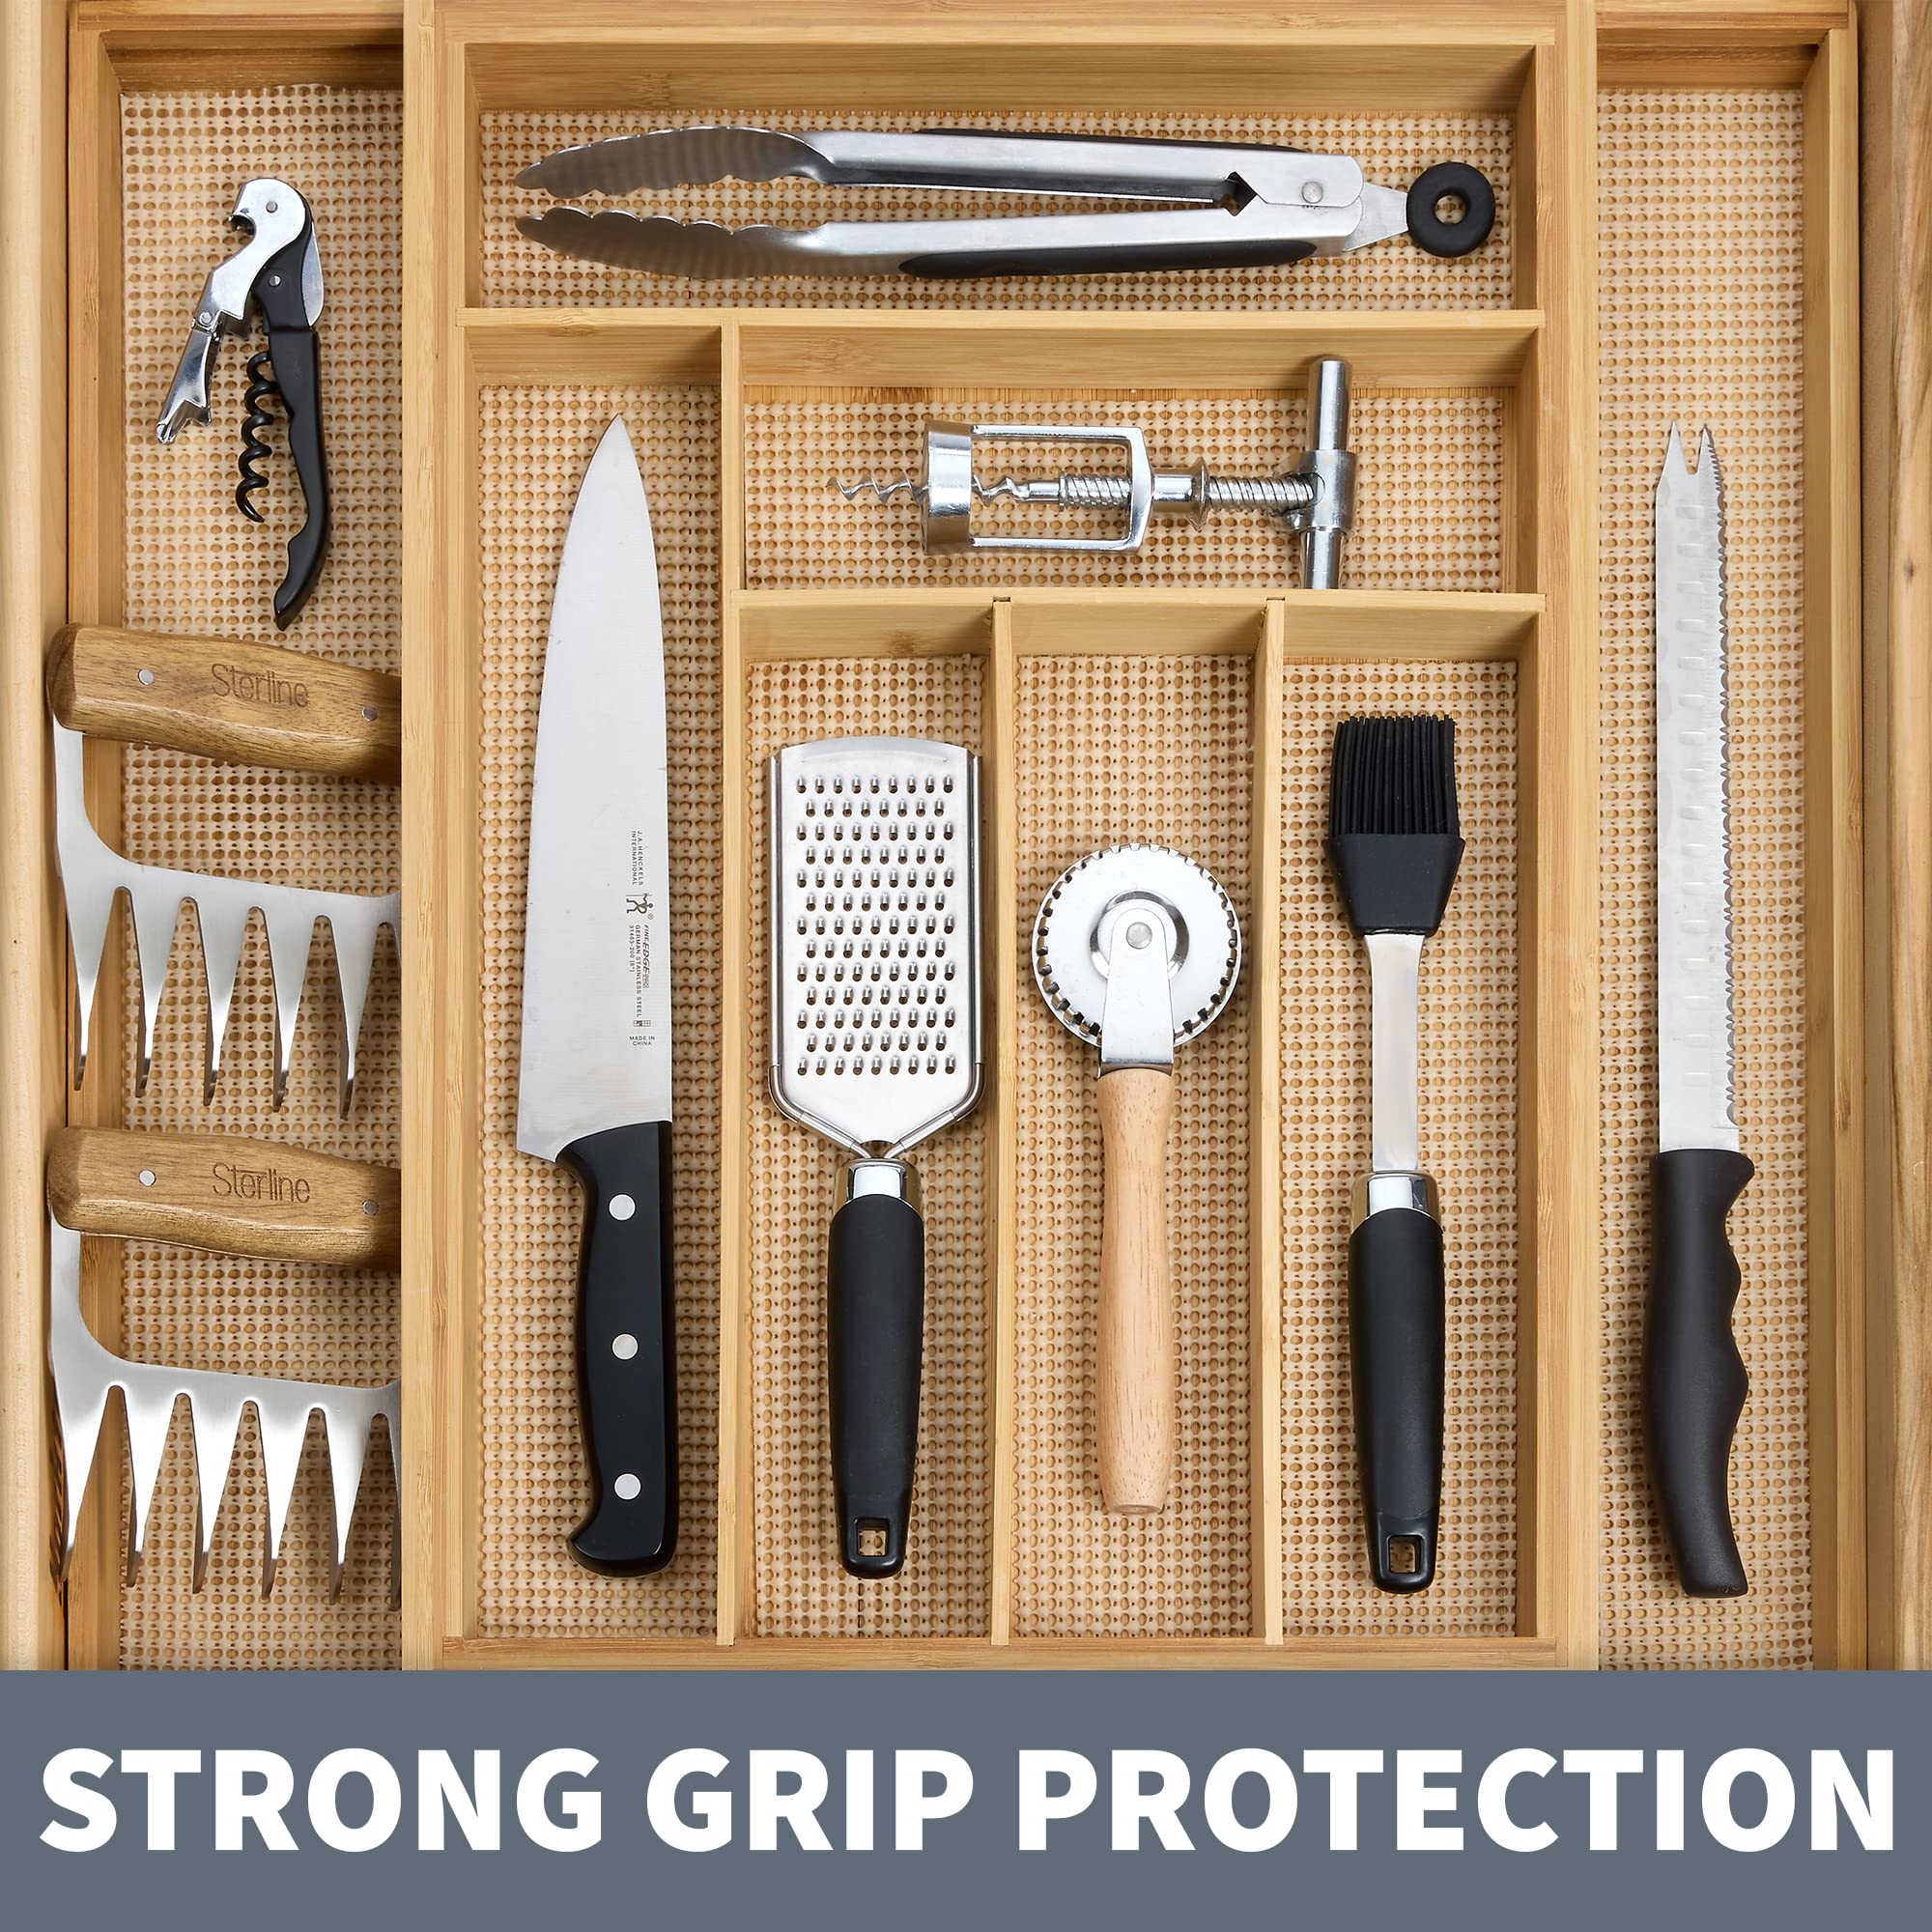
Beyond aesthetics, covered shelves actively improve kitchen workflow. Textured liners grip jars and bottles that would otherwise slide, while moisture-resistant materials guard against condensation damage from refrigerated items. In pantries, patterned liners make contents pop visually, helping you spot ingredients faster. One often-overlooked benefit? Liners absorb minor impacts from dropped utensils, reducing noise and preventing chips on underlying surfaces. This simple upgrade turns frustrating organizational challenges into seamless daily routines.
Cost Comparison: Covering vs. Replacement
Replacing kitchen shelves averages $150-$300 per shelf professionally installed, while covering costs under $20 per shelf with DIY materials. Even high-end contact paper or wood-look vinyl rarely exceeds $50 for an entire kitchen’s worth of materials. Factor in the zero-downtime aspect—you complete the project while making dinner—and the value becomes undeniable. This isn’t a compromise; it’s strategic home improvement that delivers 90% of the visual impact for 10% of the cost and effort.
Best Materials for Covering Kitchen Shelves

Choosing the right covering material makes or breaks your project. Self-adhesive vinyl liners lead for durability—they withstand heat, moisture, and daily use while offering endless patterns from marble to rustic wood grain. Contact paper provides similar benefits with bolder designs at lower cost but requires more precise application to avoid bubbles. For temporary solutions, oilcloth or fabric stapled to shelf undersides works well in dry areas like display cabinets, though it lacks moisture resistance. Decoupage with scrapbook paper creates artistic custom looks but demands sealing for kitchen durability.
Vinyl vs. Contact Paper: Critical Differences
Don’t confuse these similar-looking materials. Vinyl shelf liners feature thicker, more rigid backing that resists curling and peeling in humid environments—ideal for near-sink cabinets. Contact paper is thinner and more flexible, perfect for curved surfaces but prone to lifting edges in steamy kitchens. Test both: press a sample against your shelf for 24 hours. If edges peel when touched, choose vinyl. For glass-front cabinets where aesthetics matter most, opt for premium contact paper with matte finishes that won’t show fingerprints.
Budget-Friendly Material Hacks
Maximize value with these pro-tested approaches: Buy remnant rolls from flooring stores for high-end vinyl at 70% off retail. Use leftover wallpaper samples for small shelf sections—just seal edges with clear Mod Podge. For pantries, repurpose non-slip drawer liner (cut to size) which costs under $5 per roll and grips containers securely. Always buy 10% extra for mistakes—covering kitchen shelves often requires re-cutting when patterns don’t align perfectly on first attempt.
Tools Required for Flawless Shelf Covering
Gather these essentials before starting: sharp utility knife (replace blades mid-project for clean cuts), metal ruler (wood warps during cutting), rubbing alcohol and lint-free cloths (for grease-free surfaces), plastic credit card (bubble-smoothing), and painter’s tape (for straight-edge guidance). Skipping any tool guarantees frustration—dull blades cause jagged edges, while paper towels leave fibers that compromise adhesion. Invest in a $3 rotary cutter for curved shelves; it pays for itself in saved material.
Must-Have Application Accessories
Professional results depend on these often-overlooked items: a squeegee tool (prevents hand fatigue during smoothing), edge-sealing brush (applies Mod Podge precisely to liner edges), and magnetic measuring tape (sticks to metal shelves for hands-free measuring). For patterned materials, use a lightbox app on your phone to align motifs across multiple shelves—this tiny tech trick ensures seamless visual flow that makes DIY work look custom-installed.
How to Prep Shelves for Liner Application in 3 Steps
Proper preparation prevents 90% of DIY disasters. Start by removing all shelf contents and hardware—take shelves out of brackets completely for flat-surface work. Never skip the cleaning step: wipe surfaces with rubbing alcohol, not just soap, to eliminate invisible grease films that repel adhesives. For glossy shelves, lightly sand with 220-grit paper to create “tooth” for better grip, then vacuum dust thoroughly. This 15-minute prep saves hours of rework later.
When to Repair Before Covering
Address major damage first—fill deep scratches with wood filler, then sand smooth. But don’t waste time on minor wear; quality liners hide most imperfections. Critical red flag: if shelves wobble or sag, fix underlying bracket issues now. Covering won’t stabilize weak structures, and your new liner will tear prematurely. Test shelf strength by pressing down firmly—if it flexes, reinforce brackets before proceeding.
Measuring Kitchen Shelves for Perfect Liner Fit
Precision measuring separates amateurs from pros. Measure shelf depth and width at three points (left, center, right), as cabinets often aren’t perfectly square. Always add 1.5 inches extra on all sides—this overhang gets trimmed later for crisp edges. For L-shaped shelves, measure each segment separately. Pro tip: trace the shelf outline onto craft paper first, then use this template to cut your liner—this eliminates measurement math errors that cause costly material waste.
Pattern Alignment Secrets
Working with prints? Lay uncut liner on the shelf (adhesive side up) to visualize pattern flow. Mark your starting point with painter’s tape—this creates a straight guide when peeling backing paper. For repeating patterns, note the design’s “repeat length” on the packaging and measure multiples of this distance to ensure seamless joins between shelves. Never eyeball pattern placement; use a laser level app to project vertical alignment lines across multiple shelves.
Cutting Shelf Liner Without Messy Edges
Cutting technique determines final appearance. Place liner face-down on cutting mat, use metal ruler as guide, and score with utility knife using 3 light passes instead of one heavy cut—this prevents frayed edges. For curved fronts, use rotary cutter with steady pressure. Always cut on scrap cardboard, never countertops. If edges curl during cutting, place a heavy book on uncut sections to flatten. Discard any piece with visible nicks; small imperfections magnify when installed.
Fixing Common Cutting Mistakes
Too short? Seam it with matching liner: overlap pieces by 1/4 inch, cut through both layers with utility knife along a straight edge, then remove middle strip and press join together. Crooked cut? Repurpose the piece for smaller shelves or pantry inserts—don’t force a bad fit. Pro move: keep all cut scraps; they patch future damage or line drawer bottoms later.
Step-by-Step: Applying Self-Adhesive Liner Bubble-Free
Start with the “hinge method” for perfect alignment: peel 3 inches of backing, align liner with shelf back edge, and stick down this anchor strip. Hold the liner taut while slowly peeling backing away, simultaneously smoothing from center outward with credit card. Work top-to-bottom on vertical surfaces. If bubbles appear, lift the liner gently (don’t tear!) and re-smooth—never pop bubbles, which creates holes. For large shelves, apply in 12-inch sections to prevent premature sticking.
Edge Treatment for Professional Results
Fold excess liner over front and side edges for durability, then trim with utility knife held at 45-degree angle. For seamless look, use iron-on edge banding over raw shelf edges before applying liner—this creates a built-in “lip” for cleaner coverage. In high-moisture zones (like near dishwashers), seal all cut edges with clear waterproof sealant using a fine brush; this prevents liquid seepage that causes lifting.
5 Creative Ways to Style Your Newly Covered Shelves
Maximize your investment with strategic styling. In open shelving, use matching canisters on covered shelves to create rhythm—group odd numbers (3 or 5) for visual interest. For pantry shelves, place clear bins on liner to corral snacks while showing off the pattern. In display cabinets, back shelves with contrasting liner and spotlight with LED strips for gallery-like drama. Pro tip: leave 1-inch gaps between items and cabinet walls to showcase your liner as intentional design element.
Seasonal Shelf Makeovers
Rotate liners with seasons—light gingham for spring, ocean blues for summer—without reapplying. Simply cover existing liner with new material; most self-adhesives lift cleanly for up to 3 layers. Store removed liners flat with wax paper between sheets for future reuse. This $10 refresh feels like a whole new kitchen every few months.
Maintaining Your Covered Kitchen Shelves for Longevity
Preserve your work with simple care: wipe spills immediately with damp microfiber cloth (never soaking wet), avoid abrasive cleaners that scratch patterns, and reseal edges annually with Mod Podge in high-use zones. For grease buildup, use 50/50 vinegar-water solution—never ammonia-based products that degrade adhesives. With proper care, quality liners last 3-5 years before showing wear, far outlasting unprotected shelves.
When edges start lifting, don’t replace the whole liner—apply tiny dots of repositionable glue stick underneath, then re-smooth. For stubborn bubbles, inject glue with syringe through liner edge. These micro-repairs extend your project’s life significantly. Ready for your next upgrade? Try covering cabinet interiors or drawer fronts using the same techniques—you’ve now mastered the foundational skill for whole-kitchen transformations. Your refreshed shelves aren’t just functional; they’re the first step toward a kitchen you’ll love for years.


