Your Shark vacuum suddenly gasps like it’s running out of breath? That frustrating loss of suction often traces back to one culprit: a clogged hose packed with hair, dust bunnies, and stubborn debris. When your Shark vacuum hose gets blocked, performance can plummet by over 50%, turning simple cleanups into exhausting chores. The good news? You can revive full suction power in under 30 minutes using household items you already own. This step-by-step guide shows exactly how to clean vacuum hose Shark models safely and effectively—no special tools required. You’ll learn to diagnose blockages, remove deep-set grime, and prevent future clogs so your vacuum works like new again.
Table of Contents
- Remove Shark Hose Without Damage
- Spot Hidden Blockages With Professional Inspection
- Extract Debris Without Pushing Blockages Deeper
- Deep Clean Hose Interior Thoroughly
- Dry Hose Completely to Prevent Mold
- Prevent Future Clogs With Smart Habits
- Fix Common Hose Problems Fast
- When to Replace Shark Hose Immediately
- Reconnect Hose for Maximum Suction
Remove Shark Hose Without Damage
Always start by powering off and unplugging your Shark vacuum—safety first. Locate the release mechanism where the hose connects to the main body. Most Shark models use intuitive detachment systems, but handling them incorrectly can crack plastic fittings. For Navigator series, press the release button near the base while pulling straight out. Rotator models require a quarter-turn twist against the lock symbol before removal. Rocket stick vacuums feature slide-release tabs near the handle that must be depressed fully. Apply steady, even pressure without wiggling, as lateral force stresses connection points. If resistance feels excessive, consult your manual before forcing separation—some newer models have hidden secondary locks.
Quick Model Identification Guide
- Upholstery Tool Models: Look for red release buttons on wand connections
- MultiFLEX Series: Twist base clockwise until release icon aligns
- ION Cordless: Slide tab toward power button while pulling
- Legacy Models: May require pressing two opposing tabs simultaneously

Grab a bright flashlight and peer into both hose ends in a dimly lit room. Shine light through one opening while examining the opposite end—this reveals shadows from internal obstructions. Run your fingers along the entire hose length, feeling for unusual bulges where debris accumulates. Pay special attention to flexible sections near the handle and base, where hair tangles love to anchor. Look for telltale signs like discolored patches (indicating sticky residue) or translucent sections showing trapped debris. If you spot golf ball-sized dust clumps or visible hair mats, don’t panic—these are actually easier to remove than microscopic buildup that coats the entire interior wall.
Pro tip: Hold the hose against a window on a sunny day. Natural light illuminates hidden debris better than artificial sources and helps spot micro-tears that cause air leaks.
Extract Debris Without Pushing Blockages Deeper
Tackle visible obstructions using the “two-way approach” to avoid compacting debris. At the handle end, use gloved fingers to pull out hair tangles wrapped around the interior walls. For the base end, insert a damp microfiber cloth wrapped around a wooden spoon handle and rotate clockwise to grab embedded dust. When stubborn items resist removal, employ the skewer technique: Gently hook debris with a wooden skewer and pull toward the nearest opening—never push toward the vacuum motor. For stringy blockages like yarn or dental floss, unwind them slowly in the direction of the tangle rather than yanking straight out. If you encounter sticky residue resembling dried syrup, moisten a corner of your cloth with warm water before wiping.
Critical warning: Never use metal tools like coat hangers. They scratch interior surfaces, creating grooves where future debris anchors more aggressively.
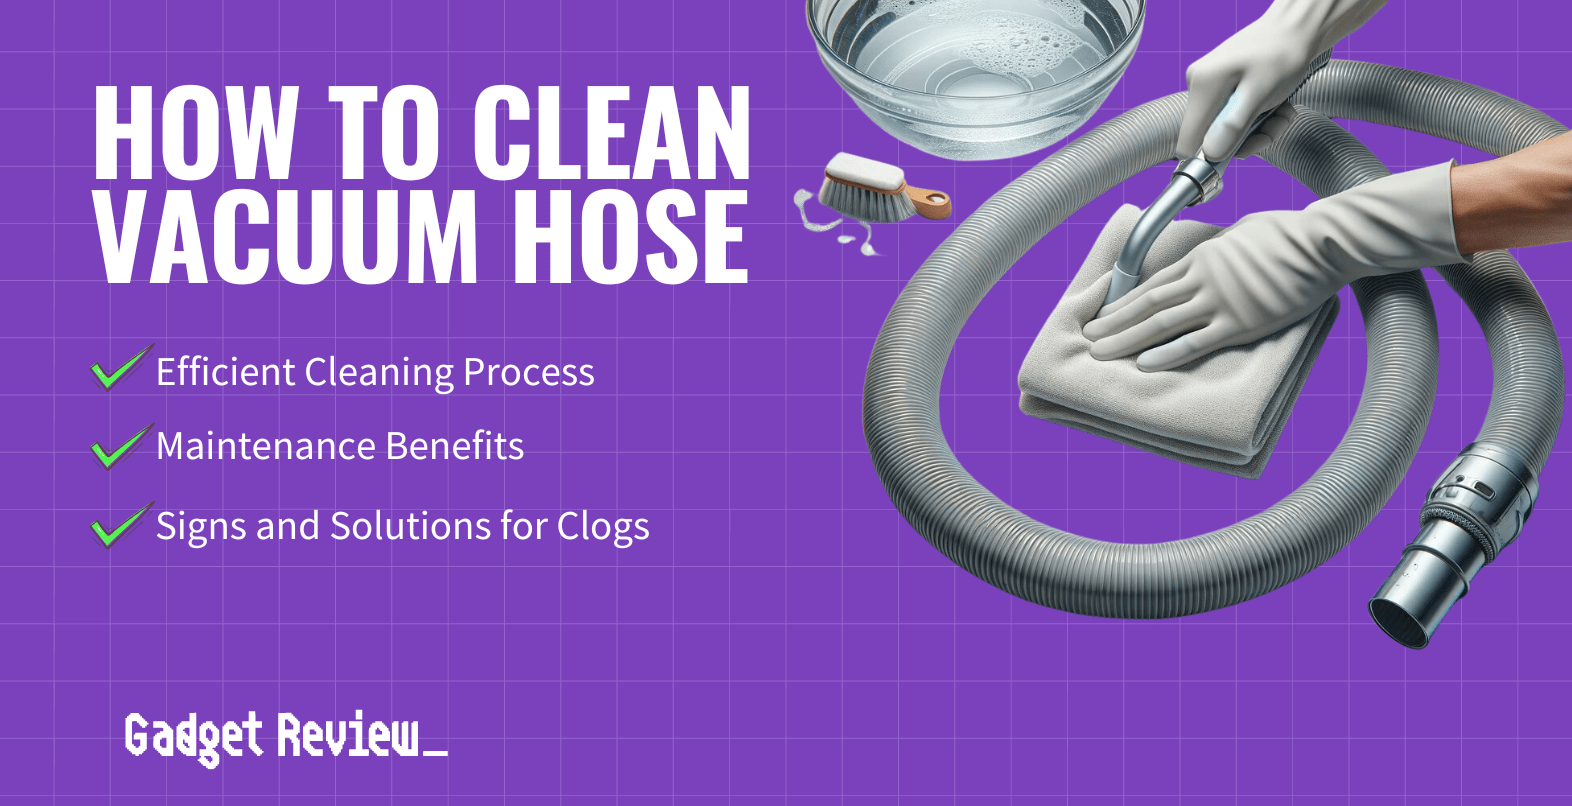
Deep Clean Hose Interior Thoroughly
Soap Soak Dissolves Stubborn Grime
Fill your bathtub or kitchen sink with 3 inches of warm water mixed with 2 drops of dish soap. Submerge the entire hose, ensuring both ends stay above water to prevent soap from entering crevices. Let it soak for exactly 15 minutes—any longer risks warping flexible sections. Rotate the hose every 5 minutes to expose all interior surfaces to the soapy solution. This warm water bath breaks down oily residues that dry brushing misses, particularly in the accordion-style bends where Shark hoses accumulate the most grime. Watch for cloudy water swirling out; that’s the visual confirmation that embedded dust is releasing.
Targeted Scrubbing Beats Random Brushing
Use a 12-inch bottle brush with soft nylon bristles (never wire!) to scrub methodically. Start at the handle end, inserting the brush 6 inches deep and rotating it clockwise in 2-inch increments. Repeat from the base end, focusing on the first foot where debris compacts hardest. For fixed bends in Shark’s Flexology hoses, hold the brush handle perpendicular to the curve and use short back-and-forth motions. Rinse the brush head under running water after each pass—reusing a dirty brush just smears grime around. Spend extra time where the hose connects to metal fittings; these junctions collect hair strands that form net-like blockages.
Triple-Rinse Ensures Zero Residue
Hold the hose vertically under a running faucet, keeping the top end submerged to create water pressure through the entire length. Rinse for 90 seconds minimum while rotating the hose to flush all angles. Check water clarity at the exit point—cloudy discharge means residual debris remains. If water still appears murky, repeat the soap soak for 5 additional minutes before re-rinsing. The final rinse must produce crystal-clear water for at least 30 seconds; otherwise, leftover soap attracts new dirt faster than a clean hose. Never skip this step—Shark’s motor sensors detect moisture and reduce suction to protect internal components.
Dry Hose Completely to Prevent Mold
Moisture trapped inside causes musty odors and mold growth within 48 hours—this is the #1 reason cleaned hoses fail prematurely. Follow this drying protocol:
- Gravity Drain: Hold the hose vertically over a sink for 2 minutes, shaking gently every 30 seconds to dislodge water pockets in bends
- Airflow Setup: Hang the hose in an S-shape over a shower curtain rod or clothesline—never fold or kink it
- Critical Drying Time: Allow 18-24 hours in a room with circulating air (use a fan on low if humidity exceeds 50%)
- Dryness Verification: Insert a dry paper towel 12 inches into both ends; repeat until it emerges completely clean
Never use heat sources like hair dryers on warm settings—Shark’s thermoplastic hoses warp at temperatures above 104°F (40°C).
Prevent Future Clogs With Smart Habits
- 30-Second Post-Use Check: Shine phone light through hose after vacuuming pet hair or crafting areas
- Quarterly Vinegar Rinse: Flush with 1:1 white vinegar/water solution to dissolve mineral deposits
- Kink Prevention: Store upright with hose hanging freely—never wrap tightly around the vacuum body
- Pre-Suction Test: Before deep cleaning, run vacuum over tissue paper; if it sticks, hose needs attention
Fix Common Hose Problems Fast

Weak Suction After Cleaning
If suction remains poor post-cleaning, check three often-missed culprits: First, ensure the dust cup’s rubber gasket is fully seated—Shark’s seal requires a firm clockwise twist until it clicks. Second, verify filters aren’t damp; even slight moisture reduces airflow by 30%. Third, test connections by covering hose openings with your palms; escaping air indicates imperfect seals at twist-lock points.
Whistling or Rattling Noises
These sounds signal either residual debris or structural damage. Run your palm over the hose while vacuuming—if vibration stops at one spot, a paper clip or earring back is likely trapped there. For whistling at high speeds, inspect connection points for hair-thin cracks. Temporary fix: Wrap electrical tape around the leaky section, but replace the hose within two weeks.
Lingering Musty Smells
Soak the hose for 20 minutes in a 50/50 mix of water and white vinegar, then rinse with cold water containing 5 drops of lemon essential oil. Hang outdoors in direct sunlight for 2 hours—UV rays neutralize odor-causing bacteria better than indoor drying. Never use baking soda solutions; the granules scratch interior surfaces over time.
When to Replace Shark Hose Immediately
Replace your hose if you notice:
– Visible cracks longer than 1/4 inch (even hairline fractures cause air leaks)
– Wobbly connections where the hose spins freely on attachment points
– Permanent kinks that don’t straighten after 48 hours of hanging
– Persistent suction loss after triple-cleaning and filter replacement
Lifespan reality check: Shark hoses typically last 2-3 years with monthly maintenance. Using damaged hoses strains the motor and voids warranties—replacement costs ($25-$45) beat new vacuum expenses.
Reconnect Hose for Maximum Suction
Reattaching incorrectly causes 70% of post-cleaning issues. Align the hose’s alignment notch with the vacuum’s indicator mark before insertion. Push firmly in a straight line until you hear two distinct clicks—Shark’s dual-lock system engages sequentially. Test connections by tugging the hose at 45-degree angles; no movement should occur. Finally, vacuum a tissue shred on hardwood floor; it should lift instantly without hesitation. If suction feels weak, detach and reseat the hose—most issues resolve with proper alignment.
Your Shark vacuum now delivers powerful, consistent suction like the day you bought it. Remember to schedule quarterly hose cleanings—set a phone reminder for the first of every third month. Clean hoses protect your vacuum’s motor from overheating and extend its lifespan by years. For optimal performance, pair hose maintenance with monthly filter rinses and dust cup emptying before the fill line. When you maintain these simple habits, your Shark stays ready to tackle any mess without gasping for air.