
Cleaning your Shark Navigator DLX vacuum regularly is crucial for maintaining its performance and prolonging its lifespan. A clean vacuum operates more efficiently, providing better suction and preventing the spread of dust and allergens. This comprehensive guide will walk you through the process of cleaning each component of your Shark Navigator DLX, ensuring it runs like new.
Whether you’re dealing with reduced suction, unpleasant odors, or simply performing routine maintenance, this guide provides all the necessary steps. Let’s dive in and get your Shark Navigator DLX sparkling clean!
Emptying the Dust Cup
The dust cup should be emptied after each use or when it reaches the “max fill” line to maintain optimal suction.
- Detach the Dust Cup: Locate the dust cup release button or latch, usually found on the front or side of the dust cup. Press the button or release the latch to detach the dust cup from the vacuum body.
- Empty Debris: Hold the dust cup over a trash bin and press the release button on the bottom to empty the debris. Some models may also have a top release for finer dust.
- Shake and Tap: Gently shake and tap the dust cup to dislodge any remaining debris.
- Reattach the Dust Cup: Align the dust cup with the vacuum body and push it back into place until it clicks or locks securely.
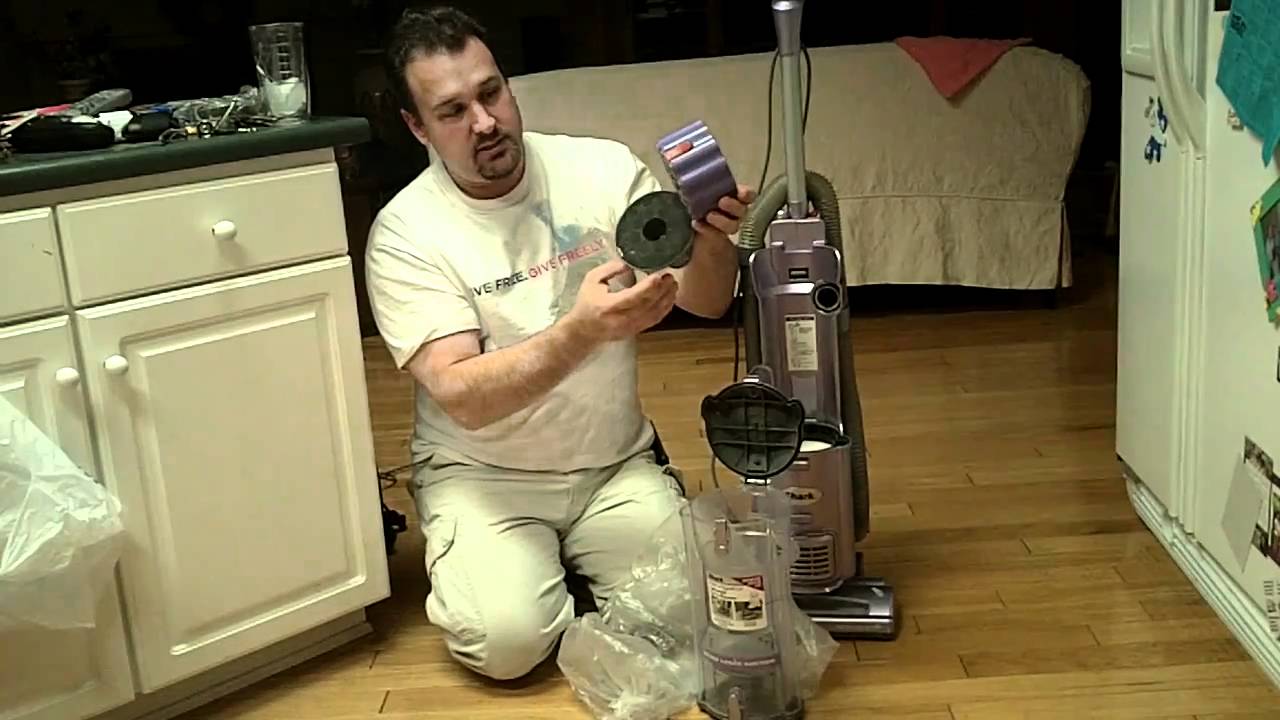
Cleaning the Filters

Regularly cleaning the filters is essential for maintaining suction power and preventing motor damage. The Shark Navigator DLX typically has three filters: a pre-motor foam filter, a pre-motor felt filter, and a post-motor HEPA filter.
- Locate the Filters:
- Pre-Motor Filters: These are usually located beneath the dust cup or behind a small door on the vacuum body.
- Post-Motor HEPA Filter: This is typically found on the front or side of the vacuum.
- Remove the Filters: Take out the foam and felt pre-motor filters. Remove the HEPA filter from its compartment.
- Wash the Foam and Felt Filters:
- Rinse the foam and felt filters with lukewarm water until the water runs clear.
- Gently squeeze out excess water, but avoid twisting or stretching the filters.
- Dry the Filters: Allow the filters to air dry completely for at least 24 hours before reinstalling them. Ensure they are completely dry to prevent motor damage.
- Clean the HEPA Filter:
- Tap the HEPA filter gently over a trash bin to remove loose dust and debris.
- If heavily soiled, rinse the HEPA filter with lukewarm water. Allow it to air dry for 24 hours before reinstalling. Note: Some HEPA filters are not washable; check the manufacturer’s instructions.
- Reinstall the Filters: Once the filters are completely dry, reinstall them in their respective compartments, ensuring they fit snugly.
Clearing Brushroll Obstructions
Hair and debris can accumulate on the brushroll, reducing its effectiveness. Regular cleaning prevents this issue.
- Turn Off and Unplug: Ensure the vacuum is turned off and unplugged from the power outlet for safety.
- Access the Brushroll: Depending on your model, you may need to remove a cover plate or access panel to reach the brushroll. Use a screwdriver if necessary.
- Remove the Brushroll: Lift the brushroll out of the vacuum head. Some models have a release mechanism to simplify this process.
- Remove Hair and Debris:
- Use scissors or a seam ripper to carefully cut away tangled hair, threads, and other debris from the brushroll.
- Be gentle to avoid damaging the bristles.
- Clean the Brushroll Housing: Remove any remaining debris from the brushroll housing using a brush or cloth.
- Reinstall the Brushroll: Place the brushroll back into the vacuum head, ensuring it is properly aligned. Replace the cover plate or access panel and secure it.
Checking and Clearing Hoses and Attachments
Clogs in the hoses and attachments can significantly reduce suction power.
- Detach the Hose: Disconnect the hose from the vacuum body and the vacuum head.
- Inspect for Blockages: Look through the hose to identify any visible blockages.
- Remove Blockages:
- Use a broom handle or a similar long, blunt object to gently push out any obstructions.
- Be careful not to puncture or damage the hose.
- Rinse the Hose (If Necessary): If the blockage is stubborn or the hose is dirty, rinse it with lukewarm water. Ensure it is completely dry before reattaching.
- Clean Attachments:
- Detach any attachments, such as the crevice tool or dusting brush.
- Remove any debris or hair from the attachments.
- Wash them with mild soap and water, if necessary, and allow them to dry completely.
- Reattach the Hose and Attachments: Once everything is clean and dry, reattach the hose to the vacuum body and the vacuum head. Reconnect the attachments as needed.
Cleaning the Exterior
Keeping the exterior of your Shark Navigator DLX clean helps maintain its appearance and prevents dust buildup.
- Wipe Down Surfaces: Use a damp cloth to wipe down the exterior surfaces of the vacuum.
- Mild Detergent: For stubborn stains or dirt, use a mild detergent diluted in water.
- Dry the Vacuum: Wipe the vacuum dry with a clean cloth.
- Avoid Abrasive Cleaners: Do not use abrasive cleaners or solvents, as they can damage the plastic surfaces.
Tools/Materials
- Screwdriver (if needed to access brushroll)
- Scissors or seam ripper
- Lukewarm water
- Mild detergent
- Soft cloths
- Broom handle or similar blunt object
Troubleshooting Guide
- Reduced Suction:
- Problem: Vacuum not picking up dirt effectively.
- Solution: Empty the dust cup, clean the filters, and check for blockages in the hose and attachments.
- Unpleasant Odors:
- Problem: Vacuum emits a bad smell during use.
- Solution: Clean the filters, dust cup, and brushroll. Ensure all components are completely dry before reassembling.
- Brushroll Not Spinning:
- Problem: Brushroll is not rotating, affecting cleaning performance.
- Solution: Turn off and unplug the vacuum. Remove any tangled hair or debris from the brushroll. Check if the brushroll is properly installed.
- Vacuum Overheating:
- Problem: Vacuum shuts off due to overheating.
- Solution: Check and clear any blockages in the hose, filters, or brushroll. Allow the vacuum to cool down before using it again.
- Filter Maintenance:
- Problem: Filters get dirty quickly.
- Solution: Wash foam and felt filters monthly, and replace HEPA filter every 6-12 months, depending on usage.
Pro Tips

- Regular Maintenance: Establish a cleaning schedule to prevent buildup and maintain performance.
- Filter Drying: Always allow filters to air dry completely to prevent mold and mildew growth.
- Gentle Cleaning: Avoid using excessive force when cleaning components to prevent damage.
- Manufacturer Instructions: Always refer to the manufacturer’s instructions for specific cleaning recommendations for your model.
Alternatives/Variations
- Deep Cleaning: For a more thorough clean, consider using a specialized vacuum cleaner solution diluted in water to wipe down the exterior and interior components.
- Professional Cleaning: If you’re uncomfortable cleaning the vacuum yourself, consider taking it to a professional vacuum cleaner service.
- Cordless Models: For cordless Shark Navigator models, ensure the battery is removed before cleaning any electrical components.
FAQ Section
How often should I clean the filters of my Shark Navigator DLX?
Clean the pre-motor foam and felt filters every month and the HEPA filter every 6-12 months, depending on usage. Regular cleaning ensures optimal suction and filtration.
Can I wash all the filters in my Shark Navigator DLX?
Yes, you can wash the pre-motor foam and felt filters with lukewarm water. Some HEPA filters are washable, but always check the manufacturer’s instructions. Ensure all filters are completely dry before reinstalling.
What should I do if my Shark Navigator DLX loses suction?
First, empty the dust cup and clean the filters. Then, check the hose and attachments for any blockages. If the issue persists, inspect the brushroll for tangled hair or debris.
How do I remove tangled hair from the brushroll?
Turn off and unplug the vacuum. Use scissors or a seam ripper to carefully cut away the tangled hair from the brushroll. Be gentle to avoid damaging the bristles.
Is it safe to use soap when cleaning the vacuum components?
Yes, you can use mild soap diluted in water to clean the dust cup, hose, and attachments. Avoid using harsh chemicals or abrasive cleaners, as they can damage the vacuum.
How long should I let the filters dry before reassembling the vacuum?
Allow the filters to air dry completely for at least 24 hours before reinstalling them. Ensure they are completely dry to prevent motor damage and mold growth.
Tips, Warnings, and Best Practices
- Safety First: Always turn off and unplug the vacuum before performing any maintenance or cleaning tasks.
- Avoid Water Damage: Ensure all components are completely dry before reassembling the vacuum to prevent electrical damage and mold growth.
- Regular Emptying: Empty the dust cup after each use to maintain optimal suction and prevent the spread of allergens.
- Check for Wear and Tear: Regularly inspect the vacuum components for signs of wear and tear, and replace them as needed to maintain performance.
Conclusion
Keeping your Shark Navigator DLX vacuum clean is essential for maintaining its performance and prolonging its lifespan. By following this step-by-step guide, you can ensure that your vacuum operates efficiently, providing optimal suction and preventing the spread of dust and allergens. Make sure to regularly clean the dust cup, filters, brushroll, and hoses, and follow the provided tips for best results. A clean vacuum is a happy vacuum, so take the time to care for your Shark Navigator DLX. If you maintain it well, it will keep your home clean for years to come.


