Shark Rotator vacuums are known for their powerful suction and versatile design, making them a popular choice for homeowners. However, like any vacuum cleaner, they require regular cleaning and maintenance to ensure optimal performance. A crucial part of this maintenance is cleaning the rotator, which can get clogged with hair, debris, and dust. Neglecting this can lead to reduced suction and even motor burnout. This comprehensive guide provides a step-by-step process for cleaning your Shark Rotator vacuum, helping you maintain its efficiency and extend its lifespan.
Keeping your Shark Rotator vacuum clean is essential for maintaining its powerful suction and overall performance. Over time, the rotator brush, filters, and other components can accumulate dust, hair, and debris, leading to clogs and reduced efficiency. By following a regular cleaning schedule, you not only ensure that your vacuum operates at its best but also prolong its lifespan, saving you money on costly repairs or replacements. This guide will walk you through the process of cleaning each key part of your Shark Rotator, including the brush roll, dust cup, and filters, so you can keep your home spotless and your vacuum running smoothly.
What You’ll Need
- Screwdriver (usually Phillips head)
- Scissors or seam ripper
- Soft brush or cloth
- Mild dish soap (optional)
- Water
Step 1: Unplug the Vacuum and Disassemble Key Parts
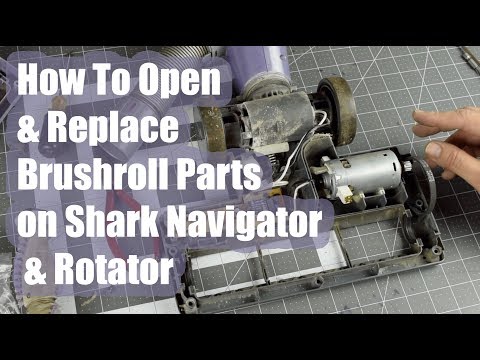
Before you begin any cleaning, ensure the vacuum is unplugged to prevent accidental operation. Then, detach the parts that require cleaning:
- Dust Cup: Locate the release button (usually near the top of the dust cup) and detach it from the vacuum body.
- Brush Roll: Depending on your model, you may need a screwdriver to remove the brush roll cover plate. Unscrew the cover and set it aside. Then, carefully lift the brush roll out of the vacuum head.
- Filters: Shark Rotator vacuums typically have multiple filters, including a pre-motor filter (or foam and felt filters) and a post-motor filter (HEPA filter). Consult your user manual to locate and remove these filters.
Step 2: Empty the Dust Cup
- Hold the dust cup over a trash can.
- Press the release button to open the bottom and empty the contents.
- If necessary, detach the upper part of the dust cup (if it has a separate release) and empty any remaining debris.
- Rinse the dust cup with warm water and a small amount of mild dish soap if needed. Ensure it’s completely dry before reassembling.
Step 3: Clean the Brush Roll
- Inspect the brush roll for tangled hair, threads, and debris.
- Use scissors or a seam ripper to carefully cut and remove any tangled materials. A seam ripper is particularly useful for getting under tightly wound hair.
- Wipe the brush roll with a soft, damp cloth to remove any remaining dirt or residue.
- Check the brush roll housing for any obstructions and clear them out.
Pro Tip: Deep Cleaning Stubborn Debris
For brush rolls with tightly packed debris, soak them in a solution of warm water and mild dish soap for about 30 minutes before cleaning. This can help loosen stubborn buildup.
Step 4: Wash or Replace the Filters
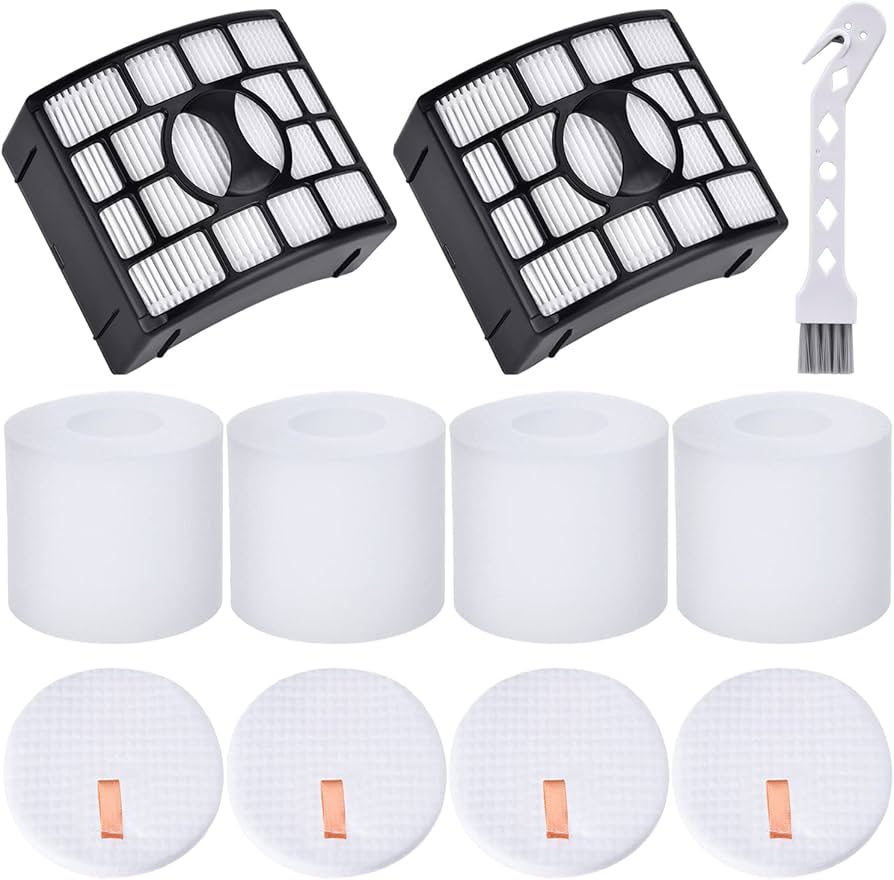
- Pre-Motor Filters: These are typically foam and felt filters. Wash them by hand with warm water and mild dish soap. Rinse thoroughly until the water runs clear. Squeeze out excess water and allow them to air dry completely (at least 24 hours) before reinstalling.
- Post-Motor Filter (HEPA): HEPA filters are usually not washable. Gently tap the filter over a trash can to remove loose dust and debris. If the filter is heavily soiled or damaged, it should be replaced according to the manufacturer’s recommendations (usually every 6-12 months).
Warning: Reassembling with Damp Filters
Never reassemble the vacuum with damp filters. Doing so can damage the motor and lead to mold growth.
Step 5: Clean the Vacuum Housing and Hose
- Use a soft brush or cloth to wipe down the exterior of the vacuum body, removing any dust or dirt.
- Inspect the hose for clogs. Detach the hose from the vacuum and use a long, flexible tool (like a broom handle or a straightened coat hanger) to dislodge any obstructions.
- Check the air pathways for blockages and clear them out.
Step 6: Reassemble the Vacuum
- Once all parts are completely dry, reassemble the vacuum in the reverse order of disassembly.
- Start by placing the brush roll back into the vacuum head, ensuring it’s properly aligned.
- Reattach the brush roll cover plate and secure it with screws.
- Install the pre-motor and post-motor filters.
- Reattach the dust cup to the vacuum body until it clicks into place.
- Plug in the vacuum and test its operation.
FAQ Section
How often should I clean my Shark Rotator vacuum?
It depends on your usage, but a good rule of thumb is to empty the dust cup after each use, clean the filters every 1-3 months, and thoroughly clean the brush roll every 3-6 months.
Can I use any type of soap to wash the filters?
No, only use a mild dish soap. Harsh detergents or chemicals can damage the filter material and reduce their effectiveness.
What happens if I don’t clean the brush roll regularly?
Failure to clean the brush roll can lead to tangled hair and debris buildup, reducing the vacuum’s suction power. It can also cause the motor to overheat, potentially leading to costly repairs or replacement.
How do I know when to replace the filters?
If you notice a decrease in suction power even after cleaning the filters, or if the filters appear damaged or heavily soiled, it’s time to replace them. Refer to your user manual for the recommended replacement schedule.
My Shark Rotator vacuum still has a bad odor after cleaning. What should I do?
Ensure all parts, especially filters, are completely dry before reassembling. You can also try placing a dryer sheet or a cotton ball soaked in essential oil inside the dust cup to help eliminate odors.
What if I can’t remove the brush roll cover?
Make sure you are using the correct screwdriver size and applying enough pressure while turning the screws. If the screws are stripped, try using a rubber band between the screwdriver and the screw head for better grip. If all else fails, contact Shark customer support for assistance.
Tips, Warnings, and Best Practices
- Safety First: Always unplug the vacuum before performing any maintenance or cleaning.
- Read the Manual: Consult your Shark Rotator vacuum’s user manual for specific cleaning instructions and recommendations.
- Regular Maintenance: Establish a regular cleaning schedule to prevent buildup and maintain optimal performance.
- Check for Blockages: Regularly inspect the hose and air pathways for any obstructions.
- Proper Drying: Always allow filters to air dry completely before reassembling the vacuum.
- Avoid Harsh Chemicals: Do not use bleach, strong detergents, or other harsh chemicals to clean the vacuum components.
Conclusion
Cleaning your Shark Rotator vacuum is a straightforward process that significantly contributes to its performance and longevity. By following these steps to clean the dust cup, brush roll, and filters, you’ll ensure your vacuum continues to deliver powerful suction and efficient cleaning. Regular maintenance not only keeps your home cleaner but also saves you money in the long run by preventing costly repairs and replacements. Make cleaning your Shark Rotator a part of your routine to keep your home spotless and your vacuum running like new. Take the next step and schedule a cleaning session for your Shark Rotator vacuum today!