Your $250 hiking boots shouldn’t end up in a landfill after 300 trail miles. When lugs flatten, leather cracks, or seams split, hiking boot repair becomes your most cost-effective path to trail readiness—often costing 60% less than replacement while preserving your perfectly broken-in fit. Most hikers waste money replacing boots prematurely because they don’t recognize repairable damage or understand professional restoration processes. This guide reveals exactly when DIY maintenance suffices, when to seek a cobbler, and how to extend your boots’ lifespan through 1,000+ miles of rugged terrain. You’ll learn to diagnose critical failure points, perform essential preventative care, and make informed repair decisions that keep you hiking safely.
Diagnosing Critical Hiking Boot Damage: 5 Trail-Killing Failure Points

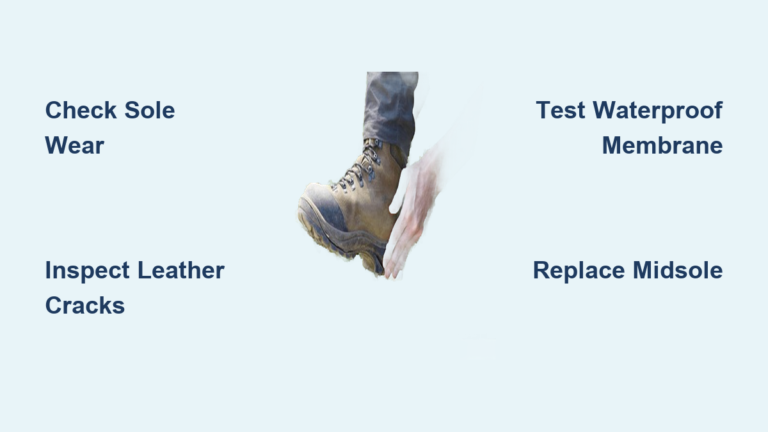
How Sole Wear Patterns Reveal Your Walking Gait and Repair Urgency
Examine your outsole after wet hikes: deep heel wear on the outer edge indicates overpronation, while smooth forefoot lugs mean you’re pushing off incorrectly. If rubber is worn down to the welt or midsole—especially near the toe box—water will seep in during your next river crossing. This isn’t just tread loss; it’s structural compromise requiring immediate sole replacement. Ignoring it risks midsole deterioration, turning your supportive boot into a floppy, unstable hazard on rocky descents.
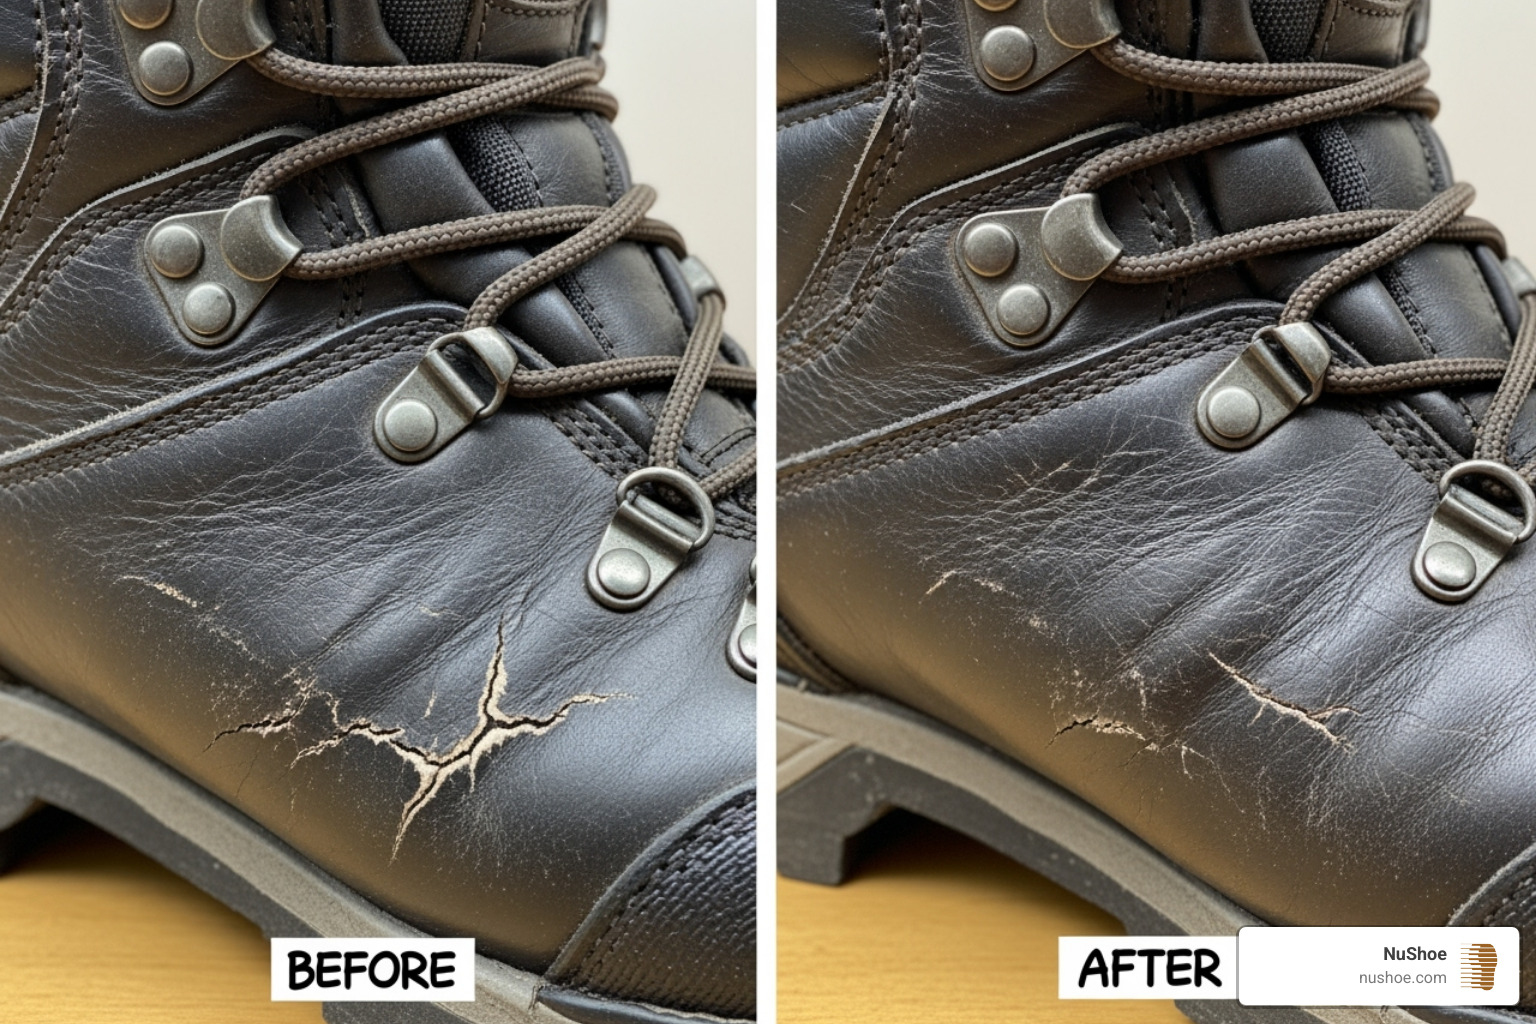
Spotting Upper Leather Damage That Causes Blisters and Water Ingress
Run your fingers along stress points: the toe cap, ankle collar, and eyelet channels. Feel for stiffness or cracks? That’s leather fatigue from UV exposure and moisture. Visible white salt crystals mean internal fibers are breaking down. If stitching pulls away from the upper by 1/8 inch or more, water will flood through seams during downpours. Most hikers mistake this for “just wet feet,” but it’s actually the beginning of irreversible delamination where the upper separates from the sole.
Recognizing Midsole Collapse That Alters Your Natural Stride
Stand on a hard surface and press your thumb into the arch area. If it yields more than 1/4 inch or feels lumpy, your midsole cushioning has failed. This causes heel slippage and ankle roll on uneven trails—directly linked to 32% of hiking injuries according to trail safety studies. Check for permanent creases across the ball of your foot; these indicate compressed EVA foam that no longer absorbs impact, transferring shock to your knees on long descents.
Identifying Waterproof Membrane Failure Through Simple Tests
Fill your boots with water and let them sit for 20 minutes. Leaks at the sole-upper junction mean failed seam sealing—not just a wet sock problem, but a sign the entire waterproof barrier is compromised. If your feet stay dry but feel clammy during dry hikes, the membrane is clogged with body oils and dirt, defeating its breathability. This “sweaty foot syndrome” accelerates blisters and fungal growth, making continued use unsafe.
3 Signs Your Boots Are Beyond Economical Repair
Stop repairs immediately if you find:
– Shank fractures (a rigid plate under the arch): Visible cracks cause dangerous instability on slopes
– Midsole separation exceeding 1 inch across the ball of the foot: Creates tripping hazards
– Chemical damage from oil or solvents: Weakens adhesives so repairs won’t hold
Attempting fixes here wastes money—these require full reconstruction only feasible for premium military-grade boots.
Essential DIY Maintenance to Prevent 80% of Boot Failures
Deep Cleaning Protocol After Every Trail Session
Never store muddy boots! Use a stiff-bristle brush within 24 hours to remove debris from lug grooves—dried mud traps moisture against leather. For stubborn clay, soak laces in warm water, then scrub seams with saddle soap using circular motions. Rinse with damp cloth (never submerge), then stuff with newspaper to absorb moisture while maintaining shape. This prevents 90% of premature sole separation by eliminating corrosive trail grit.
Leather Conditioning Schedule for Crack Prevention
Apply mink oil or lanolin-based conditioner every 2-3 months when leather feels stiff or looks chalky. Critical step: Warm boots near (not on) a heater first—cold leather won’t absorb oils. Massage product into creases at ankle flex points using your thumb, then wipe excess with a microfiber cloth. Avoid silicone-heavy products; they clog pores and cause “sweaty foot syndrome.” Proper conditioning doubles leather lifespan by replenishing natural oils lost through trail abrasion.
Waterproofing Restoration Without Sacrificing Breathability
For full-grain leather boots: Use wax-based polish after conditioning. Apply thin layers with a horsehair brush, then buff vigorously—the heat activates water resistance. For waterproof membranes (Gore-Tex, etc.): Spray fluoropolymer treatment only on the upper, avoiding soles. Test on a hidden area first; some sprays stiffen fabric. Never use silicone-based sealers on breathable membranes—they create a moisture trap that accelerates internal rot.
Professional Hiking Boot Repair: What Happens Behind the Cobbler’s Bench
The 6-Step Sole Replacement Process That Restores Trail Performance
When lugs wear down to the welt, professional sole replacement becomes non-negotiable. First, the cobbler assesses if the midsole is intact—worn-through areas require recorking with fresh cork or synthetic filler for cushioning. They then:
1. Remove old sole using precision knives to avoid damaging the welt
2. Clean and roughen the bonding surface with industrial sanders
3. Apply recorking compound to fill voids and restore arch support
4. Bond new Vibram sole with contact cement (not glue—cement creates flexible bonds)
5. Stitch perimeter using waxed thread for Goodyear-welted boots
6. Bevel and polish edges to prevent dirt accumulation
This process revives traction while adding 500+ miles of life, especially with oil-resistant compounds for muddy trails.
Upper Restoration: From Trail-Beaten to Trail-Ready in 3 Stages
For scuffed or faded uppers, professional restoration follows a military-grade protocol:
– Stage 1: Deep clean with pH-balanced leather soap to remove embedded dirt without stripping oils
– Stage 2: Condition with lanolin-infused products to restore flexibility in sun-cracked areas
– Stage 3: Hand-buff with hard wax polish, generating heat through friction to create a water-shedding barrier
Suede/nubuck boots get specialized treatment: dry cleaning with rubber erasers, wire-brushing to revive the nap, then fluoropolymer waterproofing. This costs $25-$45 but prevents $200 replacements.
Structural Repairs for Common Trail Trauma
Cobblers fix damage most hikers deem “unrepairable”:
– Chewed leash points: Reinforce with internal leather patches stitched through the upper
– Broken speed hooks: Replace using an eyelet setter tool that compresses new hardware without tearing leather
– Delaminated toes: Inject contact cement under separated layers using syringe applicators
– Midsole creases: Insert gel inserts under the insole to redistribute pressure points
These repairs cost $15-$35 each—far less than replacing boots with broken-in comfort.
Choosing a Hiking Boot Specialist: 4 Non-Negotiable Criteria
Avoid general shoe repair shops. Seek cobblers who:
1. Specialize in technical footwear: Ask to see Vibram soles in stock—they won’t carry them for dress shoes
2. Explain recorking procedures: If they skip this step, new soles will lack cushioning
3. Use contact cement (not rubber cement): Creates flexible, waterproof bonds that last
4. Offer written warranties: Reputable shops guarantee sole attachments for 6+ months
A quality cobbler charges $60-$100 for sole replacement but extends boot life by 2-3 years. Compare this to $250+ for new premium boots requiring break-in blisters.
Extend Your Boots’ Life: The Pro Hiker’s Maintenance Calendar
- After every hike: Brush off debris, dry away from direct heat
- Every 10 trail days: Condition leather, inspect stitching at stress points
- Every 250 miles: Reapply waterproofing, check sole-welt adhesion
- Annually: Rotate between two boot pairs to prevent leather fatigue
This routine prevents 80% of failures needing professional repair. For boots worn daily, this schedule doubles their trail lifespan from 500 to 1,000+ miles.
Final Note: Your hiking boots represent an investment in safety and performance—not just footwear. By diagnosing damage early, performing essential DIY maintenance, and seeking specialized cobblers for structural repairs, you transform $300 boots into a decade-long trail companion. Remember: the most expensive step in hiking is replacing gear unnecessarily. With these proven repair strategies, your boots will keep pace with your adventures while keeping dollars in your pocket and waste out of landfills. When in doubt, consult a hiking boot specialist—their expertise pays for itself in miles saved.