
If your Dyson V7 not charging, you’re facing one of the most common issues reported by owners—especially those with models over two years old. You plug it in, but no blue light appears. Or worse, a red light flashes a dozen times and then dies. The vacuum might power on only when connected to the charger, shutting down the moment you unplug it. While this can feel like the end of your vacuum’s life, the truth is most Dyson V7 charging problems are fixable at home. In this guide, you’ll learn how to diagnose the exact cause—whether it’s a dead battery, faulty charger, or software glitch—and apply proven, user-verified fixes. You’ll also discover when battery replacement is necessary, how to do it safely, and how to extend the life of your new battery.
Decode Charging Indicator Lights
Your Dyson V7 communicates its status through LED indicators. Learning to read these signals is the first step in troubleshooting.
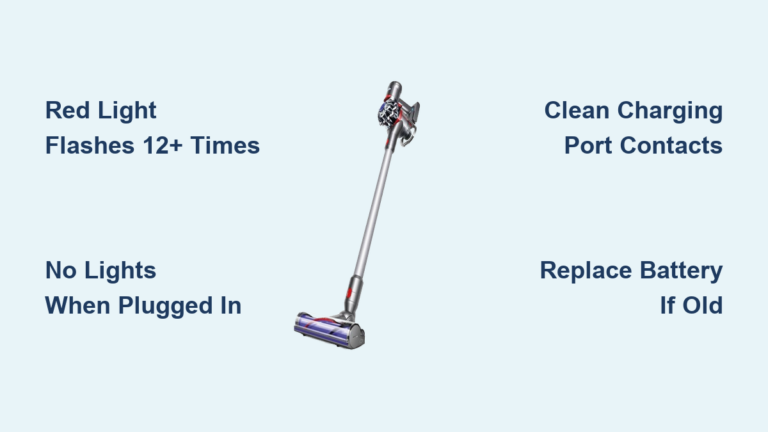
Red Light Flashes 12+ Times
When the red light flashes more than 12 times and then turns off, it’s a clear fault code for battery failure. The charger detects the battery but stops the charging cycle because it can’t hold or accept a charge. This is especially common in units over 2–4 years old. If you see this pattern, the battery has likely reached the end of its lifespan and needs replacement.
Expert Insight: This behavior is typical when lithium-ion cells degrade beyond recovery. The battery management system (BMS) recognizes the fault and halts charging to prevent overheating or damage.
No Lights When Plugged In
If there’s no response at all—no red, blue, or amber light—the issue could be:
– A completely drained or dead battery
– A faulty charger or damaged cable
– A dirty or damaged charging port
– An internal disconnection
Start by testing the outlet with another device. If the outlet works, try a different Dyson charger (V6 models often work with V7). If still no lights appear, the problem is likely deeper—possibly the battery or internal circuitry.
Blue Light Doesn’t Stay On
A solid blue light means normal charging. If it flickers or won’t illuminate:
– Ensure the charger is fully seated in the vacuum
– Try a different Dyson charger (V6 or V7)
– Clean the metal contacts on both the charger and vacuum
Even a thin layer of dust or oxidation can disrupt the connection. If the blue light behaves inconsistently, the issue may be either poor contact or a failing battery.
Test Charger and Power Source
Before assuming the vacuum is broken, verify the power supply.
Test Outlet and GFCI Reset
Plug a phone or lamp into the same outlet. If nothing powers on, the circuit may be tripped. Check for GFCI outlets—common in kitchens and garages—with RESET buttons. Press RESET to restore power. Also, try a different outlet in another room to rule out electrical issues.
Try a Known Working Charger
Use a Dyson V6 or V7 charger from another unit. Many users confirm that a V6 charger works perfectly with a V7. If a blue light appears with a different charger, your original one is faulty and needs replacement.
Pro Tip: Avoid third-party or non-Dyson chargers. They may deliver incorrect voltage, damage the battery, or void warranty coverage.
Bypass Wall Dock (If Applicable)
If you use a wall-mounted charging dock, unplug the cable and connect it directly to the vacuum. Some docks develop loose connections over time. Direct charging eliminates the dock as a potential failure point.
Inspect Charging Port and Contacts

Physical issues can prevent charging—even if everything looks fine.
Clean Charging Port
Dust, hair, and debris can block electrical contact. Use a dry cotton swab or soft brush to gently clean the metal pins inside the port. Do not use liquids or compressed air, which can push debris deeper or damage internal components.
User Success: “After cleaning the contacts with a dry cloth, my Dyson started charging again.”
Check for Loose or Wobbly Connection
If the charger wiggles or doesn’t seat firmly, the port may be damaged. A loose fit prevents consistent power delivery. Over time, repeated plugging and unplugging can break internal solder joints.
Examine Charger Connector
Inspect the end of the cable for bent pins, corrosion, or melting. Replace the charger immediately if any damage is visible. Frayed wires or kinks near the plug are also signs of failure.
Perform Battery Reset Procedures
Sometimes the battery management system (BMS) gets stuck. A reset can recalibrate it and restore charging.
Hold Trigger for 20 Seconds
This method has revived many non-charging V7s:
1. Unplug the charger from the wall
2. Replug it into the outlet
3. Connect the vacuum to the charger
4. Press and hold the trigger (on button) for 20 seconds
5. Release and leave the unit charging for 3+ hours
Why it works: This forces the BMS to restart and re-engage the charging circuit. Many users report success after this simple fix.
Quick Charge Pulse Method
Try this if the vacuum powers on briefly but dies:
1. Charge for 30 seconds
2. Remove and try to turn it on
3. Repeat 2–3 times
4. Then leave it on the charger for a full 3.5-hour cycle
This can “jump-start” a deeply discharged battery and reset firmware errors.
Clear Blockages and System Errors
A blocked airway can trigger safety shutdowns that mimic charging issues.
Check for Clogs
Inspect:
– Brush bar and vacuum head
– Hose and wand
– Filter (remove, wash, and dry completely)
– Bin and cyclone assembly
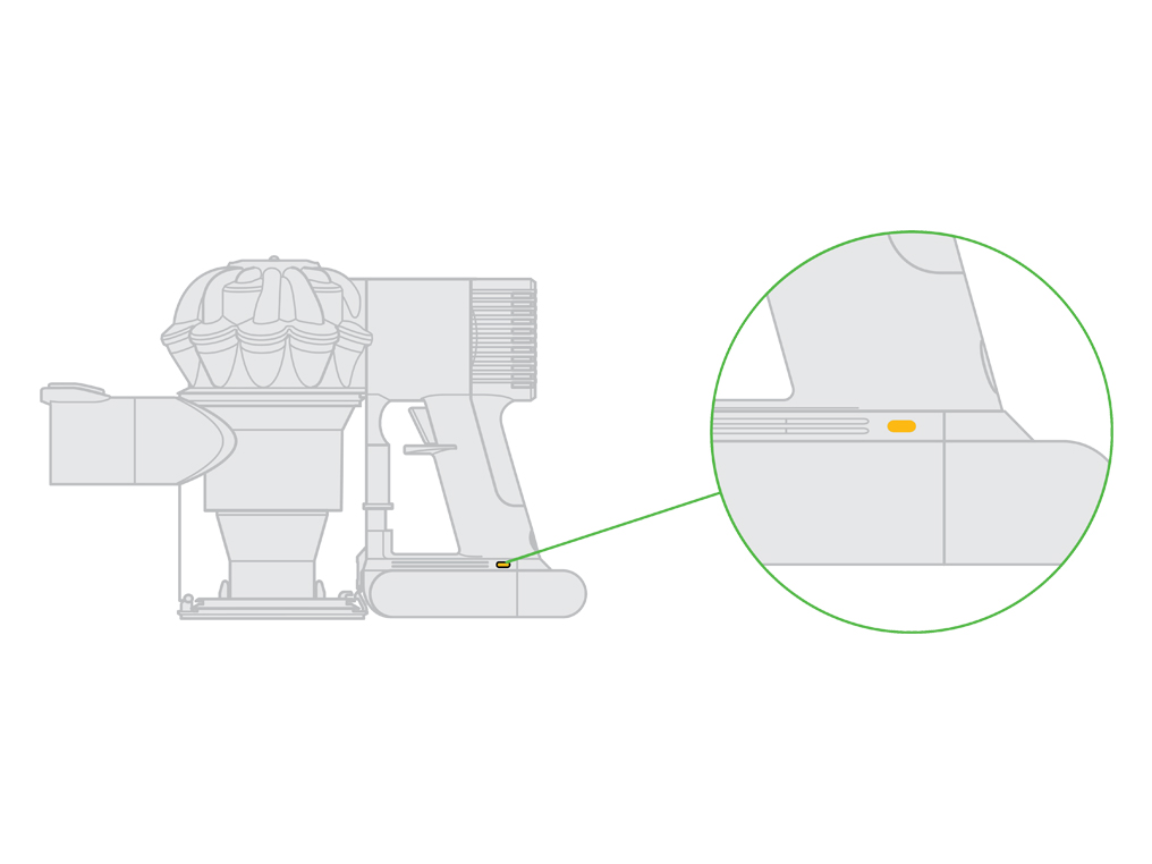
Look for the blockage indicator light (shaped like a P-trap). If lit, clear obstructions before continuing.
Why It Matters
The Dyson V7 has safety systems that limit power if airflow is restricted. A severe clog can cause overheating or shutdown—even during charging. Cleaning these components removes false error triggers.
Replace the Battery (Most Common Fix)
If all else fails, battery replacement is almost certainly required, especially for older units.
When to Replace the Battery
Replace the battery if:
– Unit is over 2 years old
– Red light flashes >12 times
– Vacuum powers on only when plugged in
– Charger and outlet are confirmed working
– Battery feels swollen or hot
Lithium-ion batteries degrade after 300–500 charge cycles. Most Dyson V7 batteries last 2 to 4 years, depending on usage.
Use Genuine Dyson Battery Only
| Factor | Genuine Dyson | Third-Party |
|---|---|---|
| Performance | Optimized for motor | May underperform |
| Safety | Certified & tested | Risk of fire |
| Warranty | No void if installed correctly | Voids warranty if damage occurs |
| Markings | Stylized lowercase “dyson” | Often unbranded |
Dyson strongly recommends using only genuine replacement batteries.
How to Replace the Battery
You can do this at home in under 15 minutes.
Tools Needed
- Small Phillips screwdriver
- Replacement Dyson V7 battery
Steps
- Power off and unplug the vacuum
- Flip over and unscrew the base plate (2 screws)
- Gently disconnect the old battery from the socket
- Plug in the new battery
- Reattach the base and screws
- Charge for 3.5 hours before use
Important: Follow instructions included with the new battery. Do not force connections.
Buy Battery: Support & Availability
Order directly from Dyson to ensure authenticity.
Contact Dyson Support
- US: 866-693-9766
- UK: 0800-298-0298
- CA: 1-877-397-6622
- AU: 1800 239 766
- NZ: 0800 397 667
- Email: askdysonUS@dyson.com
Note for International Users: Battery shipping may be restricted. Some customers return units to the U.S. for replacement.
Cost vs. New Model
Compare battery cost (~$80–$100) with prices for newer models like the V8 or V10. If your V7 is over 4 years old, upgrading may offer better long-term value.
Prevent Future Charging Issues
Extend your next battery’s life with smart habits.
Avoid Max Mode Overuse
Boost/Max mode drains the battery quickly and generates heat. Use Eco or Standard mode for daily cleaning. Reserve Max for tough messes only.
Charge at Room Temperature
Never charge in extreme cold (<50°F / 10°C) or heat (>86°F / 30°C). Avoid garages, cars, or near heaters. Dyson’s safe charging range is 50°F to 86°F (10°C to 30°C).
Don’t Overcharge
Unplug after 3.5 hours—the full charge time for V7. While modern batteries resist overcharging, consistent long-term charging can reduce lifespan.
Monthly Maintenance Routine
- Clean filters every 1–2 months
- Run battery down once monthly (until auto-shutdown), then recharge fully
- Inspect charging port every few weeks
Final Note: A Dyson V7 not charging is usually due to battery failure, especially with red light flashes or no power after unplugging. Start with reset methods and charger testing. If those fail, replace the battery with a genuine Dyson unit. With proper care, your vacuum can run like new for years. Always contact Dyson Support with your serial number before purchasing parts.


