Water pooling in your dishwasher after a cycle while your kitchen sink won’t drain? You’re facing one of the most common—and frustrating—plumbing issues in home kitchens. When both your dishwasher and kitchen sink not draining simultaneously, it’s not two separate problems. It’s a single clog in your shared drainage system, typically located downstream where both lines converge. Ignoring this issue can lead to flooding, mold growth, and costly water damage. But here’s the good news: 90% of these blockages occur in accessible areas you can fix yourself in under an hour with basic tools. This guide reveals exactly where to look, how to clear the clog safely, and proven prevention tactics to avoid repeat disasters.
Why a Single Clog Blocks Both Your Dishwasher and Sink
Your kitchen sink and dishwasher share a critical drainage pathway you might not realize exists. The dishwasher drain hose connects directly to your sink’s plumbing—either through a garbage disposal inlet or a wye fitting under the sink. This shared exit means any obstruction after their connection point affects both appliances. When water can’t flow toward the main sewer line, it backs up into the lowest available exit: your dishwasher tub. That’s why running the sink causes dishwasher overflow, and why a clogged disposal inlet stops both systems cold. You’ll often hear gurgling sounds from other drains as air struggles through the blocked pipe—a dead giveaway of this shared-clog scenario.
How to Confirm Your Sink and Dishwasher Share One Clog
Run this simple test before grabbing tools: Plug your kitchen sink drain and fill it with 3 inches of water. Have someone start your dishwasher’s drain cycle while you watch the sink. If the sink water level rises, bubbles violently, or flows backward into the dishwasher, you’ve confirmed a shared clog downstream. Note: If only the dishwasher backs up when the sink drains slowly, the blockage is likely in the main line past the P-trap. If the sink drains fine until the dishwasher runs, check the disposal inlet or air gap first.
Turn Off Power: Critical Safety Step Before Fixing Drains

Never skip this step: Locate your dishwasher’s circuit breaker and switch it to OFF. Water and electricity create lethal risks during drain repairs. While you’re there, unplug the unit if accessible. Next, clear cabinet space under the sink and lay down thick towels—expect 1-2 cups of residual water when removing pipes. Grab these essentials: adjustable pliers, a 5-gallon bucket, rubber gloves, and a shop towel. If you have a garbage disposal, press its reset button (usually on the bottom) before starting. This prevents accidental activation during repairs and protects you from electrical hazards.
Unclog Your Dishwasher Air Gap in 5 Minutes
If your sink has a small chrome cylinder near the faucet (the air gap), it’s likely clogged. This device prevents sink water from backflowing into your dishwasher—but when blocked, it halts drainage completely. Here’s how to fix it:
- Unscrew the decorative cap on top of the air gap
- Remove the inner cylinder and inspect for gunk (grease and food bits accumulate here)
- Soak components in hot vinegar for 10 minutes to dissolve buildup
- Flush the base with boiling water using a turkey baster
Pro Tip: Shine a flashlight down the air gap hole. If you see standing water, the blockage is deeper in the drain line. Clear the air gap first—it’s the easiest fix and often solves the problem.
Fix a Clogged Garbage Disposal Drain Port for Dishwasher
The dishwasher hose typically connects to a knockout plug on your garbage disposal. If this port is blocked, neither appliance drains. Never use chemical cleaners here—they’ll destroy disposal seals! Instead:
- Locate the dishwasher inlet (usually on the disposal’s side)
- Insert an Allen wrench into the center hole and twist to clear debris
- Run cold water through the disposal while it’s operating
- Check for obstructions with a bent wire hanger
If your disposal hums but won’t spin, press the red reset button on its base. Persistent clogs here often mean food debris jammed the impeller blades—dislodge with a broom handle (never your hands!).
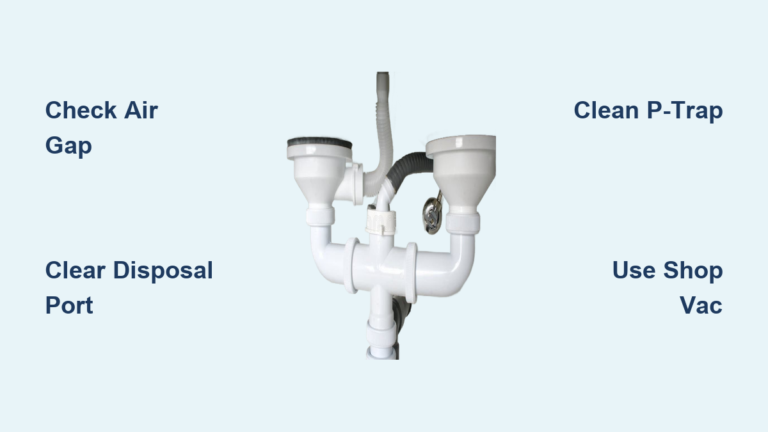
How to Clean a Clogged P-Trap Without Messing Up Your Floor
The U-shaped P-trap under your sink catches 80% of kitchen clogs. Do this right to avoid floods:
- Place your bucket directly under the trap’s lowest point
- Loosen slip nuts with pliers—turn counter-clockwise while supporting the pipe
- Crucial: Tilt the trap toward the bucket before full removal to drain residual water
- Clear debris with a bottle brush and flush pipes with hot water
Warning: If you smell sewage, the trap is dry—refill it with 1 cup of water after reassembly to maintain the odor-blocking seal. Check the wall drain pipe with a flashlight for visible obstructions before reattaching.
Snake Your Kitchen Drain Line When P-Trap Cleaning Fails
If the P-trap was clear but drainage remains slow, the clog is deeper. A 25-foot hand-crank auger (costs $15) works better than chemical snakes:
- Remove the P-trap and set aside
- Feed the auger cable into the wall drain opening
- Crank slowly while applying gentle pressure
- When you hit resistance, rotate the cable to break up the clog
- Retract the cable, removing grease and hair buildup
Key Insight: Most kitchen clogs occur within 15 feet of the sink. If you reach 25 feet without clearing it, stop—you’re likely hitting the main line bend. For tough grease clogs, wrap the auger tip with a rag soaked in degreaser before snaking.
Pull Clogs Out With a Shop Vac: The Plumber’s Secret
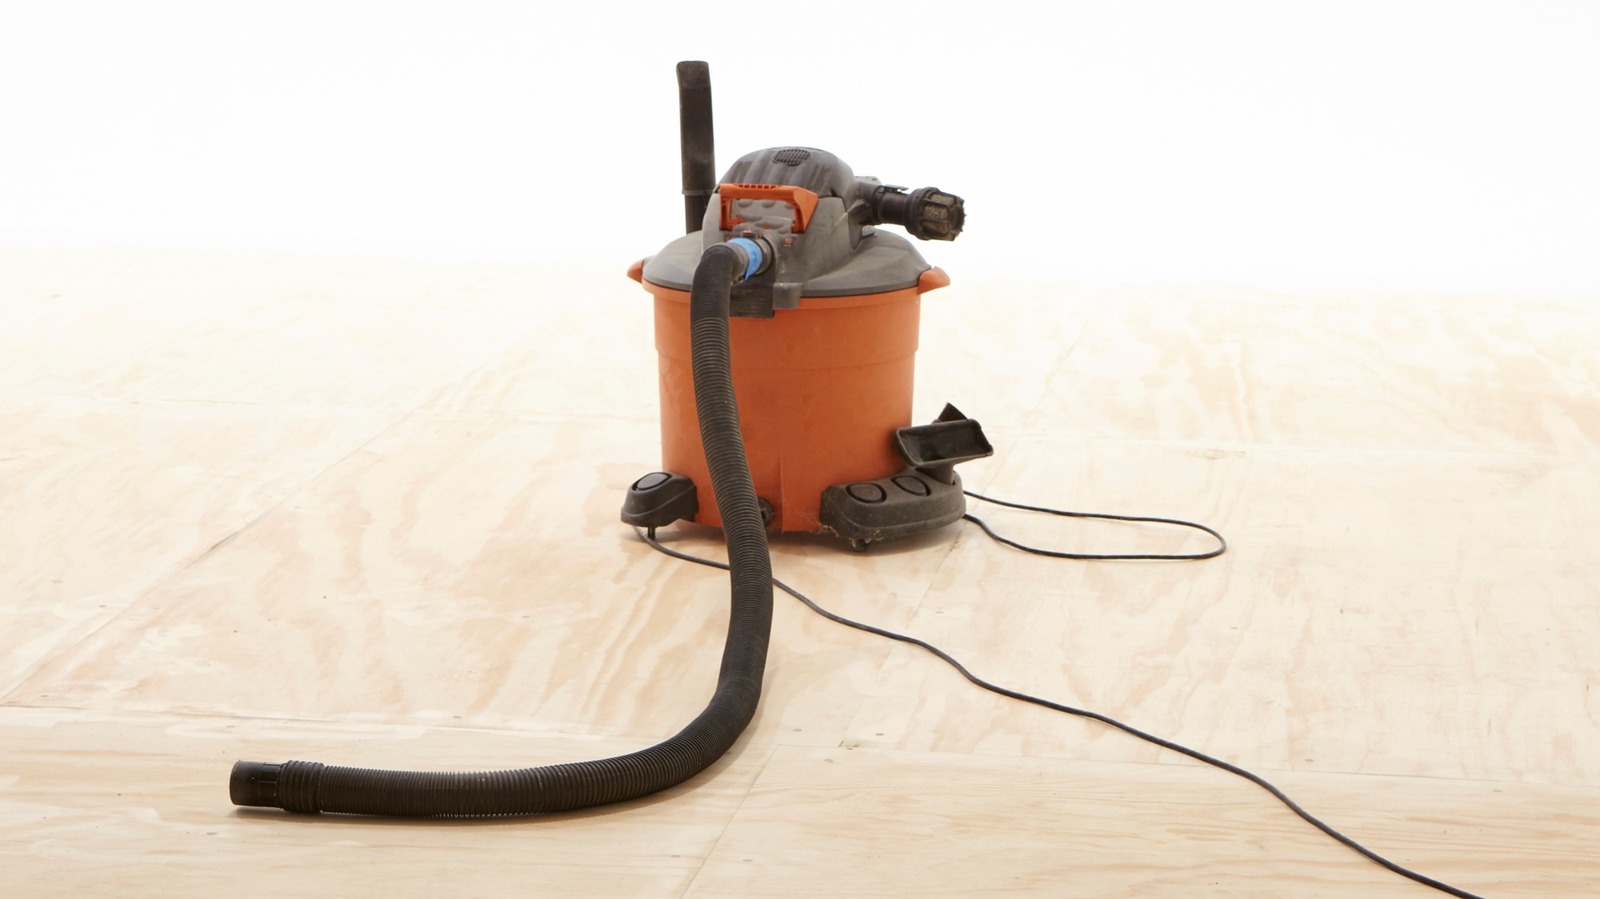
This method clears 95% of stubborn clogs without chemicals. You’ll need a wet/dry vacuum with a 2.5+ horsepower motor:
- Remove the P-trap and cover other sink openings with duct tape
- Wrap a wet towel tightly around the vacuum hose end
- Seal the hose against the open drain pipe
- Set vacuum to “liquid” mode and turn on
- Hold the seal for 30 seconds—listen for the clog breaking free
Why it works: The vacuum creates 5x more suction than plunging. You’ll often hear a “whoosh” as the clog releases. Check the vacuum canister for debris—this confirms success. Never attempt this with a household vacuum!
Why Chemical Drain Cleaners Make Dishwasher and Sink Clogs Worse
Drano and Liquid-Plumr cause more harm than good here. They turn grease into concrete-like sludge that welds clogs permanently to pipes. Worse: they corrode PVC joints and destroy garbage disposal seals. One user reported that after using Drano, their dishwasher hose melted at the disposal connection—causing $400 in flood damage. Enzyme-based cleaners (like Bio-Clean) are safe for monthly maintenance, but never use chemicals on a complete blockage. The heat from chemical reactions can crack pipes when water can’t flow.
3 Simple Habits to Prevent Dishwasher and Sink Drain Clogs
Stop future backups with these pro techniques:
- Scrape plates aggressively: Never rinse large food chunks down the sink. A single potato peel can trigger backups.
- Monthly vinegar flush: Pour 1 cup baking soda followed by 2 cups boiling vinegar down the drain. Wait 15 minutes, then flush with hot water.
- Maintain your disposal: Run ice cubes through it weekly to scour blades, and always use cold water during operation to solidify grease for easier chopping.
Critical Prevention Tip: Ensure your dishwasher drain hose has a high loop under the sink (secured 18+ inches above the floor). This prevents sink water from siphoning back into the dishwasher when the sink drains.
When to Call a Professional Plumber Immediately
Stop DIY efforts if you encounter:
– Sewage smells from multiple drains (indicates main line collapse)
– Water backing into floor drains or toilets
– Repeated clogs within 2 weeks (sign of root infiltration)
– Visible pipe cracks or leaks under the sink
Licensed plumbers use motorized snakes and camera scopes to clear deep blockages without damaging pipes. For main line issues, hydro-jetting (high-pressure water cleaning) costs $200-$500 but prevents recurring disasters.
Persistent dishwasher and kitchen sink not draining issues always trace back to that shared clog zone between your sink’s P-trap and the main sewer line. By methodically checking the air gap, disposal port, and P-trap first—and using the shop vac method for stubborn blockages—you’ll solve 9 of 10 cases without professional help. Remember: Chemical drain cleaners are false friends that worsen clogs and risk costly damage. Implement the monthly vinegar flush and high-loop hose setup to keep water flowing freely. If gurgling returns within weeks, schedule a camera inspection—hidden pipe damage could be lurking. Your kitchen’s drainage health depends on what you do today, not tomorrow.