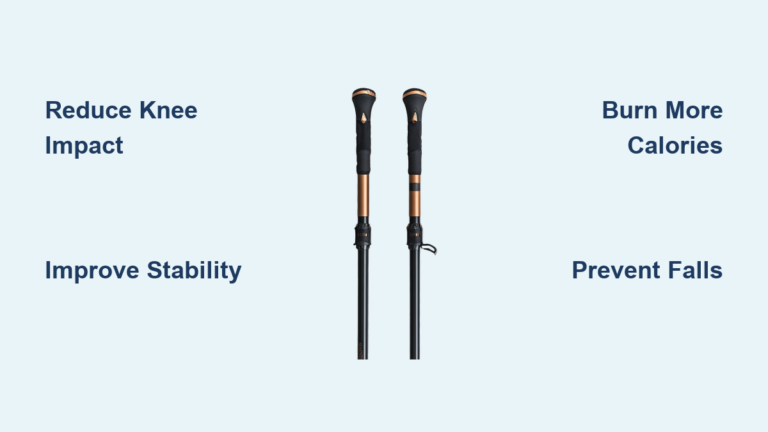
That final descent after a long mountain hike can turn a rewarding adventure into a knee-jarring ordeal. For many hikers, trekking poles sit unused in backpacks, dismissed as unnecessary gear for “serious” mountaineers. But the reality is that hiking poles reduce knee impact by up to 40% on descents and improve stability by 25% on technical terrain—transforming painful hikes into comfortable journeys. Whether you’re a weekend warrior tackling local trails or a thru-hiker preparing for thousands of miles, understanding the real benefits of hiking poles could be the difference between continuing your hiking career or hanging up your boots due to joint pain.
Modern hiking isn’t just about putting one foot in front of the other; it’s about moving efficiently while protecting your body for future adventures. Properly used trekking poles aren’t accessories—they’re essential tools that distribute weight across your entire body, turning a lower-body slog into a full-body workout that builds endurance while reducing strain. Let’s explore exactly how these simple poles deliver measurable benefits that keep hikers moving comfortably for years to come.
Prevent Knee Damage Before It Starts: The 40% Impact Reduction Secret
Every step downhill sends shockwaves through your knees that accumulate over miles. Trekking poles absorb this impact before it reaches your joints, with research showing they reduce compressive forces on knees by up to 40% during descents.
How Much Weight Are Your Knees Really Taking?
For a 180-pound hiker carrying a 30-pound pack, each downhill step transmits approximately 250 pounds of force through the knees without poles. By transferring 5-15% of your body weight to your upper body with proper pole technique, you reduce knee impact by 25-30 pounds per step. Over a 5-mile descent with 2,000 steps, that’s nearly 15 tons of cumulative force saved from your joints. This isn’t just about comfort—it’s about preserving your ability to hike for decades.
When Knee Protection Becomes Critical
Water crossings: The National Park Service reports 27% of hiking injuries occur during stream crossings. Poles provide three points of contact, dramatically reducing slip risk.
Loose terrain: On scree, gravel, or muddy slopes, poles prevent uncontrolled slides that put extreme lateral stress on knee ligaments.
Heavy packs: For every 10% increase in pack weight, stability decreases by 15%—poles counteract this by creating additional contact points with the ground.
Pro Tip: On steep descents, lengthen your poles 5-7cm and plant them 1-2 feet ahead of you. This forward positioning maximizes the shock-absorbing effect while keeping your center of gravity balanced.
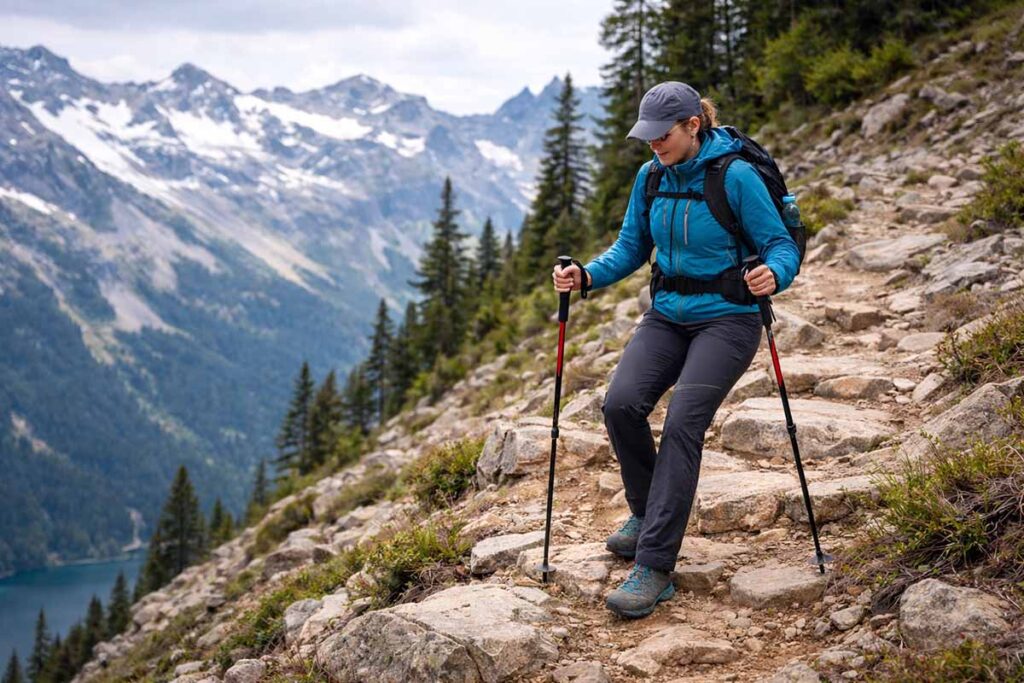
Transform Technical Trails From Hazardous to Manageable
Rocky scrambles, muddy paths, and uneven terrain become significantly safer with two extra points of contact. Trekking poles don’t just help you maintain balance—they actively prevent falls by providing immediate feedback about surface stability.
Cross Streams Without Fear: The 3-Point Contact Method
- Probe first: Use your pole to test stream depth and bottom stability before stepping
- Plant upstream: Position both poles slightly upstream at 45-degree angles
- Move one point at a time: Keep three points of contact with the ground at all times
- Lean into poles: Transfer 10-15% of your body weight to the poles for stability
This technique turns potentially dangerous crossings into controlled maneuvers, eliminating the panic of slipping on slick river rocks.
Navigate Snow and Ice With Confidence
On winter trails, hiking poles become essential safety equipment:
- Snow depth testing: Probe ahead for hidden holes or weak snow bridges
- Ice penetration: Carbide or tungsten tips bite into frozen surfaces where boots slip
- Slope assessment: Test snow stability before committing to steep sections
- Post-hole prevention: Large baskets distribute weight on deep snow
Warning: Always use snow baskets when conditions require them—without proper baskets, poles sink too deeply to provide effective support.
Turn Hiking Into a Full-Body Workout That Burns 25% More Calories

Most hikers think of trekking as a lower-body activity, but poles transform it into a complete fitness regimen that engages your entire musculature while reducing joint strain.
The Calorie-Burning Power of Proper Pole Technique
Research shows hikers using poles burn 20-46% more calories than those without, with the most significant increases occurring on inclines. This happens because:
- Upper body engagement: Arms, shoulders, and back muscles actively participate in propulsion
- Core activation: Maintaining proper posture engages abdominal muscles
- Rhythm efficiency: A consistent 60-90 pole plants per minute creates sustainable momentum
For a 150-pound hiker, this translates to burning approximately 600-750 calories per hour with poles versus 400-550 without—making your hikes significantly more effective for fitness.
Master the Uphill Power Technique
On inclines, poles become powerful propulsion tools:
- Shorten poles 5-10cm for steeper ascents
- Plant poles behind you at a 45-degree angle
- Push down and back through the wrist strap (not just the grip)
- Coordinate with opposite foot (right pole with left foot)
This technique leverages your upper body strength to assist tired legs, increasing ascent speed by 15-25% on 10-20% grades. The key is using the strap correctly—your hand should go up through the strap, then grip the handle, allowing you to push through your wrist rather than straining your hand.
Choose the Right Poles for Your Specific Needs (Not Just the Cheapest Option)

Not all trekking poles deliver the same benefits—selecting the right pair for your hiking style makes a dramatic difference in effectiveness and comfort.
Material Matters: The Weight vs. Durability Trade-Off
| Material | Weight per Pair | Best For | Drawbacks |
|---|---|---|---|
| Aluminum | 17-24 oz | Day hikers, budget-conscious | Heavier, transmits more vibration |
| Carbon Fiber | 10-16 oz | Long-distance hikers, weight-conscious | More expensive, less impact-resistant |
| Titanium | 14-20 oz | Technical/alpine use | Premium price |
For most day hikers: Aluminum poles like the REI Co-op Traverse ($99) offer the best balance of durability and price.
For backpackers: Carbon fiber poles like the Black Diamond Trail Pro ($140) save crucial weight over long distances.
Critical Features You Can’t Afford to Skip
- FlickLock mechanism: Allows quick adjustment with gloves on (superior to twist locks)
- Cork or foam grips: Wicks moisture better than rubber for long hikes
- Replaceable carbide tips: Essential for durability on rocky trails
- Adjustable length: 110-140cm range accommodates varied terrain
Pro Tip: When poles are planted at your side, your elbow should form a 90-degree angle. This ensures proper length for maximum benefit.
Avoid These 3 Common Pole Mistakes That Cause Hand Fatigue
Even with the best poles, improper technique negates benefits and creates new problems. These mistakes undermine the very advantages poles provide.
Death Grip vs. Strap Power: The Hand Fatigue Fix
Most beginners grip poles too tightly, causing hand fatigue within hours. The solution:
- Loosen your grip—your hands should rest lightly on the handles
- Transfer power to the wrist strap (your hand goes up through the strap)
- Push through your wrist rather than squeezing the handle
This technique uses stronger forearm and shoulder muscles instead of straining smaller hand muscles.
Incorrect Pole Placement: The Speed Killer
Planting poles too close to your feet or too far ahead disrupts your natural gait. For optimal efficiency:
- Plant poles 6-12 inches ahead of your opposite foot
- Maintain a rearward angle when pushing off
- Establish a rhythm of 60-90 plants per minute
This creates the natural cross-country skiing motion that increases flat-terrain speed by 8-12%.
The Long-Term Value: Poles Pay for Themselves in Knee Health
While a quality pair of poles costs $80-200, their true value comes in preventing injuries that could sideline you for months. For hikers over 40, poles reduce knee discomfort by 30-40%—potentially extending your hiking career by decades.
Emergency Applications You Hope You Never Need
Beyond performance benefits, poles serve critical safety functions:
- Splint components: Stabilize injured limbs in emergencies
- Tarp support: Create instant shelter with emergency blankets
- Snow probing: Assess avalanche risk or hidden holes
- Wildlife deterrence: Make yourself appear larger to bears or other animals
Final Tip: For beginners, start with adjustable aluminum poles ($40-80 range). Practice on easy terrain for 2-4 hours before attempting challenging hikes. As you gain experience, you’ll discover how poles transform not just your physical experience on the trail, but your entire relationship with hiking—turning exhausting descents into comfortable journeys and opening trails you might otherwise avoid due to joint concerns.