Your kitchen hutch has stopped displaying your favorite dishes properly, leaving you staring at a pile of mismatched plates crammed into awkward corners. That empty wall space mocks you daily – a perfect spot for a custom storage solution that actually fits your space and style. Building your own kitchen hutch solves this exact problem: no more settling for mass-produced units that waste precious square footage or clash with your decor. This guide cuts through the complexity with battle-tested methods for constructing a sturdy, beautiful hutch from scratch. You’ll learn precise measurements, foolproof joinery techniques, and professional finishing secrets – all while avoiding the top mistakes 90% of DIYers make with their first build.
Measure Your Space for a Gap-Free Kitchen Hutch Installation
Skipping precise measurements guarantees a hutch that wobbles, blocks pathways, or leaves frustrating gaps. Before buying a single sheet of plywood, you must account for every spatial constraint in your kitchen.
Determine Exact Dimensions for Your Specific Layout
Grab your tape measure and note three critical numbers: maximum height (from floor to ceiling or counter), width (between adjacent cabinets or walls), and depth (how far out from the wall you can extend). For base cabinets, standard depth is 24 inches – but if you have baseboard heaters or plumbing, reduce depth to 22 inches to maintain clearance. Always deduct 1/2 inch from your width measurement to allow for expansion gaps. If building a countertop hutch, measure the exact counter space available and add 1/4 inch on all sides for easy placement.
Avoid Obstruction Surprises with Pro-Level Checks
Check for hidden obstacles that derail builds: baseboard heating vents (add 2 inches above floor level), uneven walls (use a level to find high/low points), and ceiling crown molding (reduce height by 1 inch). For freestanding hutches in dining areas, measure door swing clearance – your unit must sit at least 3 inches from any door path. Mark these measurements directly on your floor with painter’s tape to visualize the footprint before cutting wood.
Choose the Right Wood for Your Custom Hutch Project

Picking unsuitable materials leads to warped shelves, cracked doors, and finishing disasters. Your wood choice directly impacts durability, cost, and build complexity – especially for kitchen environments with humidity swings.
Why Baltic Birch Plywood Beats MDF for Cabinet Boxes
Opt for 3/4-inch Baltic birch plywood for carcasses instead of MDF. Its cross-banded layers resist warping in humid kitchens, and the void-free core accepts screws without splitting. For the back panel, use 1/4-inch hardboard – it’s cheaper than plywood and provides critical rigidity. Avoid particleboard entirely; it swells when exposed to moisture. For painted finishes, upgrade to MDF-core plywood which has a perfectly smooth surface, but remember: it requires meticulous sealing on all edges.
Solid Wood Face Frames: Pine vs. Oak for Painted Finishes
Select 1×3 pine boards for face frames if you plan to paint – its tight grain prevents raised grain issues after priming. For stained finishes, choose poplar (it takes stain evenly) or maple (for ultra-smooth results). Never use pine for stained projects; it absorbs stain unevenly creating blotchy spots. Cut all face frame pieces to final length after acclimating wood in your workshop for 72 hours – this prevents gaps when humidity changes.
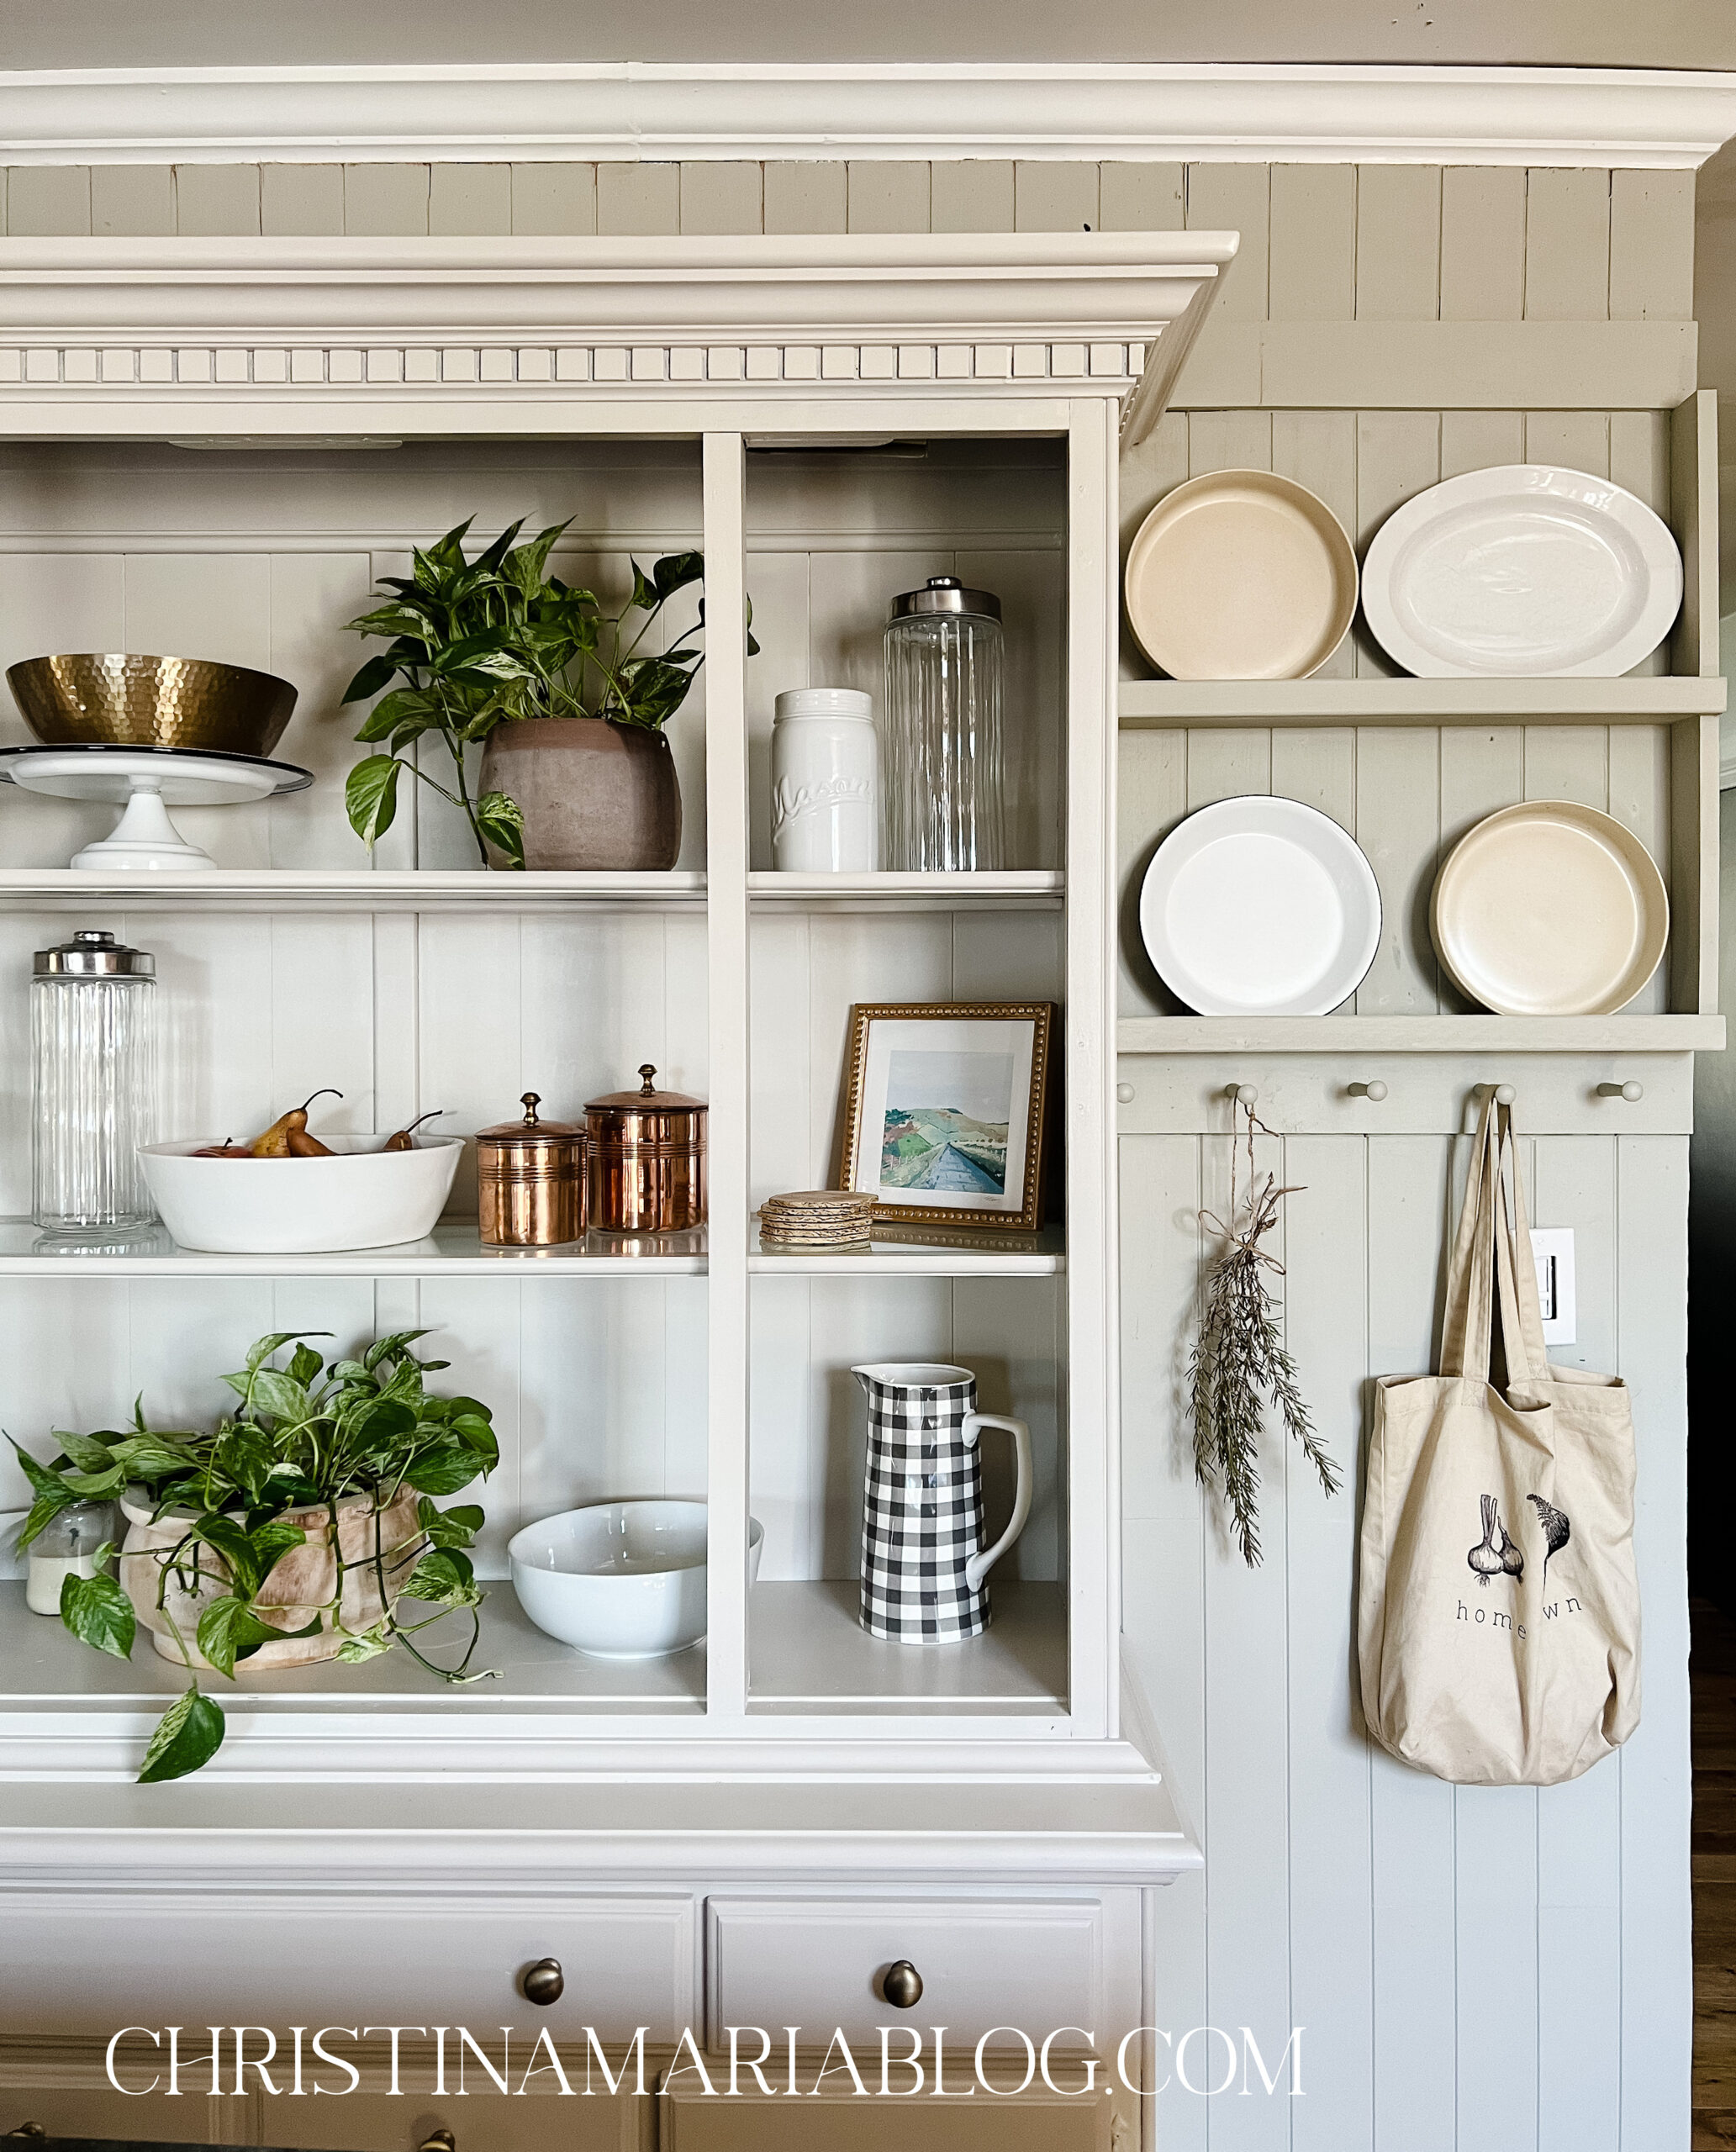
Design a Functional Layout for Dishes and Glassware
A poorly planned interior turns your hutch into a frustrating maze where your favorite wine glasses get buried under mixing bowls. Design for your actual kitchenware, not theoretical storage.
Mix Open Shelves with Glass Doors for Balanced Storage
Dedicate the lower 40% to closed cabinets for hiding everyday dishes and appliances. Use the upper 60% for open shelving to display attractive glassware and ceramics. For wine storage, install fixed shelves 4.5 inches apart (holds standard bottles horizontally) with a dedicated stemware rack above. If space allows, add one adjustable shelf section using 5mm shelf pin holes drilled every 2 inches – this accommodates oversized items like platters.
Plan Shelf Heights for Tall Stemware and Large Plates
Measure your tallest items before cutting shelves: standard wine bottles need 12-inch clearance, champagne flutes require 14 inches, and large serving platters need 10-inch heights. For the base cabinet, design one deep shelf (16 inches) for cookbooks and one shallow shelf (8 inches) for spices. Always leave 2 inches of airspace above shelves – this prevents items from getting wedged and allows for dusting.
Cut Plywood Panels for the Base Cabinet Box
Rushed cutting creates gaps that compromise structural integrity. Precision here prevents wobbling cabinets and misaligned doors later.
Use a Circular Saw with Guide for Flawless 3/4″ Cuts
Clamp a 4-foot level to your plywood as a cutting guide – this beats relying on a table saw’s fence for accuracy. Set your circular saw depth to 3/4 inch plus blade thickness. Score the cut line first with a utility knife to prevent splintering on the finished side. For the base cabinet: cut two side panels at 36″ x 24″, top/bottom at 22.5″ x 24″, and one fixed shelf at 22.5″ x 23.75″ (the 1/8-inch reduction allows for wood expansion).
Cut Fixed Shelves 1/8″ Wider to Allow for Wood Movement
Always make fixed shelves 1/8 inch narrower than the cabinet’s interior width. This creates expansion gaps that prevent bulging in humid conditions. For adjustable shelves, cut them 1/4 inch narrower. Label every piece with a pencil immediately after cutting: “LEFT SIDE,” “FIXED SHELF,” etc. – misidentifying panels during assembly causes irreversible mistakes.
Assemble the Cabinet Carcass with Pocket Hole Joinery
Weak joints cause cabinets to rack (lean sideways) under load. Pocket hole construction delivers professional rigidity without complex joinery.
Drill Pocket Holes on the Inside for Invisible Strong Joints
Set your Kreg Jig for 3/4-inch material. Drill two pocket holes on each end of the top, bottom, and fixed shelf pieces – never on side panels. Apply wood glue to all mating surfaces, then clamp the sides to the top/bottom. Drive 1 1/4-inch pocket screws through the top/bottom into the sides. Check for squareness by measuring diagonals – they must match within 1/16 inch before the glue sets.
Attach the 1/4″ Back Panel to Square the Cabinet Frame
Cut the back panel 1/8 inch smaller than the cabinet’s rear opening. Apply a continuous bead of wood glue along the cabinet’s rear edges. Position the panel, then secure with 3/4-inch brad nails every 6 inches. The back panel acts as a shear wall – this single step transforms a wobbly box into a rock-solid unit. Let the glue cure 24 hours before adding shelves.
Build and Attach a Solid Wood Face Frame
Skipping the face frame risks doors pulling away from the carcass. This structural element also hides plywood edges for a furniture-grade look.
Cut Stiles and Rails from 1×3 Pine for a Traditional Look
Your stiles (vertical pieces) should equal the cabinet’s full height (36 inches). Rails (horizontal pieces) span the cabinet width minus 3 inches (to fit between stiles). For a base cabinet: cut two stiles at 36″ and three rails at 21.25″. Sand all pieces to 180 grit before assembly – this prevents glue failure.
Glue and Clamp the Frame Before Securing to the Carcass
Dry-fit the frame, then apply glue to all joints. Clamp with pipe clamps while checking for squareness. Let dry 1 hour. Position the face frame on the carcass, ensuring 1/4 inch overhang on all sides. Attach from inside the cabinet using 1 1/4-inch finish nails every 8 inches. Fill nail holes with matching wood putty before finishing.
Hang Cabinet Doors with Euro Hinges for Perfect Alignment
Misaligned doors ruin an otherwise beautiful hutch. Concealed euro hinges solve this with micro-adjustments after installation.
Mount Hinge Plates to the Face Frame in Under 10 Minutes
Drill three 35mm hinge cup holes centered 2.5 inches from the top/bottom and 2.5 inches from the edge using a hinge drilling jig. Install the mounting plate into the door edge with 4mm screws. Position the door against the face frame, then secure the hinge cup to the mounting plate. Start with the top hinge – this sets the door’s height.
Adjust Door Position Up/Down and In/Out with Allen Wrenches
Use the three adjustment points:
– In/out: Turn the top screw on the mounting plate
– Up/down: Rotate the bottom screw on the mounting plate
– Side-to-side: Adjust the hinge cup’s center screw
Test door swing repeatedly during adjustment. Perfect alignment means consistent 1/8-inch gaps around the entire door.
Sand and Finish Your Hutch for Long-Lasting Beauty
Rushed finishing leads to blotchy stains and peeling paint. Proper prep ensures your hutch withstands daily kitchen use.
Progress from 120 to 220 Grit for a Glass-Smooth Surface
Start with 120-grit to remove saw marks, then 150-grit, finishing with 220-grit. Sand with the wood grain – never diagonally. Wipe away all dust with a tack cloth before finishing. For painted hutches, fill screw holes with wood filler matching your paint color. For stained projects, apply pre-stain conditioner 15 minutes before staining.
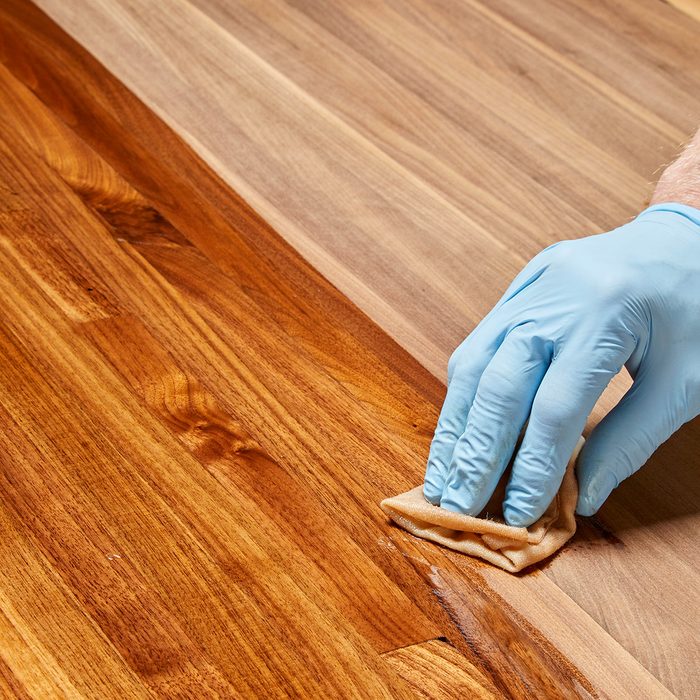
Apply 3 Coats of Wipe-On Polyurethane for Durability
Choose wipe-on polyurethane over brush-on for bubble-free results. Apply thin coats with a lint-free rag, wiping with the grain. Lightly sand between coats with 320-grit paper. For painted finishes: prime first, then apply two topcoats with a high-density foam roller. Let each coat dry 4 hours. The final coat must cure 72 hours before loading dishes.
Prevent Common Building Mistakes: Warped Wood and Sagging Shelves
These errors turn your dream project into a leaning tower of dishes. Implement these fixes during construction.
Acclimate Lumber for 72 Hours Before Cutting
Store all wood in your workshop for three days before building. Stack sheets with 1-inch stickers between them for airflow. This prevents post-build warping as wood adjusts to your home’s humidity. Never build with wood fresh from a cold truck – condensation causes immediate warping.
Add Center Supports for Shelves Over 36 Inches Wide
For shelves wider than 36 inches, install a center cleat (a 1×2 strip screwed to the cabinet sides). This prevents sagging under heavy dish loads. Alternatively, use 1-inch thick solid wood instead of 3/4-inch plywood for critical shelves. Test your design by loading shelves with books before final assembly – if they deflect more than 1/8 inch, add support.
Your custom kitchen hutch now stands as both functional storage and a centerpiece you crafted with your own hands. Remember these maintenance essentials: tighten hinge screws quarterly, clean with a damp microfiber cloth (never spray cleaners directly), and refresh the finish every 3-5 years with a light sanding and topcoat. For your next project, consider adding integrated LED lighting inside glass doors or building matching open shelving above your sink. The true reward isn’t just the storage solution – it’s knowing you created something perfectly suited to your kitchen, built to last decades with proper care. Now go fill those shelves with the dishes you’ve been proudly displaying all along.