
Your kitchen sink rack sits silently under piles of dishes, catching food scraps and grease while protecting your sink from scratches. But when crusty mineral deposits cling to the wires and greasy film coats the surface, it transforms from a helper into a hygiene hazard. A neglected sink rack breeds bacteria, traps odors, and leaves unsightly water spots on clean dishes. If you’ve ever wondered how to clean kitchen sink racks properly—whether yours has light daily grime or years of baked-on gunk—you’re not alone. Nearly every home cook battles this overlooked chore. The good news? With the right techniques, you can restore your rack to spotless condition in under 30 minutes. This guide delivers battle-tested methods straight from professional cleaning protocols, so you’ll never dread this task again.
Your Kitchen Sink Rack Cleaning Supply Checklist
Before diving in, gather these eight essentials—most are already in your pantry or under the sink. Never skip rubber gloves when handling hot water or chemicals; your skin will thank you. For the rack itself, you’ll need a soft-bristle brush (like a dishwashing brush) and an old toothbrush for grid holes—nylon pads work but avoid steel wool on coated racks. Your cleaning agents depend on the grime: Dish soap cuts everyday grease, while white vinegar dissolves hard water stains. Baking soda adds gentle scrubbing power, and dishwasher detergent pods tackle stubborn buildup. Keep a large basin or stoppered sink ready for soaking, plus microfiber cloths for streak-free drying. Pro tip: Skip bleach unless your rack is bare metal—rubber or plastic coatings will degrade.
5 Step-by-Step Methods to Clean Kitchen Sink Racks
Manual Scrubbing for Light Daily Grime
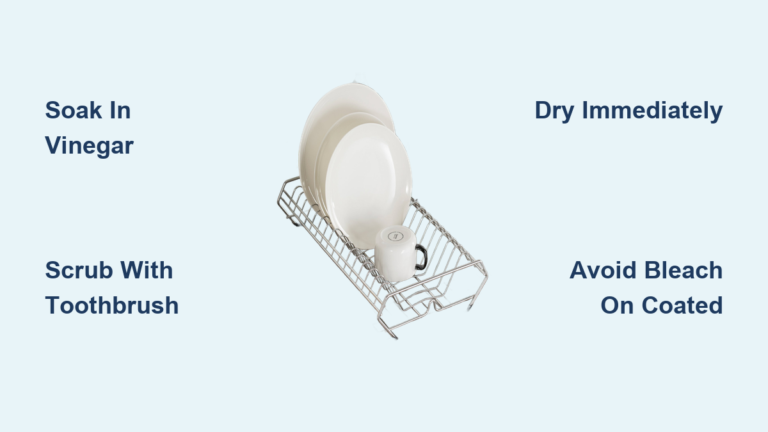
Use this 5-minute technique after dinner to prevent buildup. First, remove the rack and rinse loose debris under warm water. Apply a dime-sized drop of dish soap directly onto the rack or mix baking soda with water into a paste. Scrub all surfaces with your soft brush, focusing on grid intersections where food particles hide. The toothbrush is non-negotiable here—it’s the only tool that reaches inside tiny holes. Rinse thoroughly until water runs clear, then dry immediately with a microfiber cloth. Skipping drying invites mineral spots, especially in hard water areas. This method works for all rack types but requires weekly repetition.
Dish Soap Soak: Deep Clean Grease Buildup
When grease coats the wires after frying pans, this soak cuts through grime effortlessly. Fill your sink basin with the hottest water possible and add ¼ cup dish soap (Dawn works best). Submerge the rack for 20–30 minutes—set a timer so you don’t forget. The hot, soapy water loosens stuck-on oil without elbow grease. After soaking, scrub lightly with your brush, rinse under running water, and dry completely. For extra stubborn grease, add a dishwasher detergent pod to the soak; its enzymes break down oils faster. Warning: Never soak rubber-coated racks longer than 30 minutes—prolonged heat warps the coating.
Vinegar Soak for Hard Water Stains and Limescale
White crusty deposits? That’s limescale from hard water, and vinegar dissolves it fast. Mix equal parts white vinegar and warm water in a basin (use full-strength vinegar for heavy buildup). Submerge the rack for 15–30 minutes—the acetic acid breaks down mineral bonds. Check progress: deposits should bubble and loosen. Scrub gently with a brush, then rinse thoroughly with clean water. Critical step: If vinegar smell lingers, soak for 5 minutes in plain water before drying. This method is safe for all racks except those with damaged coatings—test a hidden spot first.
Dishwasher Method (For Metal Racks Only)
Skip scrubbing entirely if your rack is bare stainless steel or chrome. Verify dishwasher safety first—check the manufacturer’s label or test a small area. Place it vertically in the top rack to avoid blocking spray arms. Run a standard cycle with regular detergent (no bleach-based pods). When the cycle ends, immediately remove the rack—air-drying causes water spots. Wipe it bone-dry with a microfiber cloth, paying attention to crevices. Never use this for rubber, silicone, or plastic-coated racks; high heat melts coatings and warps the frame.
Boiling Water Blitz for Stubborn Grease
This chemical-free method melts grease on contact but demands caution. Boil 4 cups of water in a kettle. Place the rack in your empty sink, put on thick oven mitts, and slowly pour water over greasy areas. Let it sit 2 minutes—the heat liquefies hardened oil. Scrub immediately while hot, then rinse and dry. Safety first: Keep kids away, pour slowly to avoid splashes, and never use on coated racks—thermal shock cracks coatings. Reserve this for stainless steel racks with severe grease.
Cleaning by Sink Rack Material: Avoid Damage
Stainless steel and chrome racks handle baking soda pastes and vinegar soaks effortlessly—just scrub with the wire grain. But rubber or silicone-coated racks need kid gloves: Skip abrasives entirely. Use only dish soap, a soft cloth, and lukewarm water. For disinfecting, choose vinegar over bleach—it won’t degrade the coating. Plastic-coated racks are equally delicate; avoid boiling water and harsh chemicals. If your rack has a non-stick finish (common in newer models), hand-wash only with mild soap. When in doubt, skip the soak—a quick daily rinse prevents most buildup without risking damage.
Deep Cleaning Protocol for Severely Neglected Racks
For racks caked in years of gunk, combine these steps: First, pre-soak in a sink filled with hot water and one dishwasher detergent pod for 60 minutes. Next, scrub every inch with a stiff brush—the long soak should loosen most grime. Target white limescale with a vinegar-soaked cloth pressed onto spots for 30 minutes. Finally, sanitize with a 1:10 bleach-water solution (only for bare metal racks!) for 5 minutes, then rinse 3x. Pro tip: Lay newspaper under the rack during deep cleaning—dripping vinegar or bleach won’t stain counters.
Routine Maintenance: Prevent Buildup Before It Starts
Spend 60 seconds daily to avoid hour-long deep cleans. After washing dishes, remove the rack and flip it upside down over the sink—this dislodges trapped food. Weekly, give it a 2-minute scrub with soapy water. Monthly, do a 15-minute vinegar soak to prevent mineral buildup. The golden rule: Always dry the rack completely after cleaning. Water spots form in minutes on wet metal, especially with hard water. Keep a microfiber cloth under your sink just for this task.
Critical Safety Tips for Cleaning Kitchen Sink Racks
Ventilate relentlessly when using vinegar or bleach—open windows or turn on exhaust fans. Wear gloves with bleach to prevent chemical burns, and never mix cleaners (vinegar + bleach creates toxic gas). Rinse racks 3x after chemical soaks to avoid residue on dishes. Most importantly, check material compatibility first—a bleach soak can ruin a $30 coated rack in minutes. When sanitizing, vinegar is safer than bleach for most households.
A clean sink rack isn’t just about looks—it’s where hygiene begins. By using these methods, you’ll extend your rack’s life, protect your sink, and keep dishes truly clean. Start with the manual scrub tonight, and within a week, you’ll have a routine that takes less time than loading the dishwasher. Your sparkling rack will be the unsung hero of your kitchen again.


