Your undermount sink has developed a stubborn leak, or maybe you’re finally upgrading that dated stainless steel model. Whatever the reason, replacing an undermount kitchen sink feels intimidating—countertop damage risks, plumbing nightmares, and that terrifying moment when you lower a heavy sink into place. But here’s the truth: with precise preparation and the right technique, replacing an undermount kitchen sink is achievable for skilled DIYers. Unlike top-mount sinks, undermount models require working beneath the countertop, making adhesive application and bracket alignment critical. This guide cuts through the confusion with field-tested steps to replace your undermount sink without cracking granite or causing leaks. You’ll learn how to safely remove the old unit, prepare the countertop surface, and secure your new sink for decades of trouble-free use.
Must-Have Tools for Replacing Your Undermount Kitchen Sink
Skipping proper tools guarantees frustration during undermount sink replacement. Unlike simpler faucet swaps, this project demands specialized gear to handle weight, adhesives, and confined spaces. First, gather your plumbing essentials: two adjustable wrenches (or a basin wrench for tight spots), channel-lock pliers, and safety glasses to shield against debris. You’ll need a utility knife with fresh blades to slice through old caulk lines and a stiff putty knife for prying adhesive without gouging stone. For the sink lift, countertop clamping pads with F-clamps are non-negotiable—they distribute pressure evenly to prevent countertop cracks. Don’t forget the sealants: 100% silicone kitchen/bath caulk for the visible seam and two-part epoxy adhesive (or manufacturer-specific sink adhesive) for the critical countertop bond. Pipe thread sealant and new P-trap washers avoid reconnection leaks. Pro tip: Lay out every tool before starting—mid-project hardware store runs waste hours when adhesives begin curing.
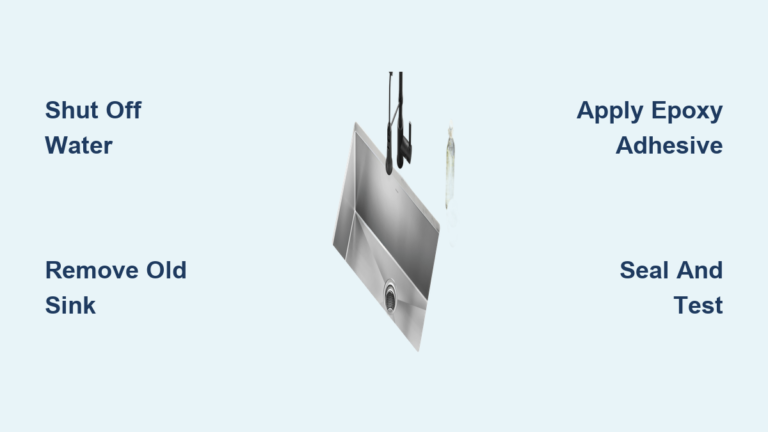
Removing and Installing Your Undermount Sink in 4 Critical Phases
Shut Off Water and Disconnect All Plumbing Lines
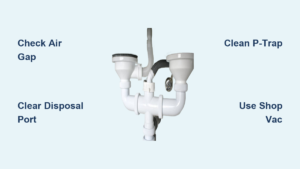
Ignoring this step risks flooding your kitchen cabinet within minutes. Locate shutoff valves under the sink—turn clockwise until fully closed. If valves leak or feel stiff, shut off the main water supply. Place a bucket under the P-trap, then disconnect hot/cold supply lines using an adjustable wrench (keep towels ready for drips). For garbage disposals, unscrew the dishwasher hose clamp first, then loosen the mounting ring bolts. Never skip draining pipes: Remove the P-trap by loosening slip-nut connections, letting residual water empty into your bucket. Check for hidden connections like air gap tubes. If pipes are corroded, apply penetrating oil and wait 15 minutes before loosening—forcing them causes breaks. Dry all surfaces thoroughly; moisture compromises new adhesive bonds. This phase should take 20-30 minutes for standard setups.
Removing Your Old Undermount Sink Without Damaging Countertop
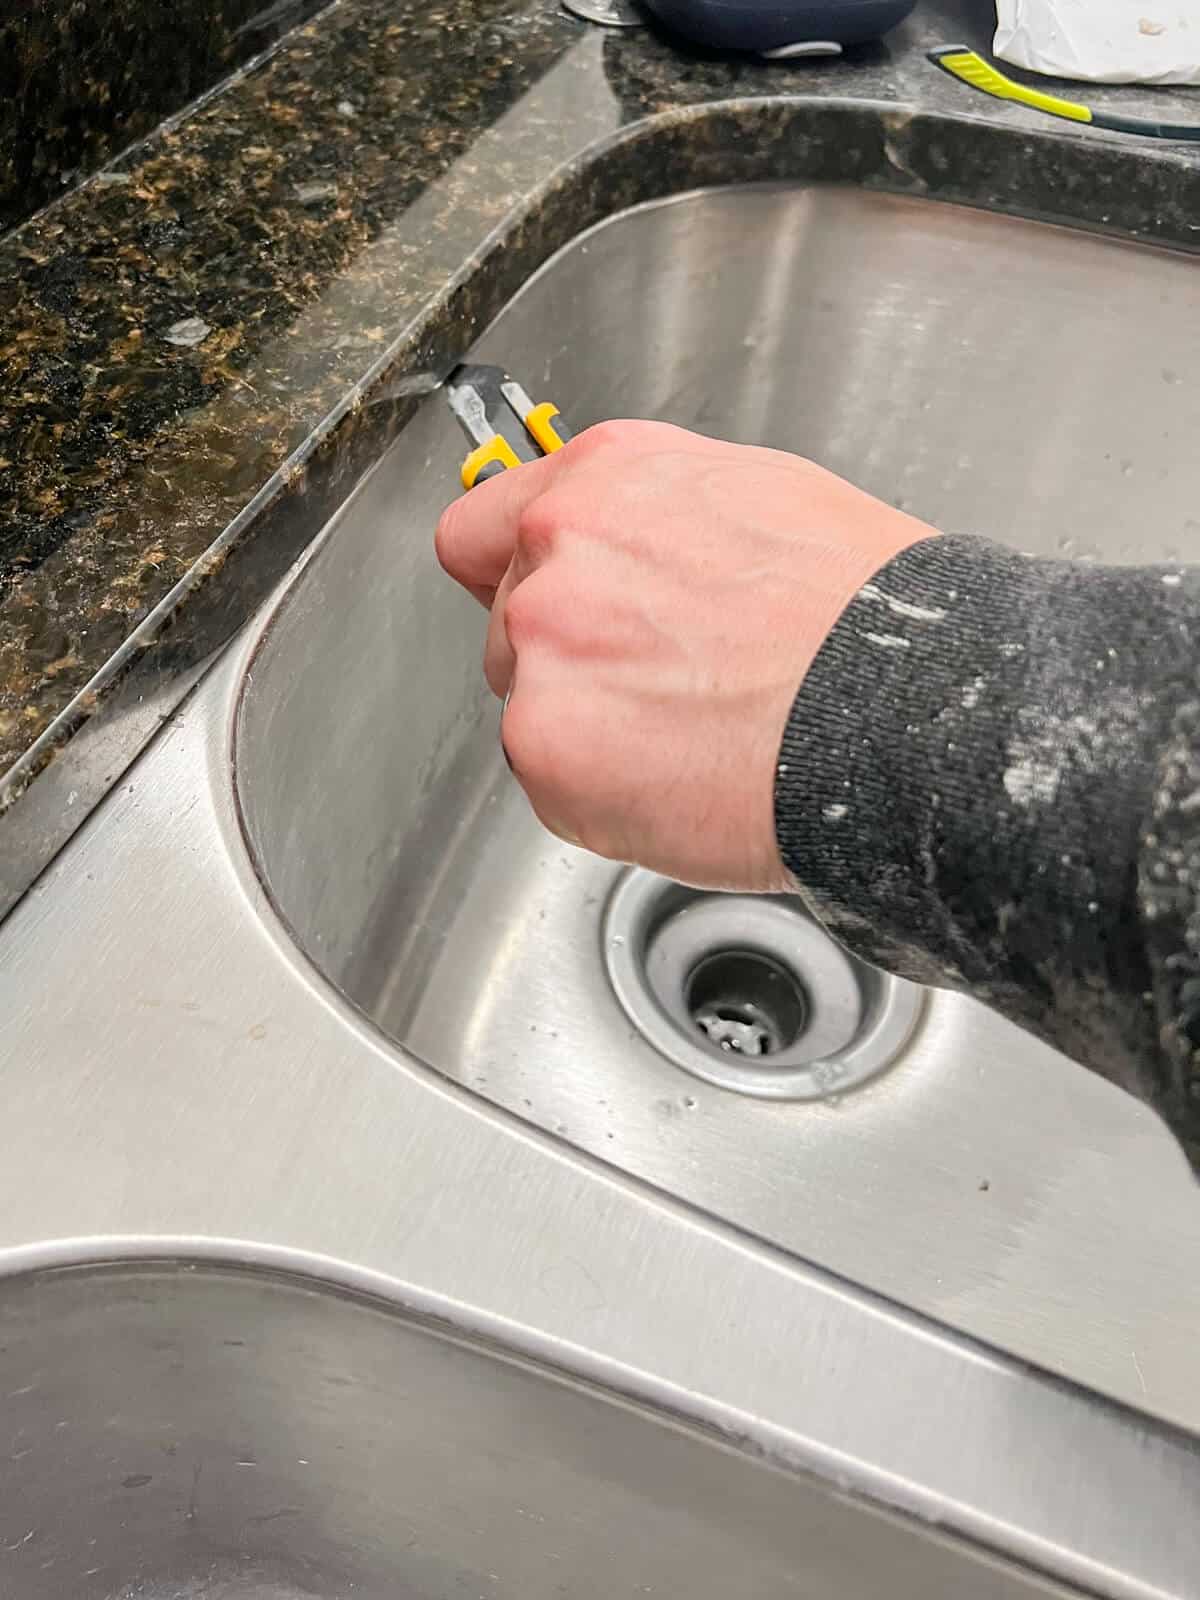
Here’s where most DIYers crack their countertops—by rushing the removal. Start by inspecting the sink’s underside: You’ll see mounting clips (usually 4-6) screwed into the countertop lip. Loosen each clip’s screw 1-2 turns with a screwdriver—don’t remove completely yet. Next, slice through the old caulk seal using a utility knife held at a 45-degree angle against the sink rim. Work slowly to avoid scratching stone. Insert your putty knife between sink and countertop, gently prying to break the adhesive bond. Critical warning: Apply even pressure around the entire perimeter—jacking one side up stresses the countertop. Once the seal breaks, fully remove mounting clip screws. With a helper supporting the sink’s weight (they’re 30+ lbs!), carefully lower it straight down. If stuck, re-check for hidden adhesive spots near the drain. Never twist or rock the sink—this cracks solid surfaces. Expect old silicone residue; scrape it off later with a plastic razor blade.
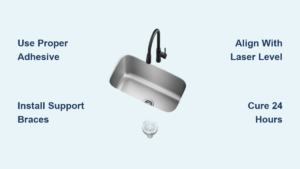
Preparing Countertop and Installing the New Undermount Sink
This phase makes or breaks your leak-proof seal—precision matters. After removing the old sink, scrub the countertop rim with isopropyl alcohol to eliminate grease and old adhesive. Any residue prevents new epoxy from bonding. Let the surface dry 15 minutes. Now, apply adhesive: Squeeze a continuous 1/4-inch bead of two-part epoxy along the entire underside of the countertop lip—no gaps allowed. Avoid silicone caulk here; it lacks structural strength. While the epoxy cures (typically 5-10 minutes), position your new sink on a padded surface to check alignment holes. With your helper, lift the sink into the opening. Align it perfectly before lowering—adjustments after contact cause uneven seals. Once seated, immediately install mounting clips per the manufacturer’s template (usually every 8-12 inches). Tighten clips incrementally: Rotate around the sink, snug but not forcing screws—overtightening cracks stone. Let epoxy cure 24 hours before reconnecting plumbing. This step demands teamwork; solo attempts often misalign the sink.
Sealing, Reconnecting, and Leak-Testing Your New Sink

Rushing reconnection causes 70% of post-installation leaks. After adhesive cures, reconnect plumbing in reverse order of removal: Start with the P-trap—hand-tighten nuts first, then give a 1/4-turn with pliers (overtightening cracks plastic). Apply Teflon tape clockwise on all threaded connections. For disposals, reattach the mounting assembly before the unit itself. Now, the visible seal: Run a smooth bead of 100% silicone caulk where the sink meets the countertop. Dip your finger in soapy water and drag it along the bead to create a concave seal that channels water inward. Wipe excess immediately with a damp cloth. Wait 12 hours for silicone to cure before testing. Turn water on slowly—check connections under dim lighting (leaks glint). Fill both basins, then drain while inspecting P-traps. Test disposal and dishwasher lines separately. If leaks appear, tighten connections 1/8-turn at a time—never force them. This final phase takes 45 minutes but prevents future water damage.
Pro Tips to Avoid Costly Mistakes When Replacing Your Undermount Sink

Most undermount sink replacement disasters stem from skipped prep—not skill gaps. First, always match adhesive to your sink material: Stone sinks need epoxy, while fireclay requires specific mounting kits. Check manufacturer instructions—using silicone where epoxy is specified voids warranties. Second, do a dry-fit before applying adhesive: Position the sink without glue to verify clearance for faucets and drains. Third, use painter’s tape on countertops during installation—it catches drips and provides a clean caulk line. When lowering the sink, place wood blocks on cabinet shelves to support weight if your helper falters. For stubborn old adhesive, heat it with a hairdryer to soften before scraping. Crucially, never skip the 24-hour adhesive cure—using the sink early causes catastrophic failure. Finally, photograph every disconnected pipe; labels like “HOT” or “DISHWASHER” prevent reconnection errors. Remember: Professional installers budget 4-6 hours for this job. Rushing past 3 hours invites mistakes. If your countertops are marble or thin quartz, consult a pro—DIY risks $2,000+ repairs.
Replacing an undermount kitchen sink successfully hinges on respecting the adhesive cure time and meticulous surface prep. By following these phase-specific steps—especially the critical epoxy application and clip tightening sequence—you’ll achieve a watertight, professional installation. The biggest takeaway? Patience with preparation prevents costly callbacks. Once sealed and tested, enjoy your upgraded sink knowing you avoided the #1 DIY error: compromising the countertop bond. For next steps, check our guide on “Choosing the Right Undermount Sink for Your Countertop Material” to ensure your new fixture complements your investment long-term.