
That ominous humming sound followed by a dead silence. Water pooling in your sink as yesterday’s dinner refuses to drain. A malfunctioning garbage disposal doesn’t just create a smelly mess—it shuts down your entire kitchen workflow. Over 80% of disposal issues stem from simple jams or reset button trips that homeowners can fix in under 15 minutes. Before you panic about calling a plumber or replacing the unit, you need this step-by-step guide. We’ll show you exactly how to diagnose humming motors, silent units, leaks, and foul odors using only tools you likely already own. By the end, you’ll confidently handle 90% of garbage disposal emergencies.
Critical Safety Steps Before Fixing Your Garbage Disposal
Never skip these steps—electrocution risks are real. Your first move must always be cutting power at the source. Flip the wall switch off, then unplug the unit from the outlet under your sink. If it’s hardwired (no plug visible), shut off the correct circuit breaker at your main electrical panel. Verify power is truly off by flipping the wall switch—no hum or vibration should occur. Keep children and pets away from the work area. Never insert hands or metal utensils into the chamber, even with power off. Use only manufacturer-provided tools or non-conductive wooden handles for probing. Skipping these precautions risks severe injury from accidental activation or contact with sharp impellers.
Why Power Disconnection Is Non-Negotiable
One overlooked danger? Residual electricity in capacitors. Even after flipping the breaker, wait 2 minutes before touching internal components. Many DIYers assume turning off the wall switch is sufficient, but disposals often connect directly to circuits without switches. Always confirm with a non-contact voltage tester near the unit. If you smell burning insulation or see scorch marks during inspection, stop immediately—this indicates serious electrical damage requiring professional help.
How to Fix a Jammed Garbage Disposal That Won’t Spin

That loud humming noise means your disposal is powered but physically blocked. Metal utensils, fruit pits, or fibrous food scraps have wedged the impellers. This is the most common disposal failure, accounting for nearly 70% of service calls. You’ll feel resistance when trying to manually rotate the flywheel. Don’t panic—this takes less time than brewing coffee.
Step-by-Step Jam Clearance Procedure
- Confirm power is OFF (recheck your safety steps)
- Locate the hex socket on the disposal’s bottom center—this is where the jam-buster wrench inserts
- Insert a 1/4″ hex key (use the manufacturer’s L-shaped tool or a standard Allen wrench)
- Rotate back-and-forth vigorously—turn clockwise until stuck, then counter-clockwise. You’ll feel debris break free after 5-10 rotations
- Shine a flashlight inside the chamber. With power OFF, use long-handled pliers to extract visible obstructions like corn husks or onion skins
- Press the reset button (red or yellow) on the unit’s bottom after clearing the jam
Pro Tip: If the jam persists, remove the rubber splash guard from the sink drain. This gives direct access to dislodge stubborn items with a wooden spoon handle—never use metal.
How to Fix a Silent Garbage Disposal That Won’t Turn On
No sound when you flip the switch? Don’t assume the motor died. First, check if the disposal is actually receiving power. Many “dead” units are simply disconnected at the source. Start your diagnosis here before dismantling anything.
Power Restoration Checklist
- Verify plug connection under the sink (often hidden behind pipes)
- Test GFCI outlets nearby—kitchen circuits frequently share these safety outlets
- Reset tripped breakers in your main panel (look for switches slightly off-center)
- Press the thermal reset button firmly until it clicks (wait 5 minutes first for motor cooling)
If power checks out but the unit remains silent, inspect for leaks underneath. Water damage from sink flange failures often shorts the motor. Critical warning: If you smell burning or see melted wiring, stop immediately—this requires professional electrical repair.
How to Stop a Leaking Garbage Disposal Immediately

Water dripping under your sink usually points to three failure points. First, dry all surfaces completely with towels. Run water through the disposal while observing from below with a flashlight. Track the leak source:
Leak Diagnosis and Repair
- Top leak (around sink flange): Failed plumber’s putty or gasket. Requires unit removal and resealing—not a quick DIY fix
- Side leaks (drain pipe connections): Tighten slip-nut connections by hand plus ¼ turn with pliers. Replace cracked rubber washers
- Bottom housing leak: Indicates catastrophic failure. If water pools directly under the unit body, replacement is mandatory—no sealants work long-term
Urgent action: Place a bucket under leaks to prevent cabinet damage. If the leak worsens during use, shut off water supply immediately.
How to Clear Clogs Causing Slow Drainage
When water backs up in both sinks, the clog is likely past the disposal—in the P-trap or main drain line. Never use chemical drain cleaners; they corrode disposal seals and pipes. Instead:
- Run cold water for 30 seconds to flush loose debris
- Check for internal jams using the hex wrench method above
- Place bucket under P-trap, unscrew slip nuts, and clear debris with a wire hanger
- Reassemble pipes with new rubber washers if needed
Critical mistake: Using hot water to clear clogs. Heat melts grease, which then re-solidifies deeper in pipes. Always use cold water with disposals.
Eliminate Rotten Garbage Disposal Smells Permanently
Foul odors come from decomposing food trapped in crevices. The rubber splash guard and sink flange harbor 90% of odor-causing gunk. Forget commercial cleaners—these two methods work:
Odor Elimination Protocol
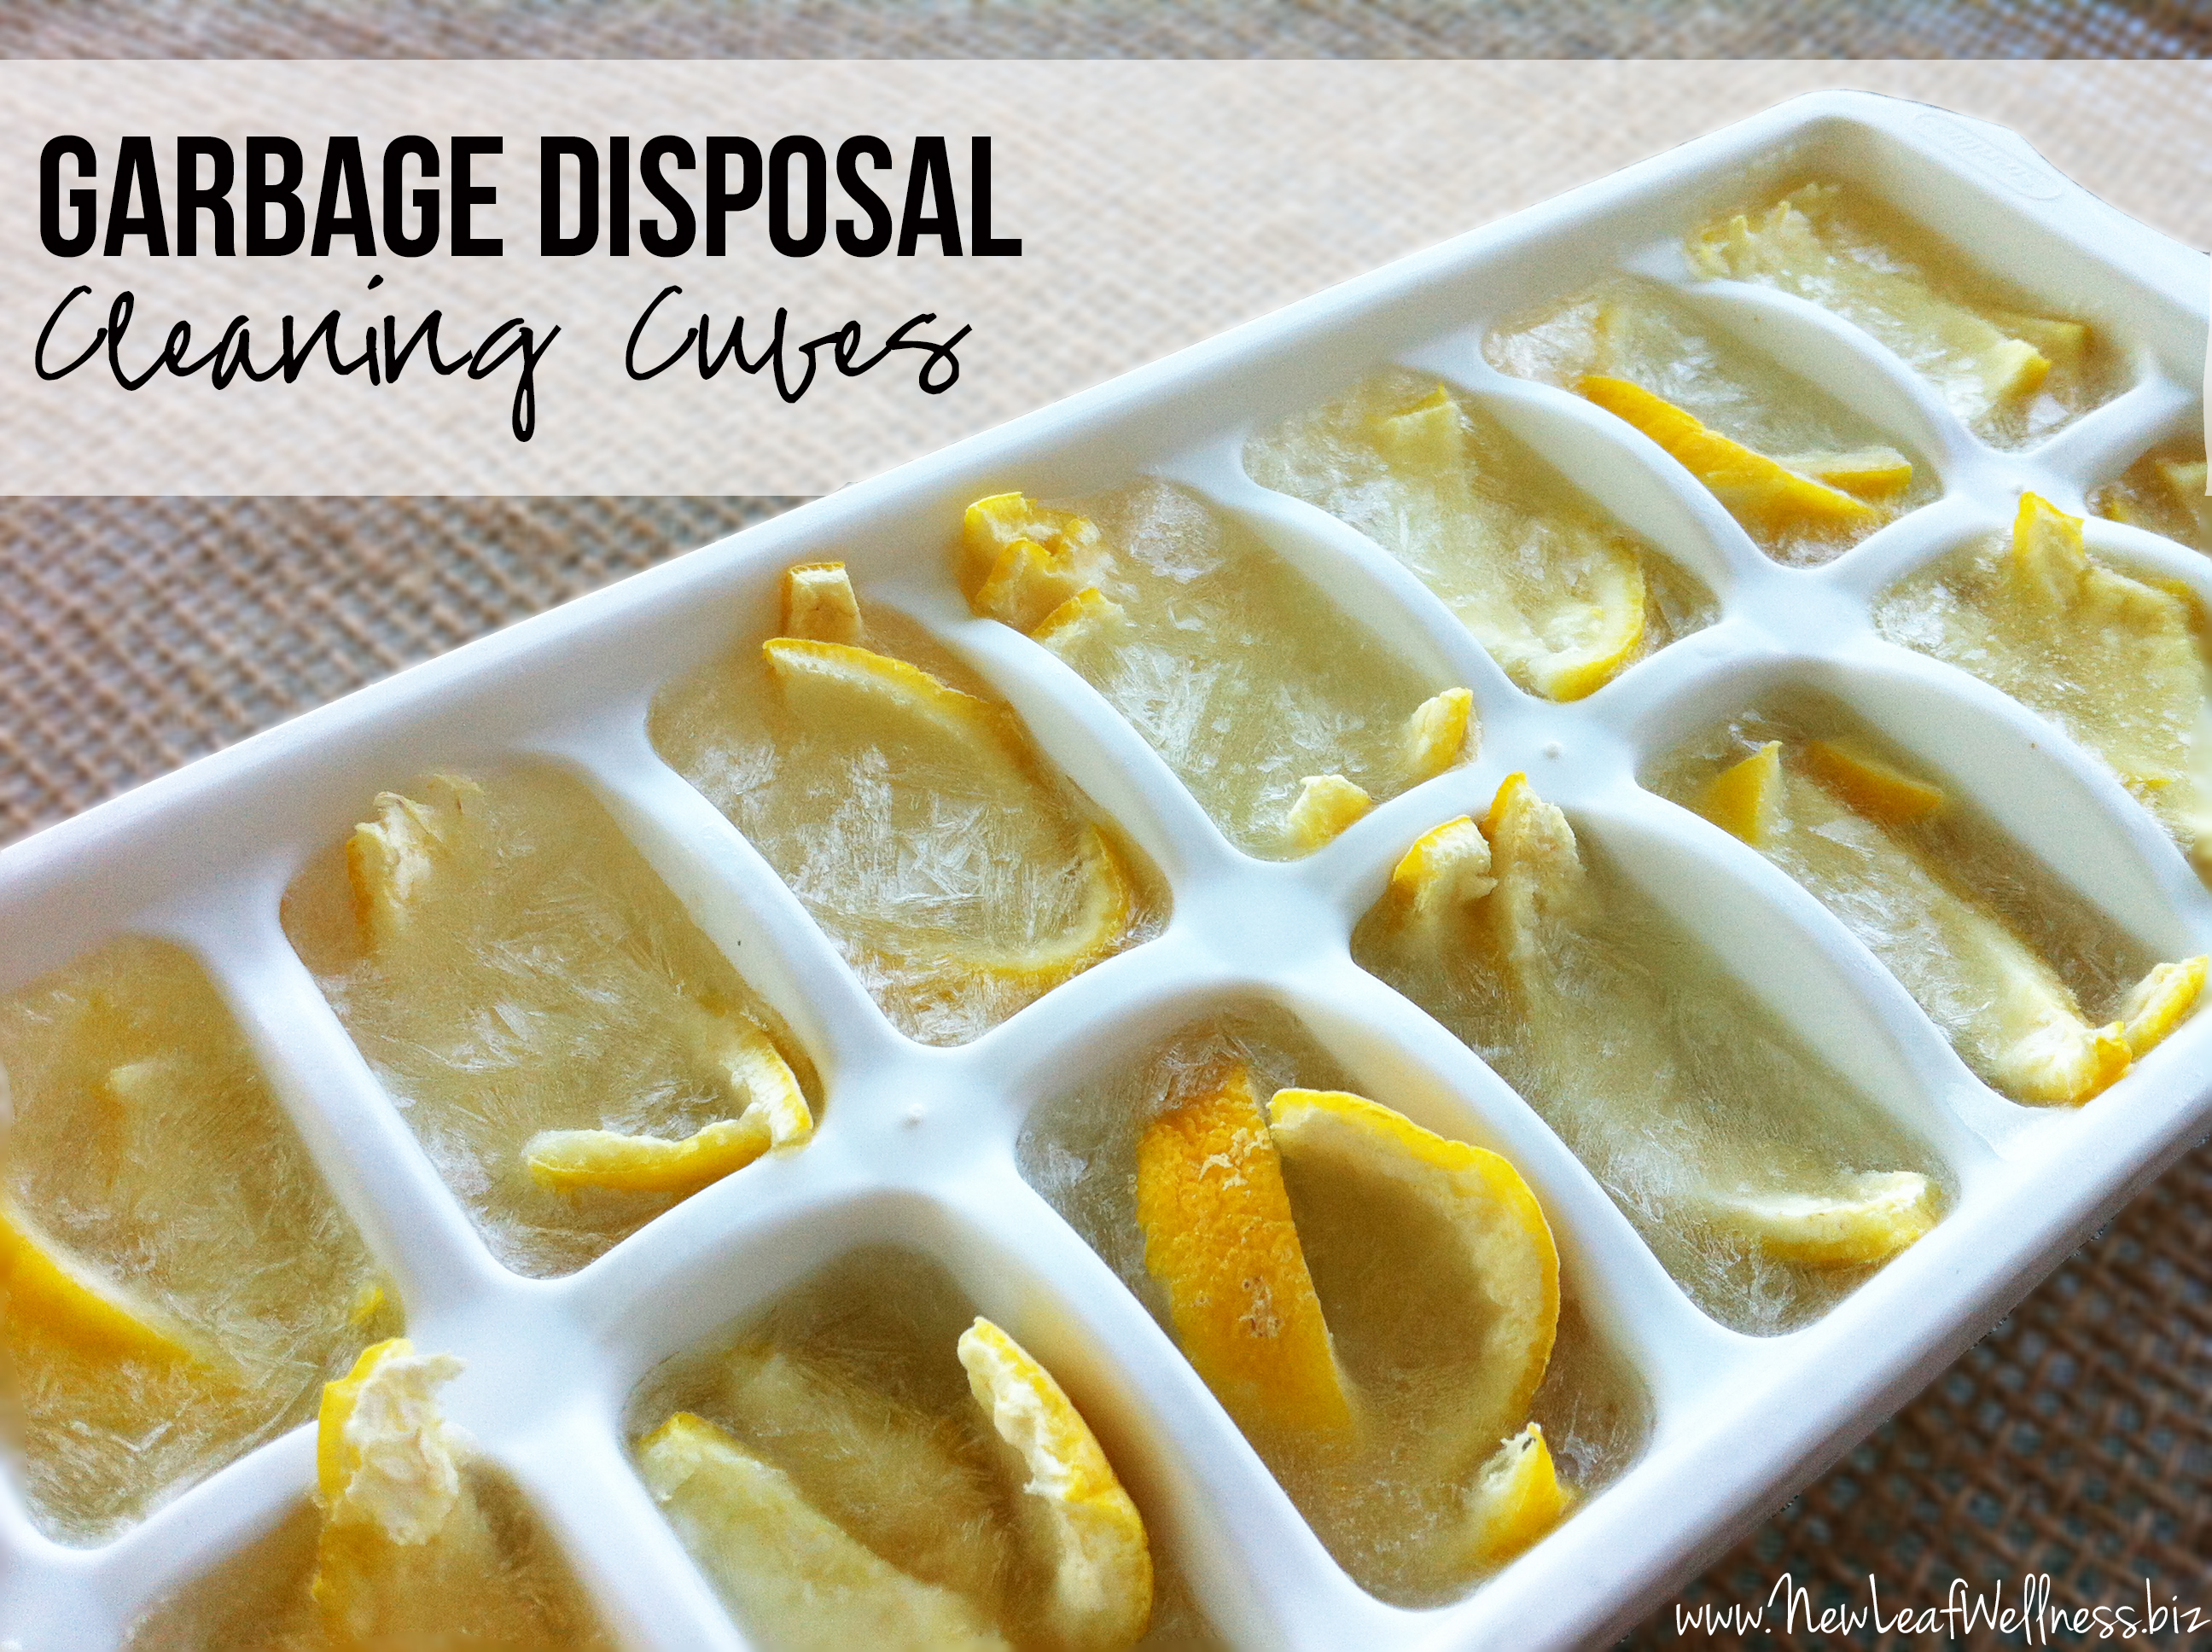
- Freeze vinegar cubes: Blend ½ cup vinegar with water, freeze, then grind cubes with citrus peels
- Deep-clean the splash guard: Pull it from the drain opening, scrub with baking soda paste, and run through dishwasher
- Monthly maintenance: Grind 1 cup ice cubes + 2 tbsp coarse salt to scour grinding chamber
Why lemon peels alone fail: They mask but don’t eliminate odors. The vinegar-ice combo breaks down grease buildup causing persistent smells.
When to Call a Plumber for Garbage Disposal Repair
Some issues demand professional help. Call a licensed plumber immediately if:
- The motor hums but won’t spin after 3 jam-clearing attempts
- You detect burning smells with no visible debris
- Water leaks from the unit body (not connections)
- Electrical components show scorch marks or melting
- You’re uncomfortable handling wiring or plumbing
Cost-saving insight: Plumbers charge $150-$300 for simple resets. Only call them when you’ve exhausted all DIY options—most “emergency” calls are user-fixable jams.
Foods That Destroy Garbage Disposals (Avoid These!)
Prevention beats repair. These common kitchen items cause 80% of jams and premature failures:
- Fibrous nightmares: Celery strings, corn husks, and artichoke leaves wrap impellers
- Grease traps: Even small amounts solidify into concrete-like clogs
- Starch bombs: Potato peels and pasta expand into drain-clogging paste
- Coffee grounds: Accumulate into abrasive sludge that wears down seals
- Bones/pits: Crack impellers and overload motors
Pro tip: Run cold water 15 seconds before grinding, during use, and 30 seconds after. Cold water solidifies fats for cleaner chopping.
How to Reset a Tripped Garbage Disposal Correctly
The reset button isn’t just an on/off switch—it’s a thermal overload protector. When motors overheat from jams, this safety feature cuts power. Forcing operation without resetting causes permanent damage.
Proper Reset Sequence
- Wait 10 minutes for internal cooling (critical step many skip)
- Locate the red/yellow button on the unit’s bottom
- Press firmly until you feel a distinct click
- Test with cold water running
If it trips repeatedly: You have unresolved jam or failing motor bearings. Continuing to reset risks burning out the motor.
By mastering these techniques, you’ll solve most garbage disposal crises faster than waiting for a service call. Remember the golden rule: cold water before, during, and after every use prevents 90% of jams. For persistent issues after following this guide, replacement may be necessary—modern 3/4 HP units cost less than emergency plumber visits. Keep this guide bookmarked; when disaster strikes at dinner time, you’ll be the kitchen hero who gets things grinding again.


