
Water damage on your kitchen countertop isn’t just an eyesore—it’s a ticking time bomb threatening your entire cabinetry structure. That seemingly minor bubble near your sink or dark stain along the seam could signal serious moisture intrusion into your laminate countertop’s particleboard core. Left unaddressed, a small water issue can escalate into costly cabinet damage, mold growth, and even structural problems. This guide delivers actionable steps to diagnose, repair, and prevent water damage on laminate countertops, saving you hundreds in replacement costs. Whether you’re dealing with a swollen edge from a leaky faucet or a bubbling surface from repeated spills, these proven techniques will restore your kitchen’s functionality and appearance.
How to Identify Water-Damaged Countertop Sections
Spotting water damage early prevents minor issues from becoming major repairs. Water-damaged laminate countertops rarely announce themselves with dramatic leaks—they whisper through subtle but telltale signs that require your attention.
Recognizing Early-Stage Water Damage
Look for these critical indicators before the problem worsens:
* Spongy spots when pressing on the surface near sink seams or backsplash joints
* Visible bubbling or warping of the laminate surface, especially around plumbing fixtures
* Dark discoloration along seams where the countertop meets the sink or backsplash
* Peeling edges where the laminate begins separating from the substrate
* Musty odors indicating trapped moisture beneath the surface
Testing Damage Severity with the Finger Test
Press firmly on suspicious areas with your thumb. If the surface yields like a sponge or feels damp days after a spill, the particleboard core has absorbed moisture. Superficial damage shows only surface discoloration with firm underlying structure, while severe damage creates soft spots that compromise the countertop’s structural integrity. When the substrate feels soft or crumbly, you’re facing significant water intrusion requiring immediate action.
Must-Have Repair Tools for Countertop Water Damage
Gathering the right tools before starting ensures your repair succeeds. The specific items you’ll need depend on your damage’s severity, but these essentials cover most water damage scenarios.
Drying Equipment Checklist
- Heavy, flat weights (bricks wrapped in towels, concrete pavers)
- Dehumidifier and high-velocity fans
- Moisture meter to verify complete drying
- Plastic sheeting to protect surrounding areas
Repair Materials by Damage Type
For minor bubbling: contact cement, syringe applicator, clamps with protective pads
For seam leaks: color-matched 100% silicone caulk, razor blades, isopropyl alcohol
For swollen edges: fine-grit sandpaper (220-400), waterproof wood filler, laminate sealer
Pro Tip: Match caulk color to your countertop by taking a small laminate sample to the hardware store. Most stores can tint clear silicone to match your specific shade.
Fixing Countertop Blisters Without Professional Help

Small bubbles and localized delamination often respond well to DIY repair when caught early. This method works best when the substrate remains firm beneath the bubbled area.
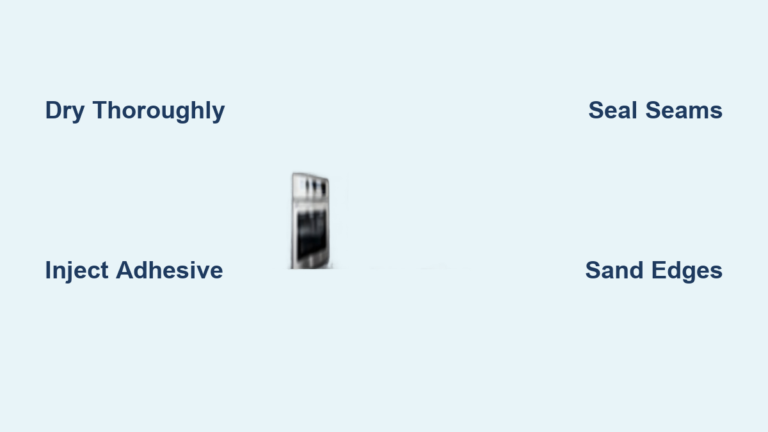
Flattening Water Blisters in 3 Steps
-
Dry the Affected Area Thoroughly
Remove all items from the counter and wipe the area clean. Use a hairdryer on cool setting to draw out residual moisture, then place fans around the area for 24 hours. Verify dryness with a moisture meter before proceeding. -
Inject Adhesive Under the Bubble
Carefully pierce the bubble’s edge with a utility knife and insert a syringe filled with contact cement. Slowly inject adhesive while lifting the laminate slightly, working from the center outward. Avoid overfilling, which creates messy oozing. -
Apply Even Pressure for 24 Hours
Place wax paper over the repaired area followed by a flat board, then apply heavy, distributed weight. Books or bricks wrapped in towels work perfectly. Check after 12 hours—most bubbles flatten permanently with this method when the substrate remains sound.
Repairing Leaky Countertop-Sink Seams Permanently
Leaky seams between your sink and countertop cause 80% of water damage cases. Fixing these properly creates a watertight barrier that prevents future damage.
Creating a Waterproof Sink Seal in 4 Steps
-
Remove All Old Caulk Completely
Score along both sides of the seam with a razor blade, then carefully pry out old caulk using a utility knife. Clean the joint with isopropyl alcohol on a cloth—this removes oils that prevent new caulk from adhering. -
Prepare for New Sealant Application
For gaps wider than 1/4 inch, insert foam backer rod to provide support for the caulk. This prevents the sealant from sinking into deep gaps and ensures proper adhesion to both surfaces. -
Apply and Smooth New Silicone
Load color-matched 100% silicone into a caulk gun and apply a continuous bead along the seam. Dip your index finger in water and smooth the bead, pressing firmly into the joint. Wipe excess immediately with a damp microfiber cloth. -
Allow Proper Curing Time
Keep the area dry for 24 hours—using your sink during this period compromises the seal. Most silicone reaches full waterproofing capability after 48 hours of curing.
Flattening Swollen Countertop Edges Step by Step

Water-damaged edges that swell and stick cabinet doors require careful flattening to restore function without damaging the thin laminate surface.
Reshaping Water-Swollen Countertop Edges
-
Dry the Substrate Completely
Run a dehumidifier in the kitchen for 3-5 days while directing fans at the swollen area. Test dryness by pressing—if it still feels soft, continue drying. Rushing this step guarantees the problem returns. -
Sand Down the Swollen Section
Using a belt sander with 220-grit paper, carefully remove the swollen material. Move the sander parallel to the edge, not across it, to avoid cutting through the laminate. Check frequently with a straightedge to ensure even removal. -
Seal the Exposed Edge
Apply waterproof wood filler to the sanded area, then finish with two coats of polyurethane sealant. For best results, use a laminate edge banding product that matches your countertop’s thickness and color.
When Countertop Water Damage Requires Full Replacement

Some damage exceeds DIY repair capabilities. Knowing when to call professionals saves time, money, and frustration.
Signs You Need Countertop Replacement
- Widespread softness across more than 25% of the countertop surface
- Visible mold growth beneath the laminate layer
- Crumbling substrate that fails the finger test even after thorough drying
- Multiple affected seams showing simultaneous damage
Critical Warning: If water has penetrated cabinet boxes beneath the countertop, replacement becomes necessary to prevent structural damage to your entire cabinet system. Attempting repairs on severely compromised countertops often leads to recurring problems and higher long-term costs.
Prevent Countertop Water Damage With These Daily Habits
Prevention beats repair every time. Implementing these simple habits protects your investment and avoids future headaches.
Essential Countertop Water Protection Routine
- Wipe spills immediately, especially around sink seams and backsplash joints
- Re-caulk seams annually—replace silicone at first sign of cracking or discoloration
- Use coasters under all containers, including decorative items and potted plants
- Install under-sink moisture alarms that alert you to leaks before damage occurs
Pro Maintenance Tip: Apply a laminate-specific sealant every six months to high-risk areas. This creates an invisible barrier that repels water and extends your countertop’s life significantly.
Repairing water-damaged kitchen countertops doesn’t require professional skills when you understand the right techniques. By identifying damage early, using proper tools, and implementing preventive measures, you’ll keep your kitchen looking pristine for years. Remember that immediate action after water exposure prevents 90% of long-term damage—never let standing water sit near seams or edges. For minor issues, the drying and sealing methods described here deliver professional results at a fraction of replacement costs. When damage exceeds repair capabilities, consult a countertop specialist who can assess whether section replacement or full installation offers the best value. Most importantly, establish the daily habits that protect your investment—your future self will thank you when your countertops withstand years of kitchen adventures without a single bubble or stain.


