
That frustrating moment when your kitchen drawer sticks halfway, sags unevenly, or won’t close properly disrupts your entire cooking flow. Whether it’s your utensil drawer that won’t glide smoothly or your silverware drawer that’s completely fallen apart, a broken kitchen drawer is more than just an inconvenience—it halts meal preparation and creates daily frustration. The good news is that over 90% of common kitchen drawer problems can be fixed with basic tools and materials you likely already have in your home. In this guide, you’ll learn exactly how to diagnose and fix the most frequent drawer failures, from loose joints to malfunctioning slides, without needing to call a professional or replace the entire cabinet.
Why Your Kitchen Drawer Won’t Close Properly and How to Diagnose It
Before grabbing your tools, you need to pinpoint the exact problem causing your kitchen drawer dysfunction. Most issues fall into three categories: structural failures (loose joints or detached panels), slide mechanism problems (sticking, broken rollers), or alignment issues (sagging fronts or uneven gaps). Pull the drawer completely out and examine it from all angles—check for visible gaps between the front and box, test the stability of joints by gently wiggling components, and inspect the slide mechanisms for debris or damage. For side-mounted slides, look for bent metal tracks or broken rollers. If your drawer is bottom-mounted, check for debris trapped in the ball-bearing channels. The specific symptom determines your repair approach, so accurate diagnosis saves you time and prevents unnecessary work.
How to Identify a Loose Back Panel vs. Structural Failure
When your drawer feels wobbly or makes a rattling sound when opened, the back panel has likely separated from the sides—a common failure in particleboard or MDF drawers. Lay the drawer on a flat surface and press down on the back corners while observing the joints. If you see movement or hear cracking, the glue joint has failed. For wooden drawers, this often happens at the dado joints where the back panel slots into the sides. Particleboard drawers typically fail at the staple points since staples don’t hold well in this material. Before proceeding with repairs, check for water damage or swelling that might indicate the drawer needs replacement rather than repair. If the particleboard has crumbled or delaminated, reinforcement will be temporary at best.
Repair a Separated Drawer Back Panel in 4 Critical Steps
A detached back panel is one of the most common kitchen drawer failures, especially in modern cabinetry using engineered wood. This structural failure causes the entire drawer to wobble and misalign with the cabinet opening. The repair requires complete disassembly but delivers a permanent fix when done correctly.
Complete Disassembly and Surface Preparation Process
Start by removing the drawer from the cabinet and placing it on a stable work surface. If the back panel is completely detached, carefully separate all components. Use a chisel or putty knife to scrape away every trace of old glue from both the side panels and back panel edges—any remaining adhesive prevents proper bonding. For particleboard drawers, work gently to avoid further crumbling the material. Vacuum the joint areas thoroughly to remove dust and debris that would interfere with the new glue bond. This cleaning step is critical; drawers often fail again because people skip proper surface preparation and apply new glue over old residue.
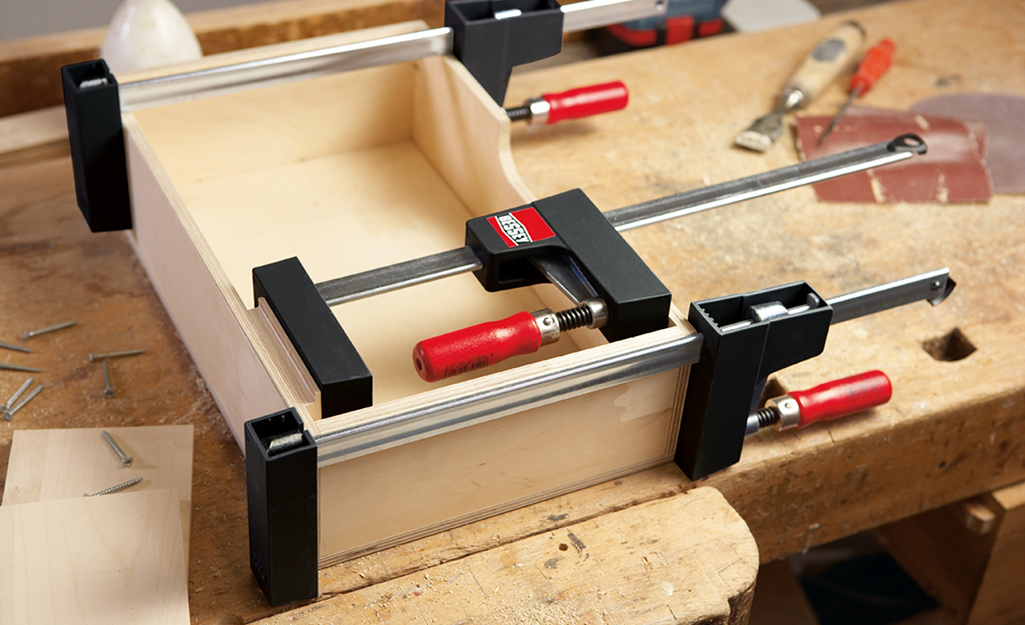
Regluing and Reinforcement Techniques That Last
Apply a generous bead of PVA wood glue (not super glue or construction adhesive) to both mating surfaces. Reassemble the drawer, ensuring the back panel sits flush with the sides and bottom. Use bar clamps to apply firm, even pressure across the entire joint—place blocks between the clamp jaws and drawer to prevent marring. Wipe away excess glue immediately with a damp cloth. Clamp for at least 2 hours, but 24 hours delivers maximum strength. For permanent reinforcement, drill pilot holes and drive 1-inch wood screws through the side panels into the back panel. Fill the screw holes with wood glue before inserting screws for added holding power. On heavily used drawers, install metal corner brackets at each back corner for industrial-strength support.
Fix a Sagging or Loose Drawer Front Without Replacing It
A wobbly drawer front not only looks unprofessional but also causes alignment issues that prevent smooth operation. The good news is that most sagging front problems can be fixed in under 30 minutes with basic tools.
Quick Hardware Tightening and Hole Repair Method
Begin by tightening all visible screws connecting the front to the drawer box—these often work loose with daily use. If the screws spin freely indicating stripped holes, remove them and fill the holes with a mixture of wood glue and matchsticks or toothpicks. Let the glue set for 30 minutes, then trim the excess and reinsert the screws. For plastic mounting clips that have broken, take the damaged piece to a hardware store to find exact replacements. Many manufacturers use standard clip systems across their product lines. When reinstalling the drawer front, ensure it’s perfectly level before tightening all fasteners completely—use a small level to check alignment.
Hidden Reinforcement Technique for Permanent Fix
For a professional-quality repair that’s invisible when the drawer is closed, drive 1-1/4″ drywall screws at a 45-degree angle from inside the drawer box into the back of the drawer front. Position these screws near the top and bottom corners where stress is greatest. Apply wood glue to the contact points before securing with screws for maximum holding power. This technique creates a mechanical bond stronger than the original fastening method. After installation, fill the screw heads with matching wood putty and sand smooth—no one will ever know you performed this hidden reinforcement.
Eliminate Sticking Drawers with Proper Lubrication and Adjustment
A drawer that sticks or binds creates daily frustration and can lead to more serious damage if ignored. Most sticking issues stem from improper lubrication, debris buildup, or minor misalignment rather than catastrophic failure.
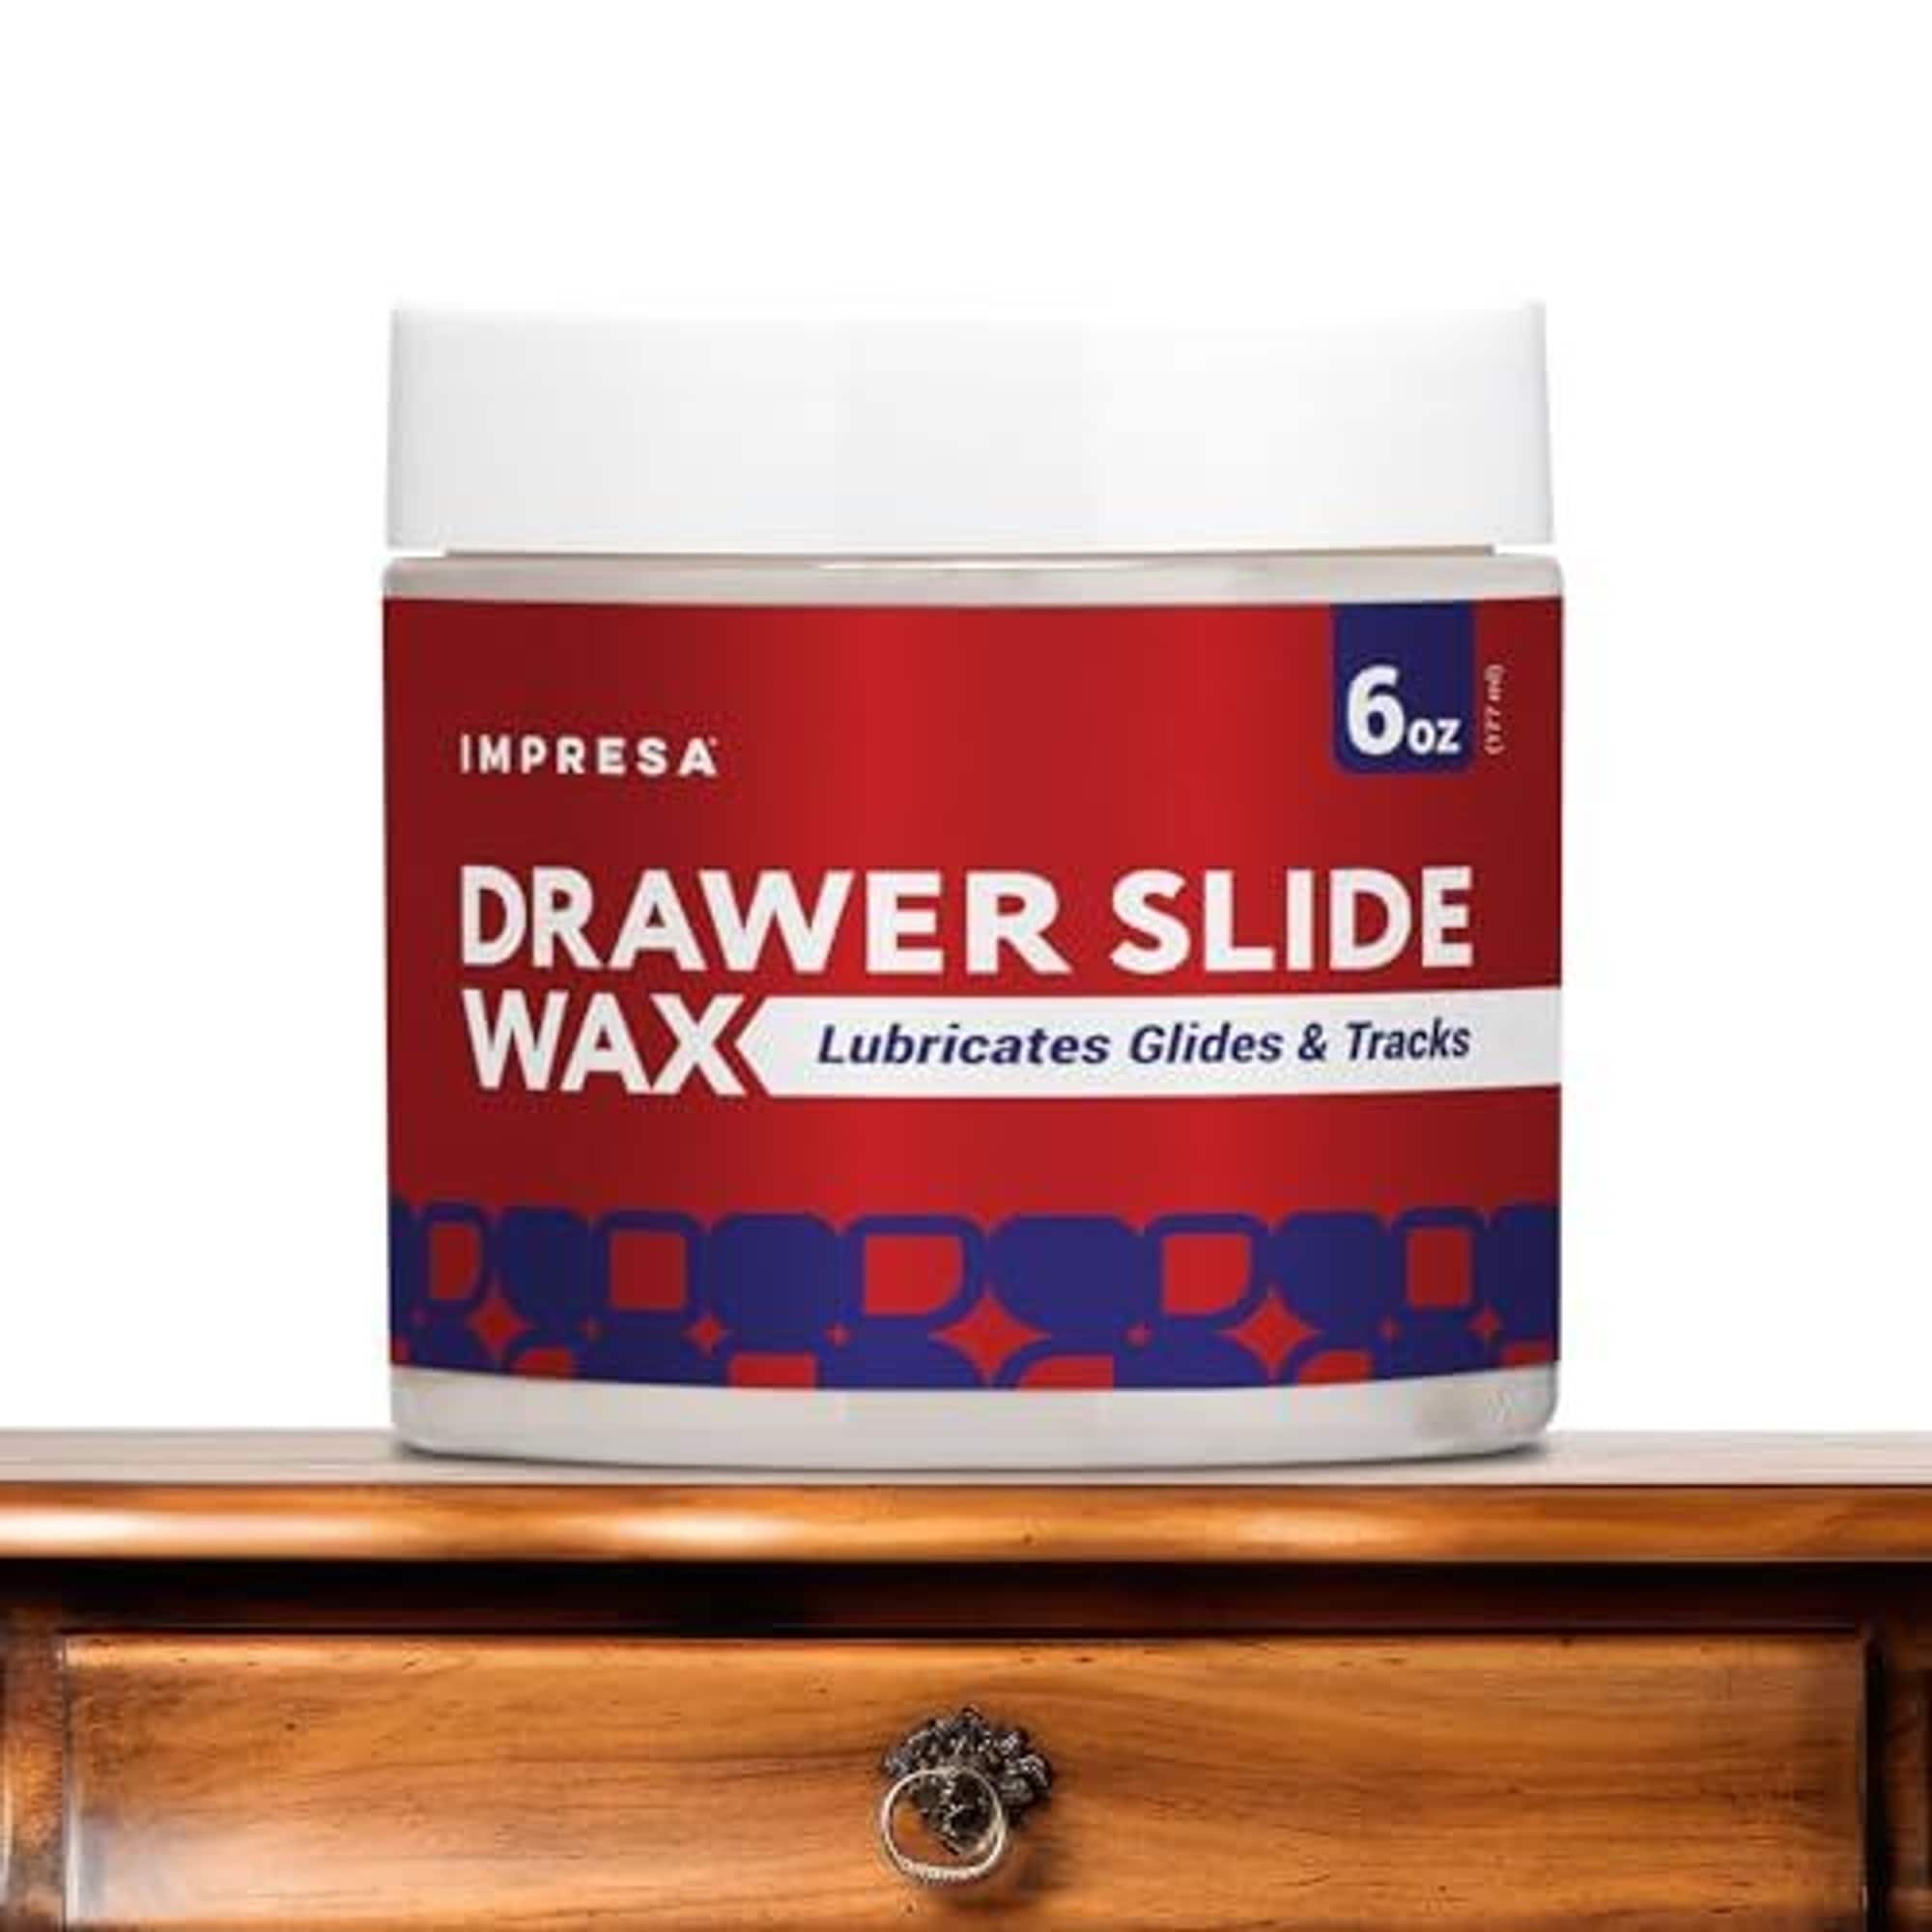
Effective Lubrication Methods That Won’t Attract Dust
Remove the drawer completely and vacuum the cabinet tracks and drawer runners to eliminate crumbs and debris. For wooden runners, rub paraffin wax (candle wax works in a pinch) along all contact surfaces—this creates a dry lubricant that won’t attract dust like oil-based products. Metal slides benefit from a light application of silicone-based lubricant, but avoid WD-40 as it breaks down over time and attracts grime. Test the drawer movement by hand before reinstalling; it should glide smoothly with minimal resistance. If sticking persists, check for uneven gaps around the drawer front—consistent 1/8-inch spacing on all sides indicates proper alignment.
Precision Sanding Technique for Swollen Wooden Drawers
Humidity changes cause wooden drawers to swell, creating binding issues. Identify the rubbing points by looking for wear marks or applying chalk to suspected areas and testing drawer movement. Lightly sand only the affected areas with 220-grit sandpaper—remove no more than necessary to eliminate binding. Focus on the top edges and outer corners where swelling most commonly occurs. After sanding, wipe away dust and apply paste wax to reduce future friction. For severe swelling, leave the drawer open in a dry environment for 24-48 hours to allow moisture to evaporate before attempting further adjustments.
Replace Damaged Drawer Slides with Professional Results
When rollers break, tracks bend, or mechanisms jam beyond cleaning, replacing the entire slide assembly delivers the most reliable solution. Modern ball-bearing slides provide smoother operation and greater weight capacity than original equipment.
Step-by-Step Slide Replacement Without Cabinet Damage
Remove the drawer and examine your existing slide type—side-mounted, bottom-mounted, or center-mount. Measure the fully extended length of your current slides (not the drawer width) and purchase matching replacements with equal or greater weight capacity. Remove old slides by unscrewing them from both the cabinet frame and drawer sides. Install the cabinet portion first, ensuring perfect levelness with a small bubble level—this step determines smooth operation. Attach the drawer portion next, aligning it precisely with the cabinet portion. Test the engagement before fully tightening all screws, making micro-adjustments as needed. Properly installed slides should operate smoothly with minimal effort throughout their entire range of motion.
Prevent Future Drawer Failures with Proactive Maintenance
The difference between a kitchen drawer that lasts 5 years versus 15 years comes down to simple preventative care performed just twice a year.
Quarterly Maintenance Routine That Takes 10 Minutes
Vacuum cabinet tracks and wipe down metal slides with a dry cloth every three months to prevent dust buildup. Apply paraffin wax to wooden runners and contact points every six months—this simple step reduces friction by 70% compared to unlubricated wood. Check all visible hardware for tightness and address any looseness immediately before it causes further damage. Keep drawers organized with dividers to distribute weight evenly and prevent overloading one side. Most importantly, never force a sticking drawer—investigate the cause instead of risking structural damage from repeated slamming.
Final Note: By implementing these proven repair techniques, you can fix nearly any common kitchen drawer problem without replacing the entire unit. Regular maintenance prevents most issues before they start, saving you time and money in the long run. For drawers with severe water damage or structural compromise, replacement may be more cost-effective than repeated repairs, but most everyday problems yield to these straightforward fixes. Keep your basic repair kit stocked with wood glue, clamps, assorted screws, and paraffin wax to address drawer issues immediately before they worsen.


