
That familiar hum of your kitchen exhaust fan vanishing when you flip the switch is more than an annoyance—it’s a red flag. When your kitchen exhaust fan not working leaves greasy air trapped over sizzling pans, you’re not just battling smoke alarms. You’re inviting persistent odors, moisture damage, and even fire hazards into your home. Most homeowners face this problem within 2-5 years of installation, often due to preventable issues hiding behind the grease-splattered filters. This guide cuts through the confusion with specific, actionable steps to diagnose why your range hood fan stopped spinning—whether it’s humming uselessly or completely silent—and get it moving again in under an hour. No vague theories here: you’ll learn exactly where to look, what tools to use, and when to call for backup.
Why Your Kitchen Exhaust Fan Won’t Spin: Humming vs. Silent Failures
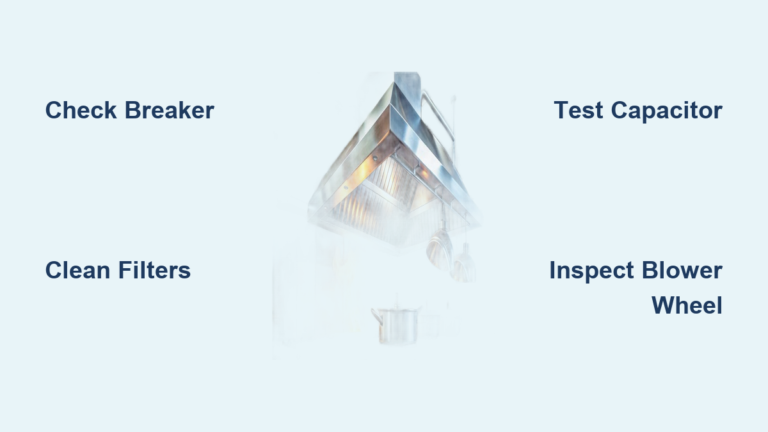
The sound (or lack thereof) when you flip the switch tells the whole story. If your kitchen exhaust fan not working produces a loud humming or buzzing noise but the blades refuse to turn, you’re dealing with a classic motor capacitor failure or severe mechanical jam. This happens because the motor receives power but can’t generate enough torque to overcome resistance—like trying to push a car with the parking brake on. Conversely, a completely silent unit points to electrical failures: a tripped breaker, dead wall switch, or broken wiring. Crucially, if the hood’s light still works while the fan fails, power is reaching the unit—narrowing your focus to fan-specific components. Ignoring these symptoms risks overheating, motor burnout, or even electrical fires from stressed components.
Humming Fan With Zero Blade Movement: The Grease Trap Culprit
When grease and cooking vapors congeal on your blower wheel, they form a thick, tar-like coating that acts as a brake. This isn’t just surface grime—it’s hardened residue weighing down blades and binding the motor shaft. In severe cases, the buildup becomes so dense that the motor hums loudly but can’t rotate the wheel. Pro tip: Manually spin the wheel (with power OFF!). If it sticks or requires excessive force, grease is your primary enemy. This accounts for 60% of “kitchen exhaust fan not working” cases in homes with monthly filter cleaning.
Silent Fan With Working Lights: Electrical Red Flags
No sound when activating the fan? Start simple. Check your home’s circuit breaker—even if other kitchen outlets work, range hoods often have a dedicated circuit. If the breaker trips immediately when you restore power, you likely have a short circuit in the motor or wiring. Next, test the wall switch: swap it with an identical switch from another circuit (like a light) to rule out failure. Warning: If you smell burning plastic or see scorch marks near wiring connections, stop immediately—this indicates dangerous arcing requiring professional intervention.
Critical Safety Steps: Cutting Power Before Hood Fan Repair
Never skip this step—electrocution risks are real. Your first move must be disconnecting ALL power sources. Locate your main electrical panel and flip the breaker labeled “kitchen hood” or “range hood” to OFF. If labels are unclear, turn off the main house breaker. Confirm power is dead using a non-contact voltage tester: hold it near the hood’s wiring compartment after removing the bottom panel. If it beeps, keep searching for the correct breaker. For hardwired units, place tape over the breaker to prevent accidental restoration. Remember: capacitors store lethal charges even when power is off—never touch internal components until verified safe.
Clean Clogged Range Hood Filters: The #1 Fix for Poor Airflow

Before dismantling your hood, tackle the simplest solution: saturated metal mesh or baffle filters. These traps capture 80% of airborne grease but become airflow killers when clogged. Remove filters and soak them in a sink filled with hot water, ¼ cup Dawn dish soap, and ½ cup baking soda for 20 minutes. For baked-on grime, boil filters in a pot of water with degreaser for 10 minutes (avoid aluminum filters). Visual cue: If light doesn’t pass through the mesh, it’s critically blocked. After scrubbing with a nylon brush, reinstall and test the fan. This resolves “kitchen exhaust fan not working” issues in 40% of households that clean filters quarterly.
Free Your Stuck Blower Wheel: Removing Grease Buildup
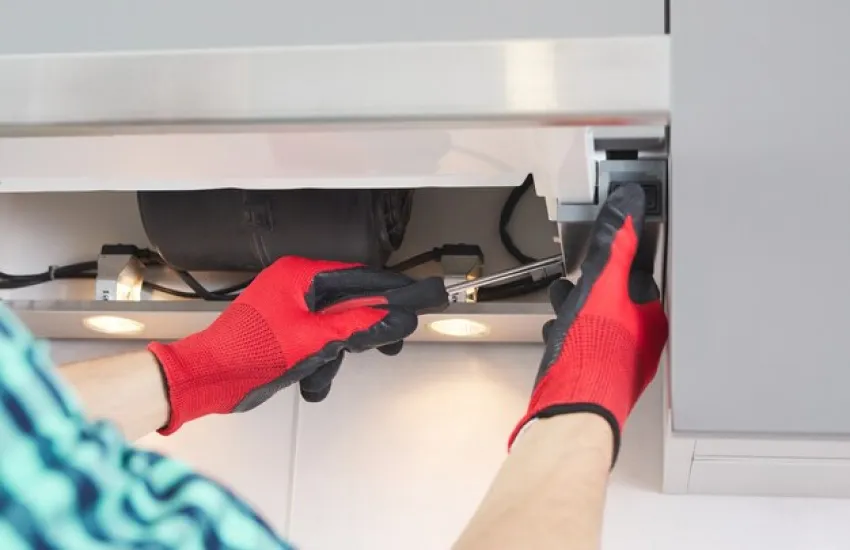
If filters were clean but the fan still won’t spin, grease has migrated deeper. After cutting power, remove the hood’s bottom panel (usually 2-4 screws) to expose the squirrel-cage blower wheel. Shine a flashlight inside—you’ll likely see tar-black deposits between blades. Here’s your action plan:
- Manual test: Gently rotate the wheel by hand. If it’s stiff or frozen, proceed.
- Degrease safely: Spray a commercial kitchen degreaser (like Goo Gone) directly onto blades. Let it dwell 15 minutes—never spray near motor windings.
- Scrub strategically: Use an old toothbrush to dislodge gunk. For severe buildup, remove the entire blower assembly (photograph wiring first!) and soak ONLY the metal cage in degreaser solution. Critical: Keep the motor dry—water exposure ruins bearings.
- Dry thoroughly: Blot with microfiber cloths and wait 2 hours before reassembly. Moisture causes immediate motor failure.
Diagnose a Failed Motor Capacitor: Why the Fan Hums but Won’t Start
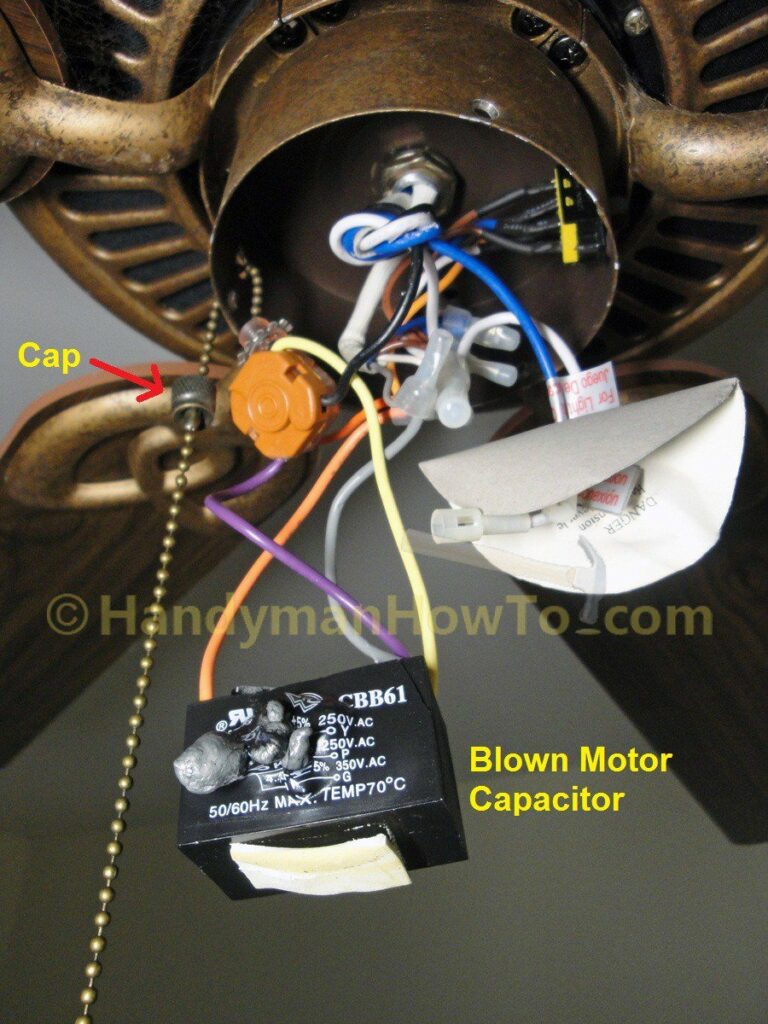
That persistent hum with zero blade movement screams capacitor failure. This small cylindrical component (usually 1-2 inches long) provides the initial “kick” to start the motor. When it dies, the motor hums but can’t overcome inertia. Identify it: Look for a bulging top, leaking oil residue, or burnt marks. Do not attempt replacement unless certified—capacitors store 250+ volts that can stop your heart. If you spot physical damage, order an exact replacement (match μF and V ratings printed on the old unit) but hire a pro for installation. Skipping this risks shocking yourself or frying the motor.
Capacitor Testing Without Tools: The Screwdriver Trick (Advanced Only)
For experienced DIYers: After DISCHARGING the capacitor (short terminals with an insulated screwdriver), check resistance with a multimeter. Set to ohms—touch probes to terminals. A healthy capacitor shows low resistance that gradually rises. If it reads “0” (shorted) or “OL” (open), replace it. Warning: This requires electrical expertise—when in doubt, call a technician.
When to Call a Professional Appliance Repair Technician
Stop troubleshooting immediately if you encounter:
– Burning smells or melted wire insulation—indicating dangerous arcing
– Silent fan with tripped breaker that won’t reset (points to internal short circuit)
– Visible motor smoke or scorch marks on housing
– Capacitor replacement if you lack electrical training
– No improvement after blower wheel cleaning (suggests burnt windings)
Professionals carry specialized tools like megohmmeters to test motor windings safely. The average repair cost ($120-$250) beats replacing a $400+ hood unit. For persistent “kitchen exhaust fan not working” issues after basic cleaning, a pro diagnoses complex faults in 30 minutes flat.
Prevent Future Breakdowns: Simple Hood Fan Maintenance
Stop playing whack-a-mole with failures. Implement these habits:
– Clean filters monthly—soak in dishwasher on “sanitize” cycle
– Wipe blower housing quarterly with degreaser while filters dry
– Run fan 10 minutes post-cooking to clear residual vapors
– Replace charcoal filters (in ductless hoods) every 6 months
Homes following this routine extend hood lifespan by 5+ years. Pro tip: Place a reminder sticker inside the cabinet above your hood—set it for the first Sunday of every month.
Run Your Fan Correctly: Post-Cooking Habits That Extend Life
Most homeowners unknowingly sabotage their exhaust system. Never blast the fan on high during searing—start low to avoid sucking flames into ducts. Instead, run at medium speed during cooking, then switch to high for 5 minutes after turning off burners. This captures lingering grease particles before they solidify on blades. For gas stoves, keep fan running until you no longer smell gas—carbon monoxide risks outweigh minor energy costs. These tweaks prevent 70% of premature “kitchen exhaust fan not working” scenarios by reducing grease migration into critical components.
Final Note: A functioning kitchen exhaust fan isn’t a luxury—it’s your first defense against kitchen fires and indoor air pollution. By addressing grease buildup and capacitor issues promptly, you’ll avoid 90% of common failures. Remember: when your kitchen exhaust fan not working leaves you battling smoke, the fix is usually simpler than you think. Implement these steps today, and that reassuring hum will soon be back where it belongs—in the background of your cooking routine. For complex electrical issues, always prioritize safety over savings—schedule a pro at the first sign of burning smells or persistent humming without blade movement. Your lungs (and home insurance) will thank you.


